


In my last blog about Connecting Tableau Pulse with Continuously Updating Snowflake Data, I simulated a live database by running a query in Snowflake that generated new rows on a schedule. In this post, I’ll go into more detail on how you can run queries on a schedule using Snowflake Tasks.
Snowflake Tasks are built-in scheduling tools that allow you to automate SQL queries and run them at specified intervals.
For this example, let’s create a table and automatically insert a new row into it every minute.
Note: For this demo, I am using a schema called DEMO_SCHEMA.
Step 1: Create a Table
First, create a table that will store the generated rows.
You can do this with the following statement:
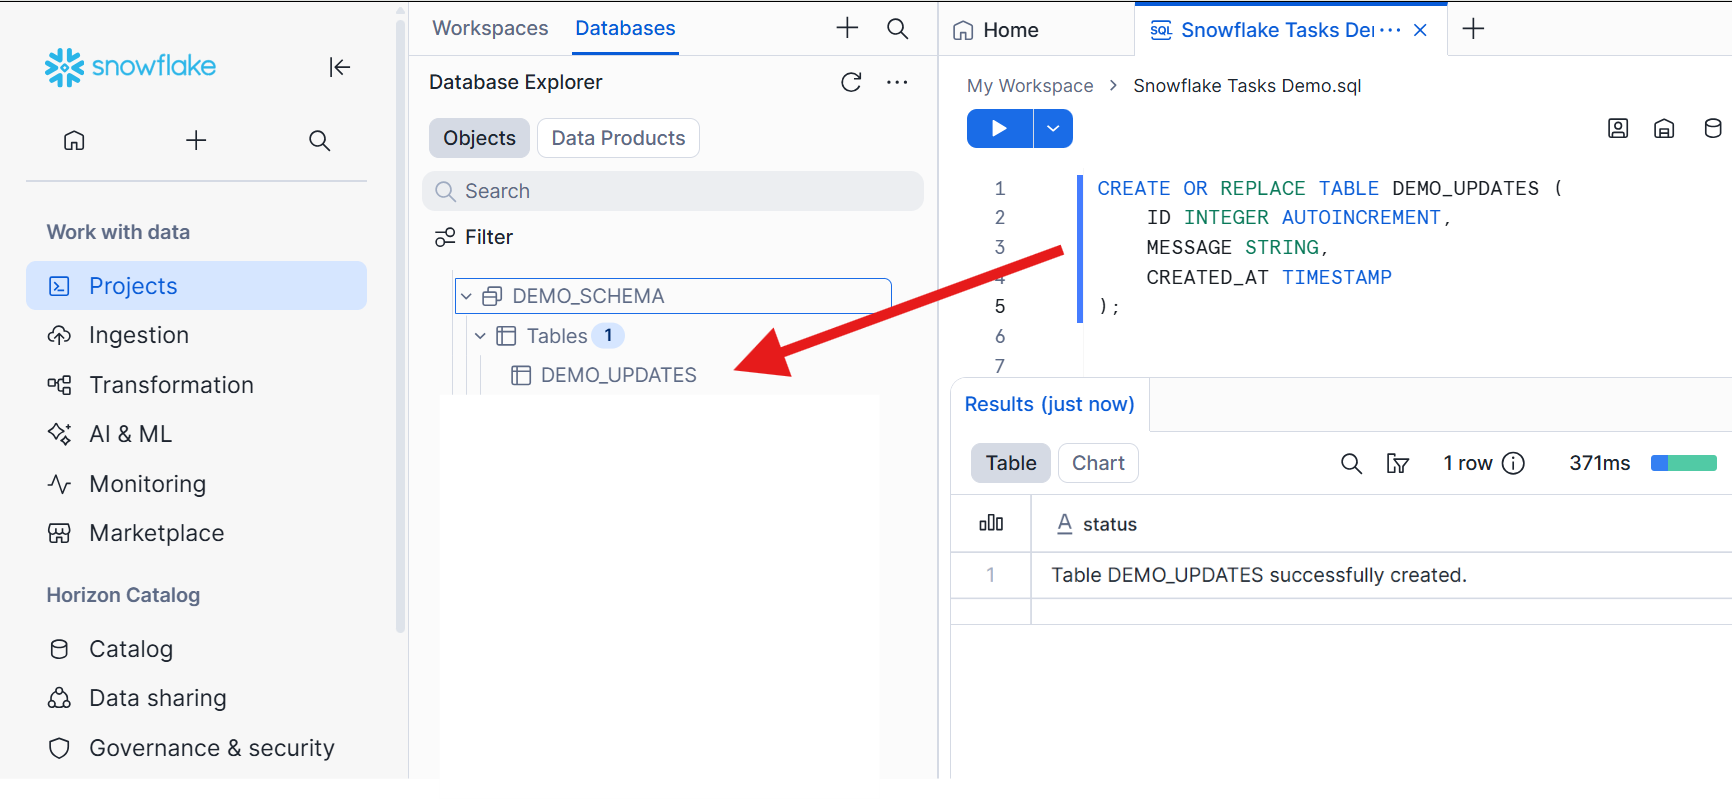
CREATE OR REPLACE TABLE DEMO_UPDATES (
    ID INTEGER AUTOINCREMENT,
    MESSAGE STRING,
    CREATED_AT TIMESTAMP
);
You can see that a new table called DEMO_UPDATES is now inside our DEMO_SCHEMA.
Step 2: Create the Task
Now let’s create a task that inserts a new row into the table every minute using the statement below:
CREATE OR REPLACE TASK DEMO_UPDATES_TASK
    WAREHOUSE = WAREHOUSE_NAME
    SCHEDULE = '1 MINUTE'
AS
INSERT INTO DEMO_UPDATES (MESSAGE, CREATED_AT)
VALUES ('New scheduled row', CURRENT_TIMESTAMP());
Once you create the task, you can view tasks in the Snowflake UI under your database and schema objects. You can see DEMO_UPDATES_TASK inside our schema now.

You can also verify that the task exists by running:
SHOW TASKS;
When you run SHOW TASKS, you can see that the task is currently suspended, which means it has been created but is not yet running.

Another way to view your tasks in Snowflake is through Catalog > Database Explorer. If you locate your task there, you can see key details such as the task state (currently suspended), the full task definition, and the run history.
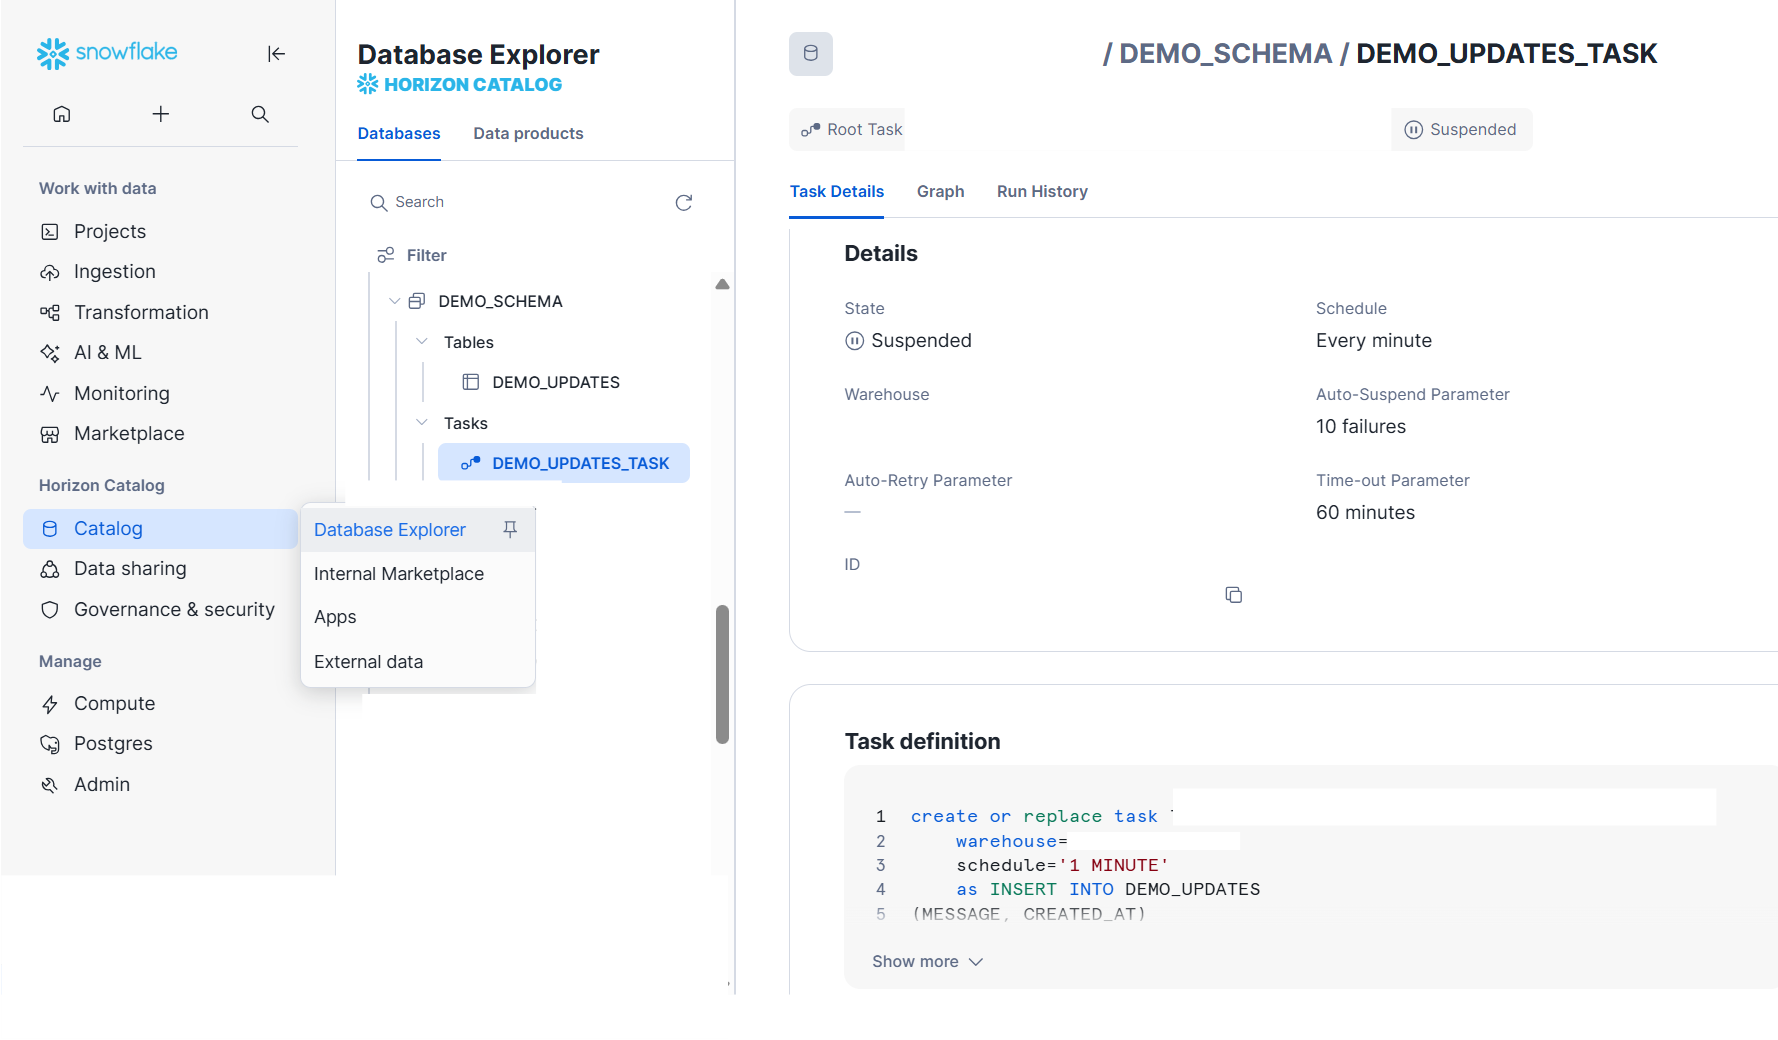
This is a really useful place to monitor and track what your task is doing, and it’s also my personal favorite view. Throughout the rest of this guide, we’ll use this to follow the task’s activity, and in step 4, we'll use the Run History tab from this page.
Step 3: Start the Task
Next, we need to initialize the task so it begins running.
You can do that with:
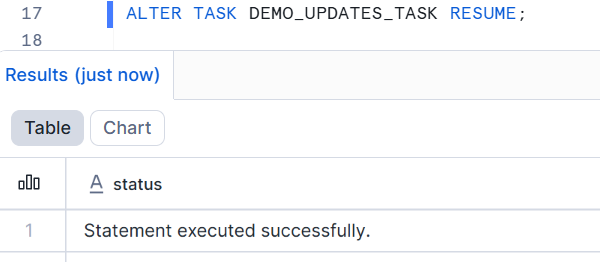
ALTER TASK DEMO_UPDATES_TASK RESUME;
This statement will start (resume) your task.
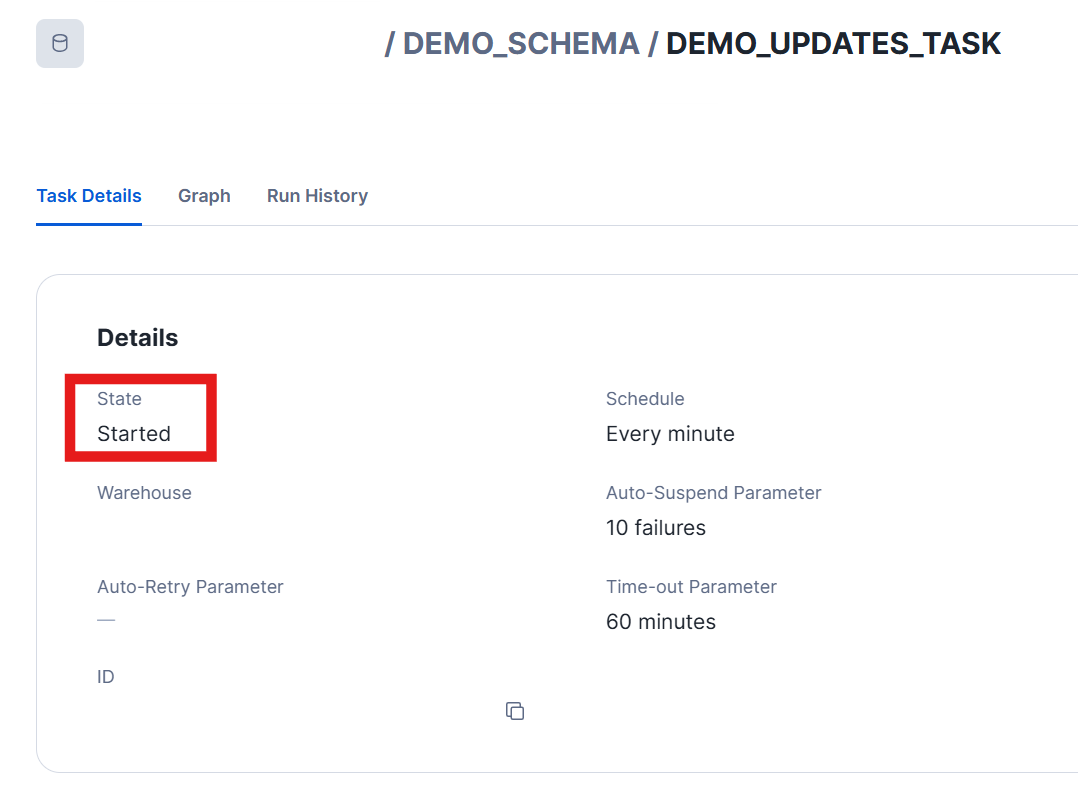
Once the task has been resumed, you can confirm that it is active by checking its status. It should now show as “Started.”
Step 4: Check the Results
If your task has started running successfully, you should begin seeing new rows added to the table every minute.
You can check the inserted rows with:
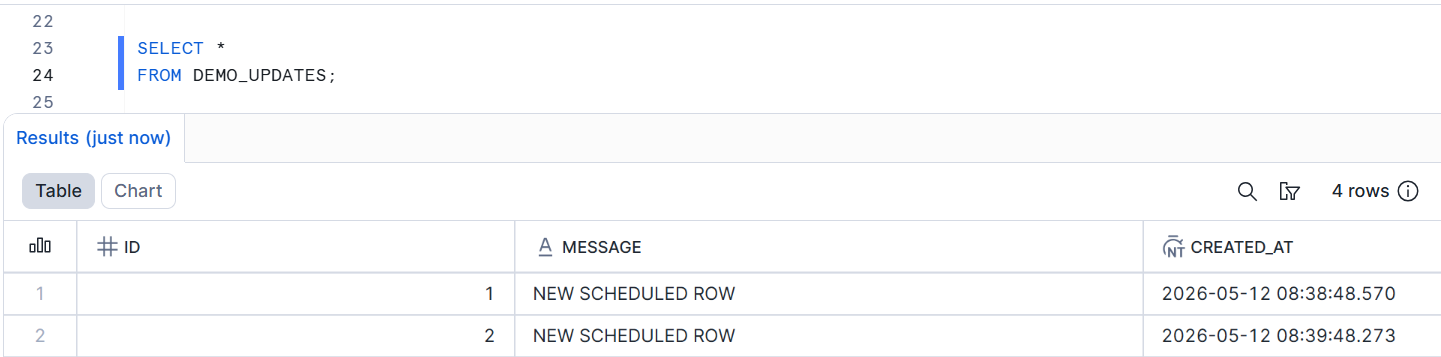
SELECT *
FROM DEMO_UPDATES;
In this example, you can see that two new rows were created.
Another place to check if your tasks have run is in the "Run History" of the Database Explorer.
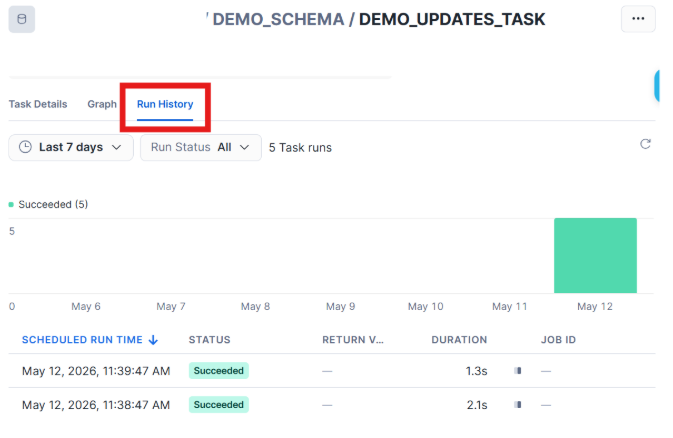
This is useful for confirming that the scheduled query has run successfully, how long it took to execute, and when it was scheduled.
Step 5: Suspend or Drop the Task
Tasks are useful for automating queries, but it’s important to stop them when they are no longer needed, especially if you are only testing or building a demo. This helps avoid unnecessary compute usage.
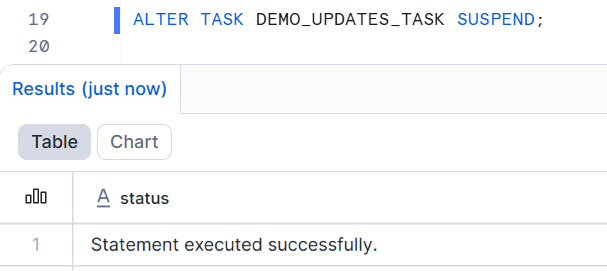
To stop the task from running, use:
ALTER TASK DEMO_UPDATES_TASK SUSPEND;
This will stop your task from running.
If you check your task status, it should now say suspended, which means it is no longer running.
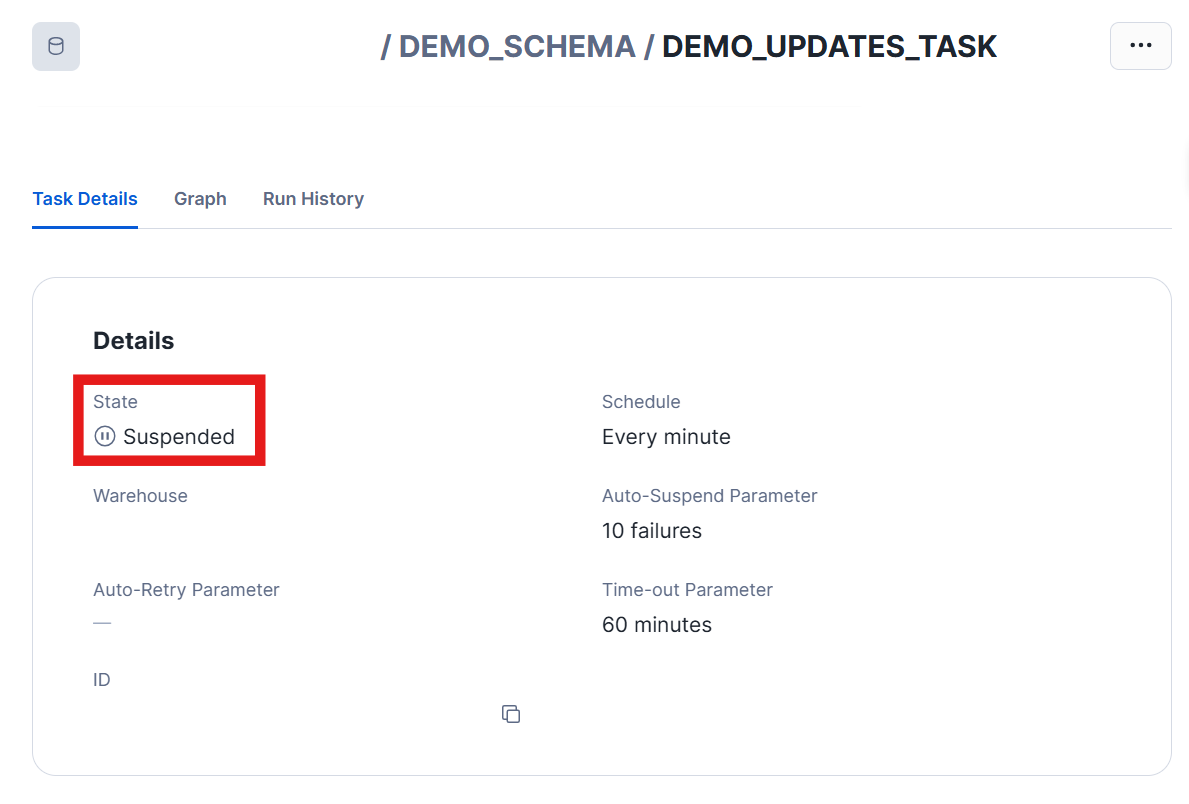
At this point, the task still exists, but the schedule is no longer actively running.
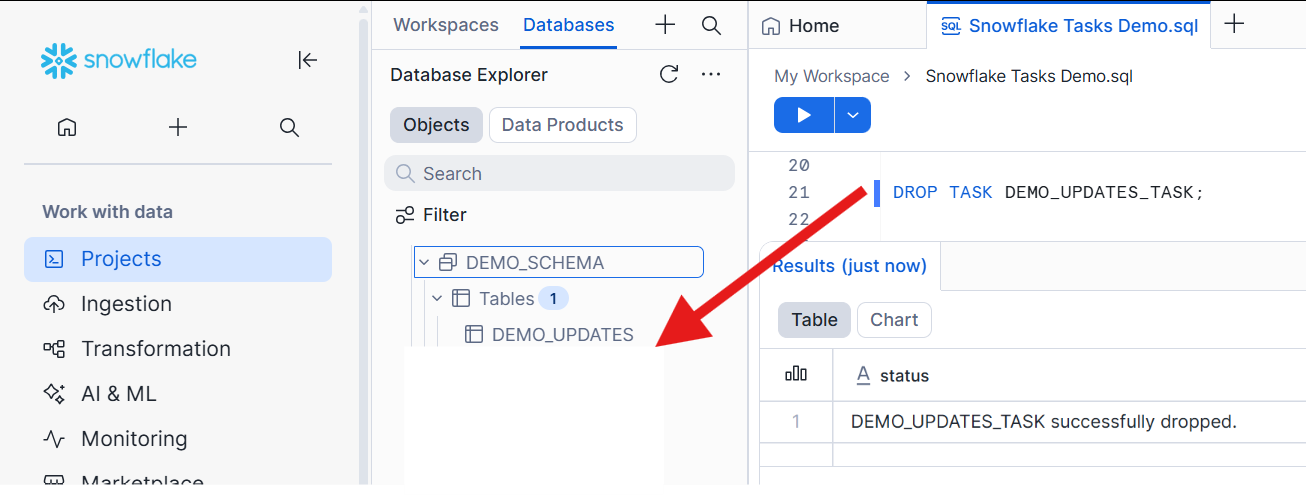
If you want to completely remove the task from your schema, you can drop it with:
DROP TASK DEMO_UPDATES_TASK;
After dropping the task, it will no longer appear in your schema or task list.
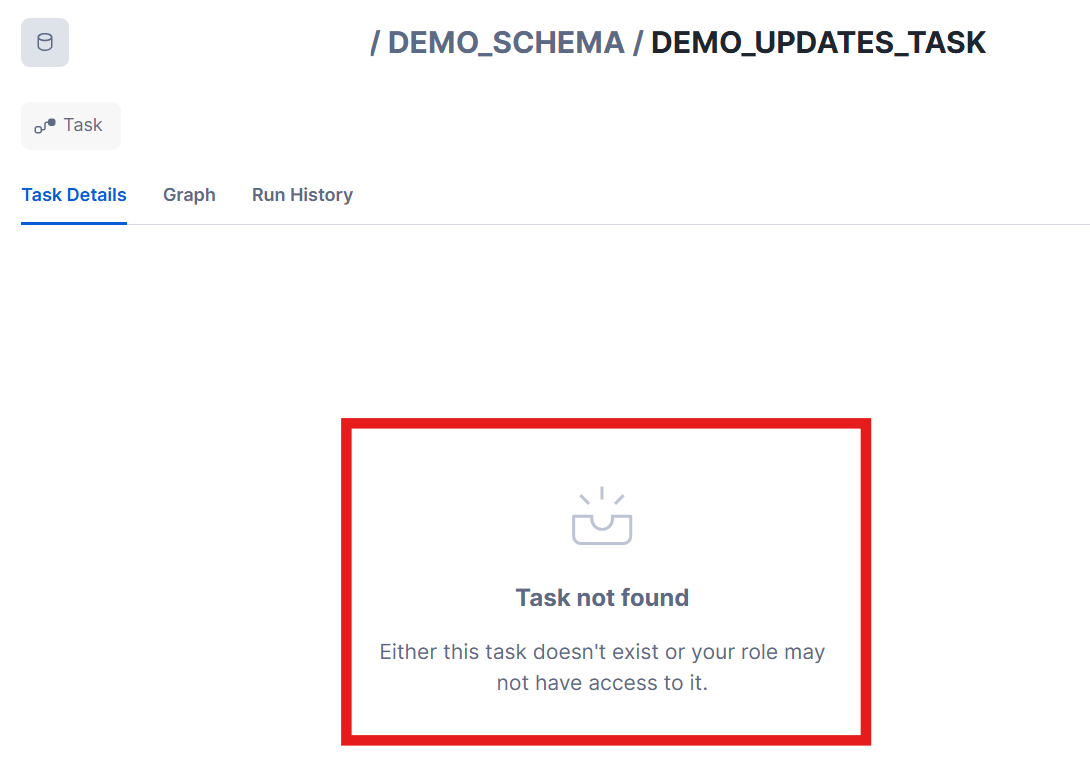
If you had the task details open on another page, refreshing it will show that the task no longer exists.
That’s it — you’ve now seen how to schedule and manage automated queries in Snowflake using Tasks. If you want to implement this concept in your own code with some modifications, I’ve also linked the official Snowflake documentation on Tasks, which you can use as a reference to explore more advanced options and configurations.