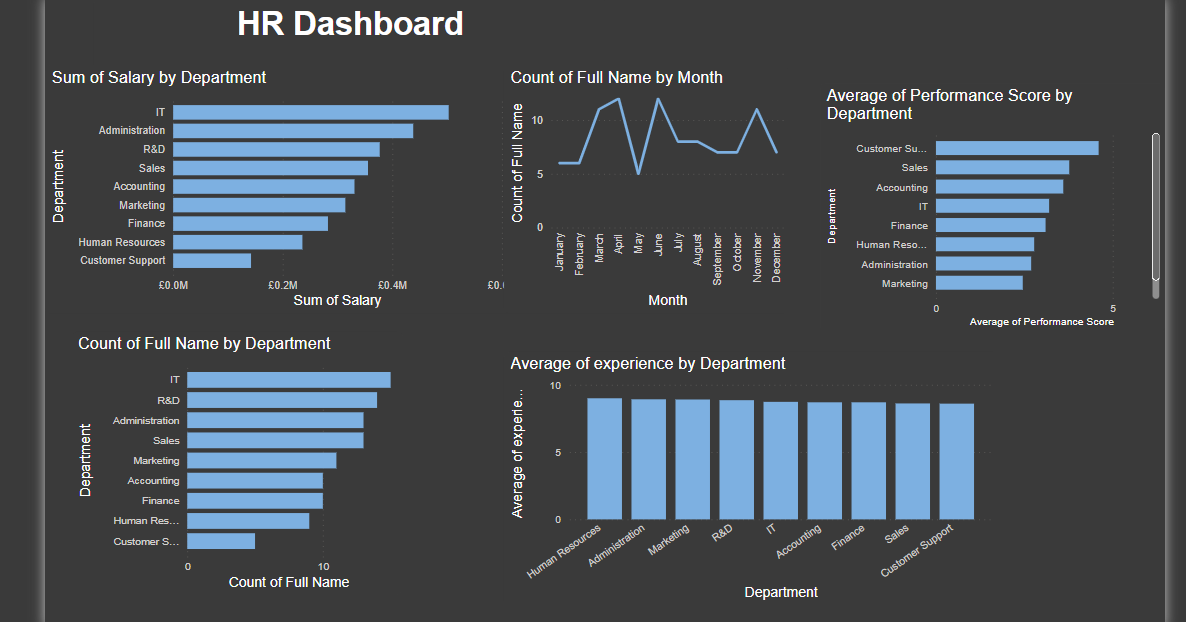
Today for dashboard week we were challenges to create a dashboard in Power BI and then publish it to the Power BI gallery, make it public, then post on the Power BI Data Stories Gallery. For me this was one of the hardest challenges I faces today and it took a good amount of time for me to upload this. So that no one else has to go through this problem here is a step to step guide how to upload to the gallery.
So once you have created a dashboard and your ready to upload to the gallery.
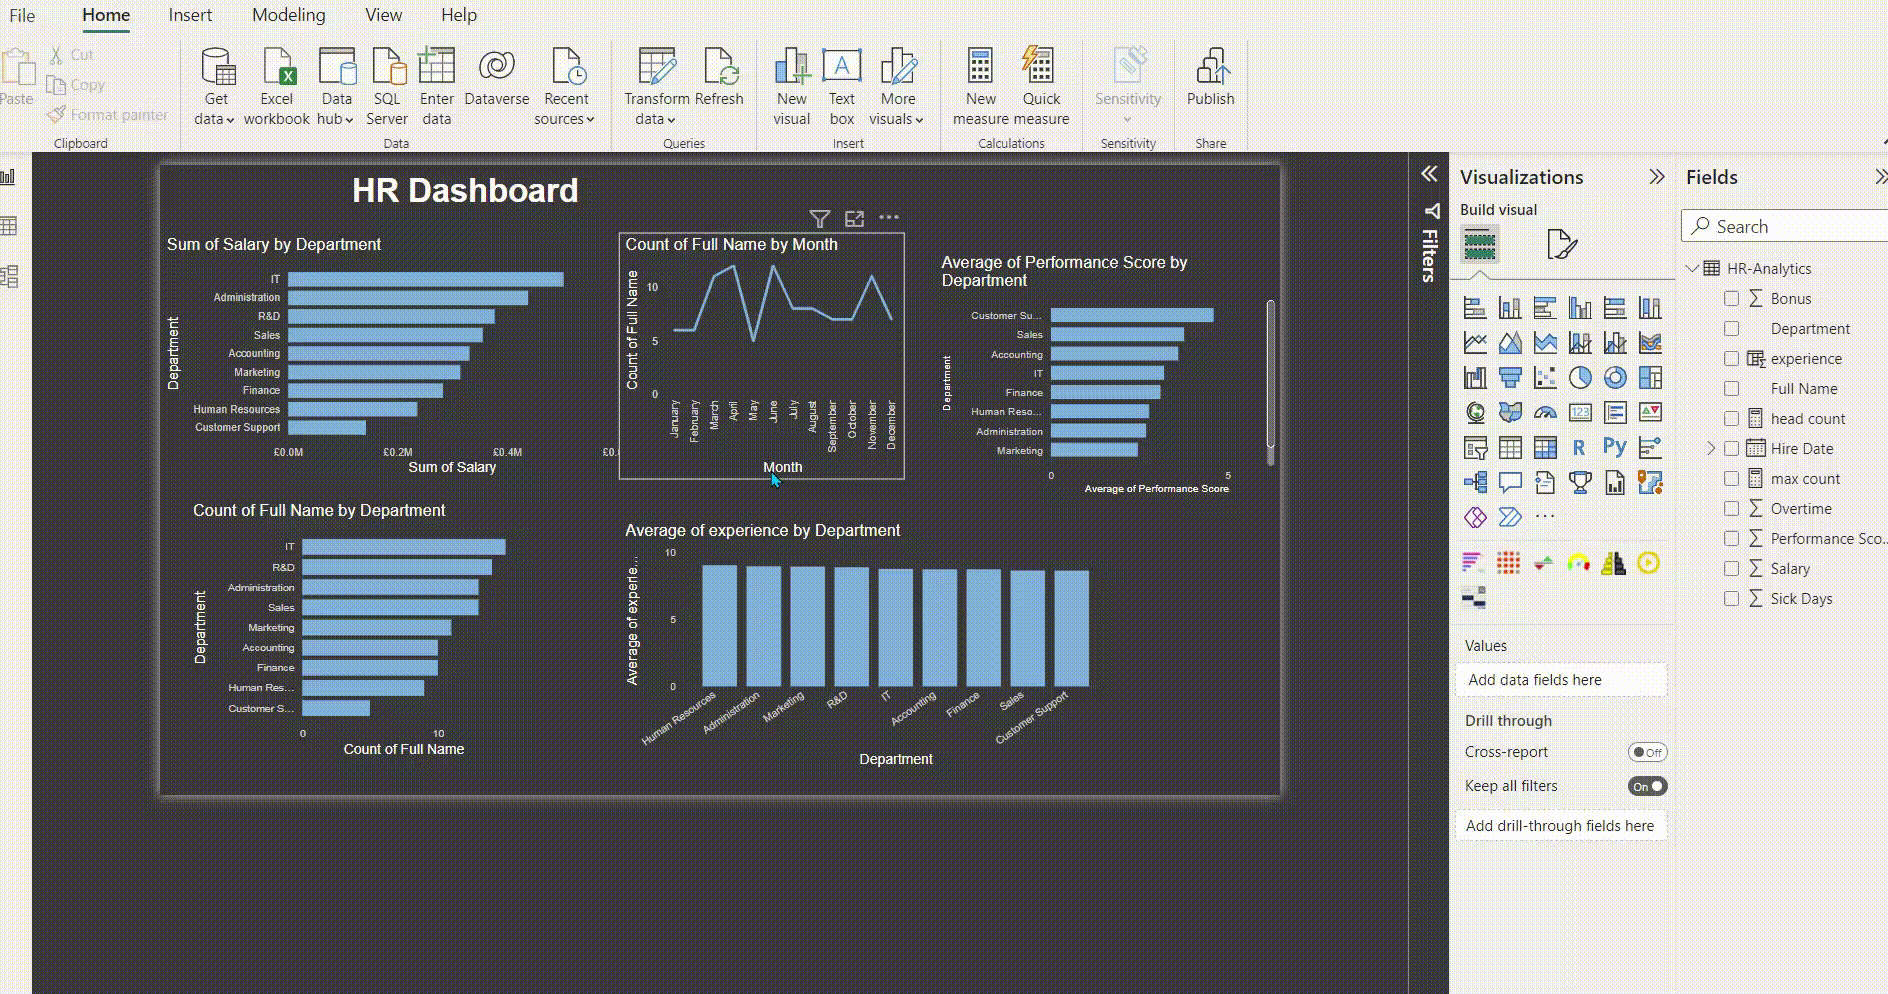
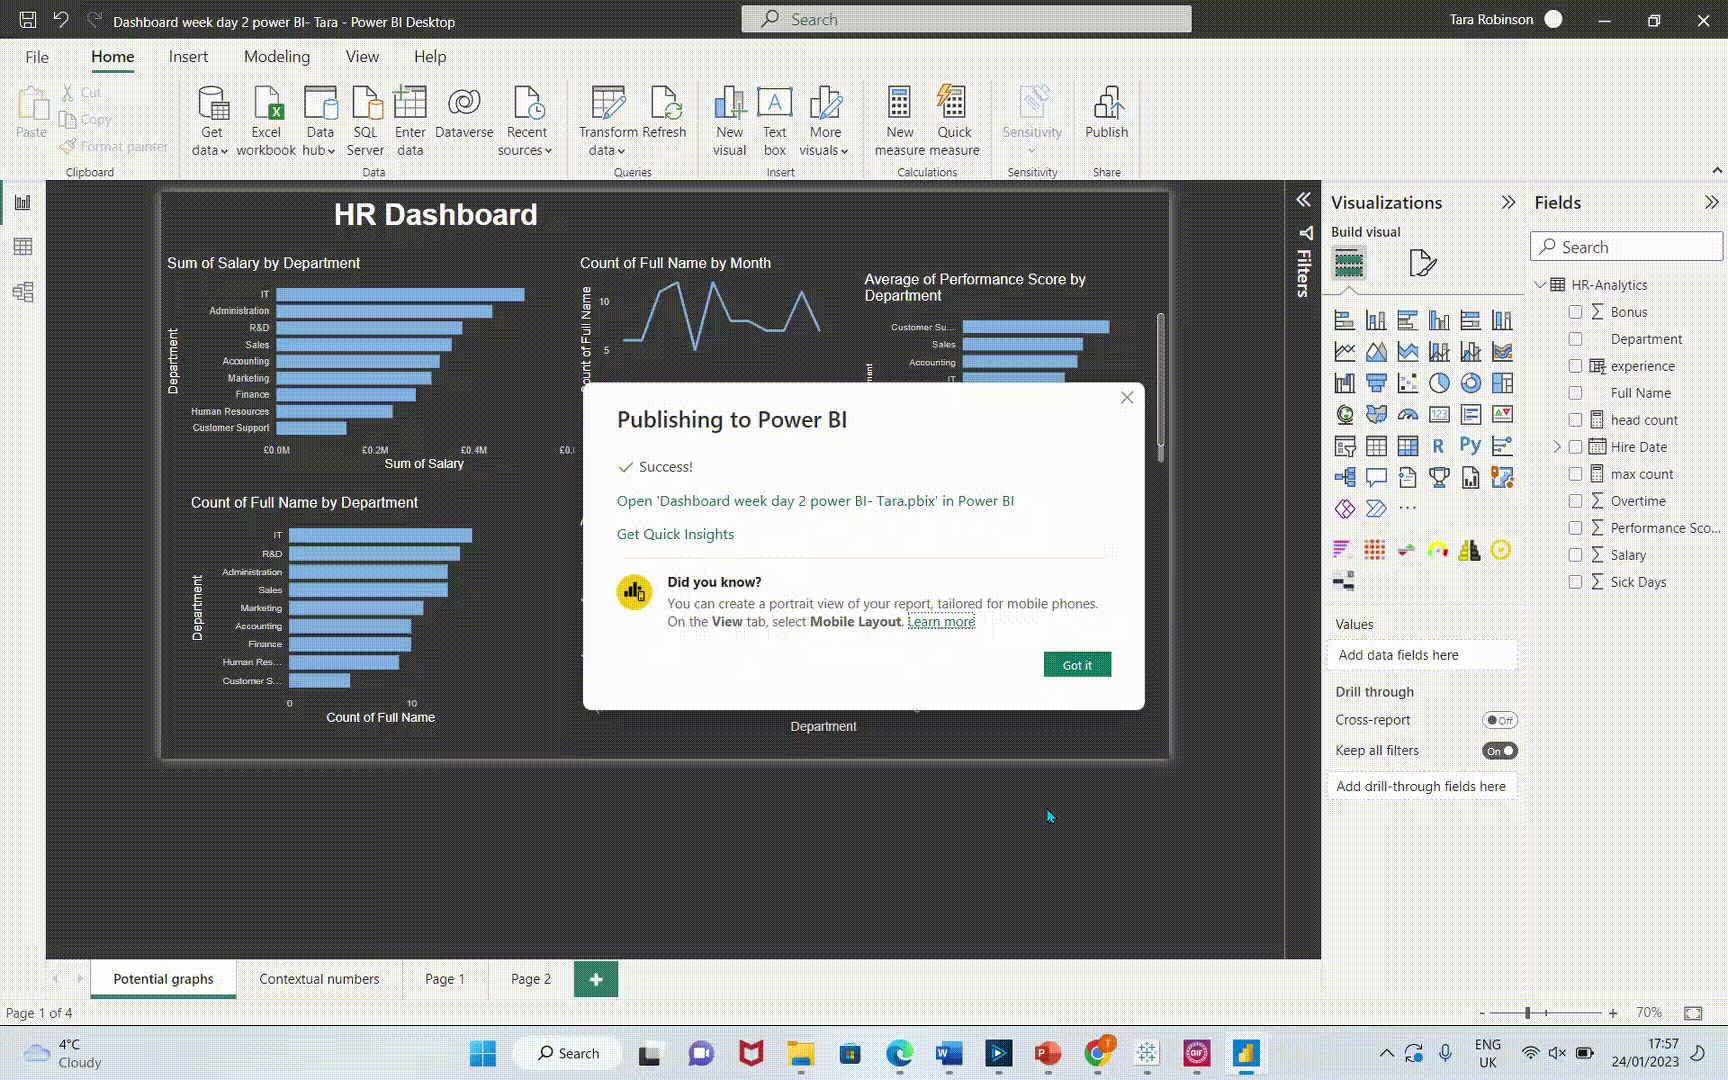
Step 1: Save your work and then hit the button publish.
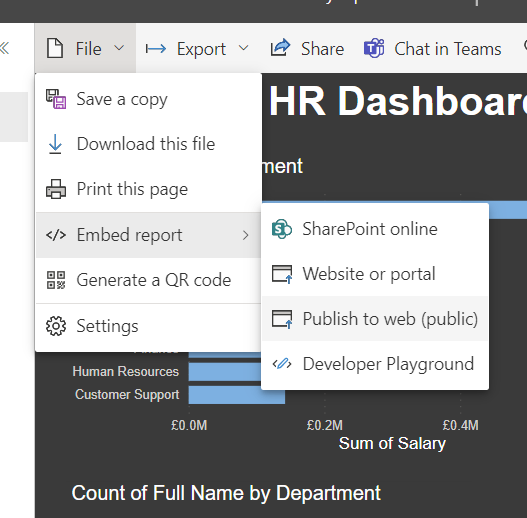
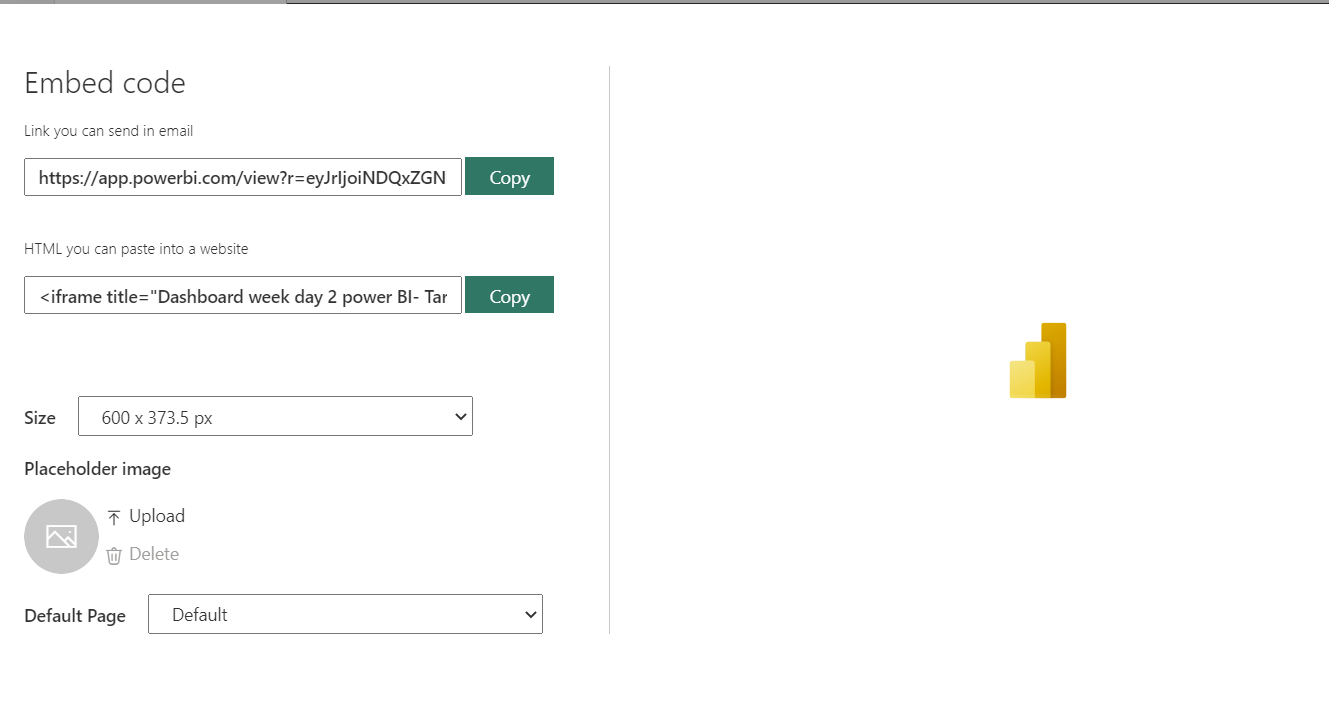
Step 2: Open Power BI up within a web browser and sign in if you have not already (for me I a was already signed in). Next what you want to do is locate your workspace and find the dashboard you uploaded and open this up. Now you have located this you want to press file then embedded report and publish to web (public) Once you press this it will take you to a page and you have the option to copy the embedded code for you to upload to the gallery you must use the email embedded code ( not to sure why but the other one does not work for the gallery).
Step 3: Go to Power BI Data Stories Gallery. You will need to create a username and set it to your time so for UK this is GMT. Once again I created a username in the process when originally doing this so I did not need to do this again. Next you want to press submit your data story. This is where you can add a snapshot of your dashboard as a thumb nail picture. You also title your post and can give a description on what your dashboard is. Finally you select which category you want this under and press upload.