In a previous blog I covered what sets are and how to create them. This blog will cover how you can take sets to the next level - by creating set actions.
Why use set actions? Set actions allow us to dynamically add and take away from our set.
To create a set action, first we create our set:

Once you’ve created your set add it to the colour mark to easily distinguish what categories are in and out of your set:

Next we need to ‘set up’ our set action. To do this go to the worksheet tab and select ‘actions’ – add action – change set values:
This is where you specify how you want your set action to run. In this example we want to add categories to our set by clicking on them in the view:
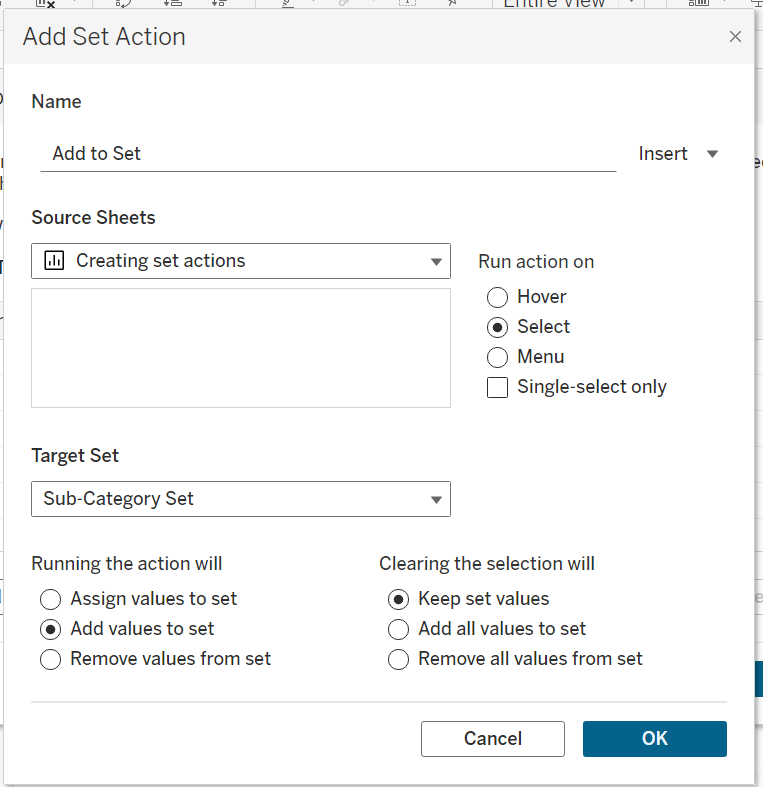
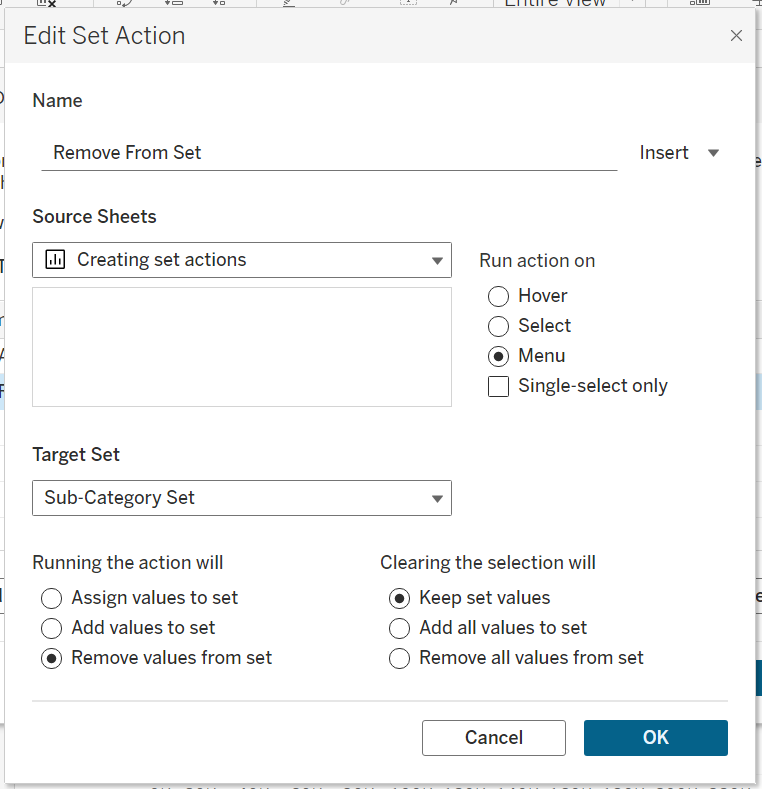
What if we also want the option to remove categories from our set?
To do this we select worksheet - actions - change set values (same as before), however, when specifying how we want the set action to run we select remove values from set. We also want to make sure we select 'menu' on the 'run action on' section (this is because we already have a set action that adds to the set when we select):
One last thing we may want to do to our set action in order to be very clear on what's in our set, is to group the set categories together at the top. We can do this by dragging our set into rows: