What are Salesforce Lightning Apps?
Salesforce is an app-based platform that has several no-Code solutions for adding web components to its interface. This works similar to web objects on a Tableau Dashboard.
There are two kinds of Salesforce apps: Classic and Lightning. Using apps in Lightning Experience allows your users to access content that is relevant to them through the App Launcher.
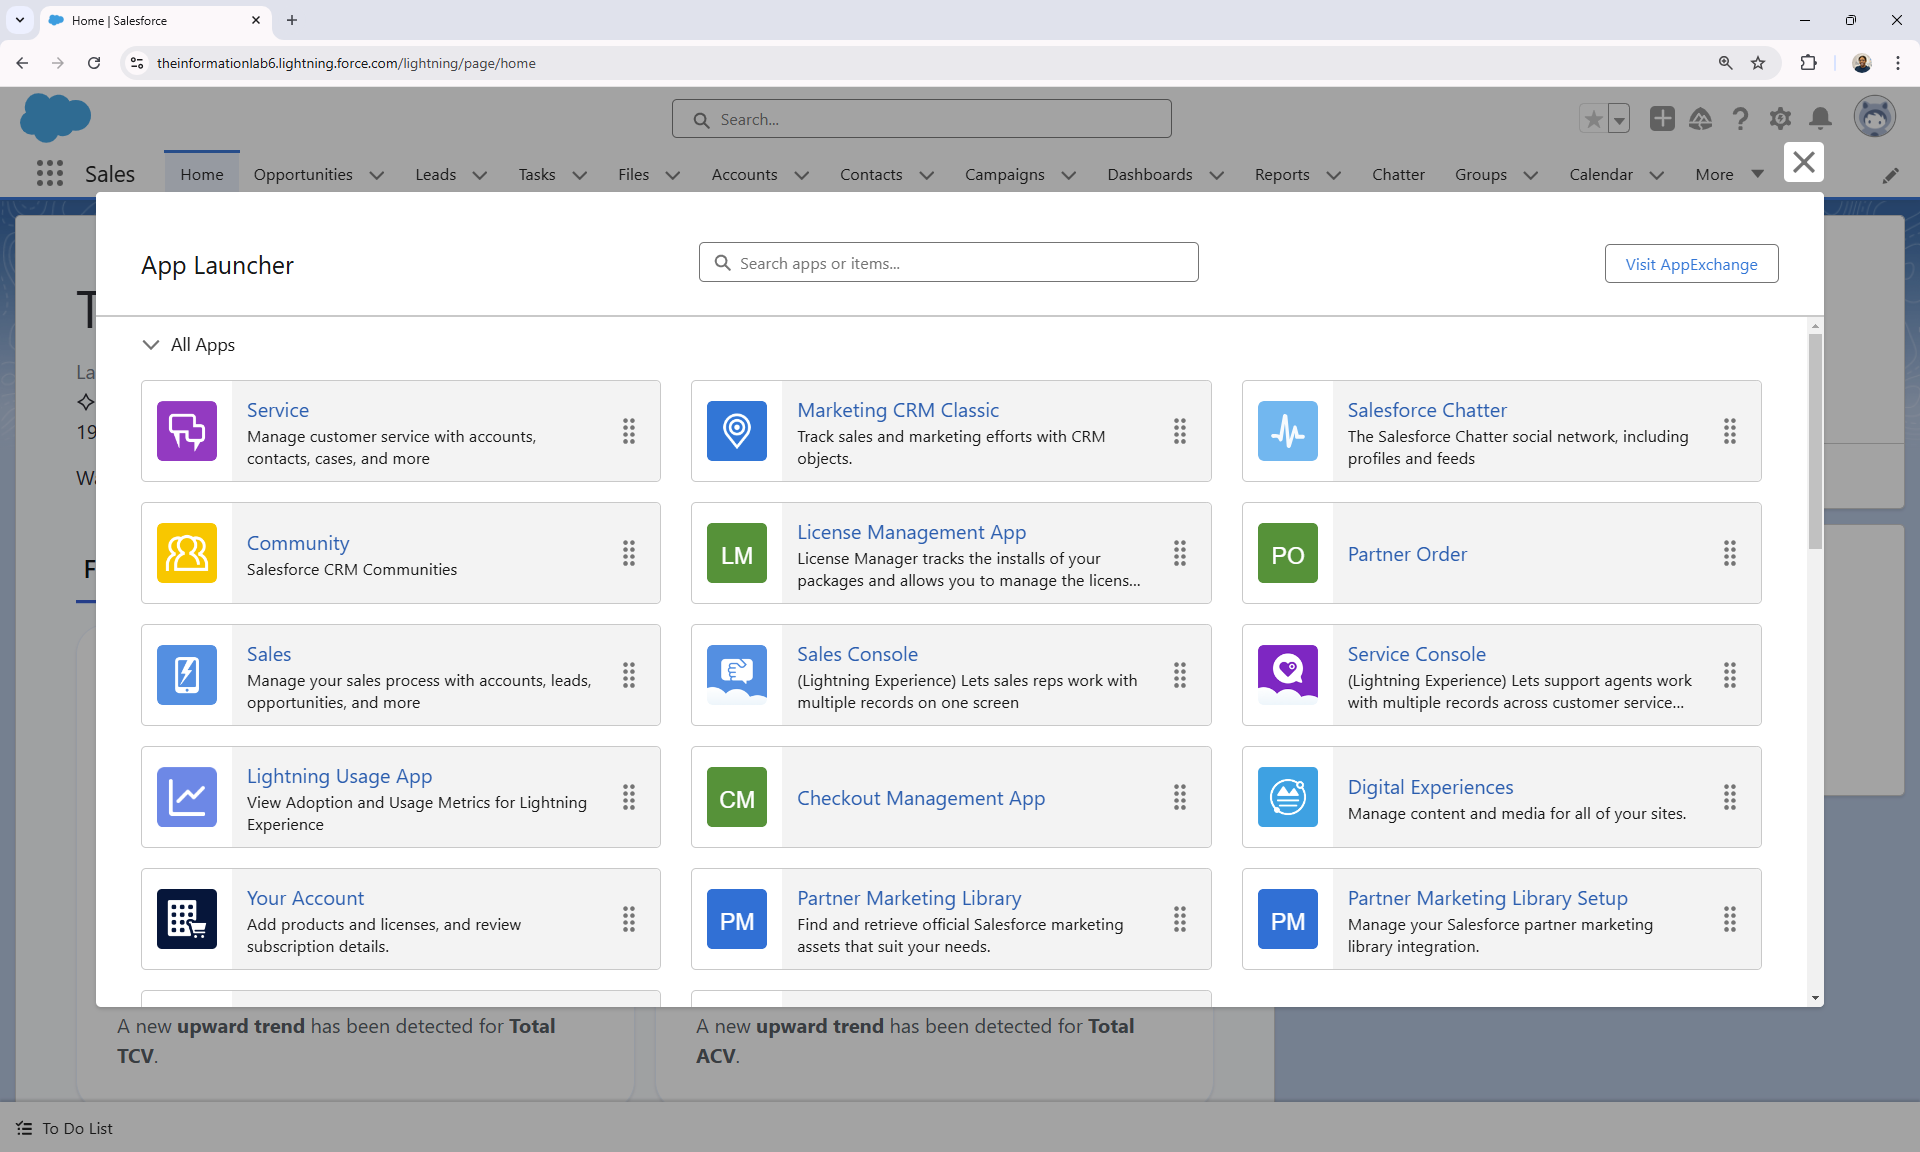
Note: Your profile determines which apps you can view and build. For this tutorial, you will need an admin access in Salesforce and Tableau Cloud.
Create a New Lightning App
- Go to your Salesforce Site. Click the gear icon (⚙️) in the top right header to navigate to Setup.
- Use Quick Find to search for App Manager under Apps.
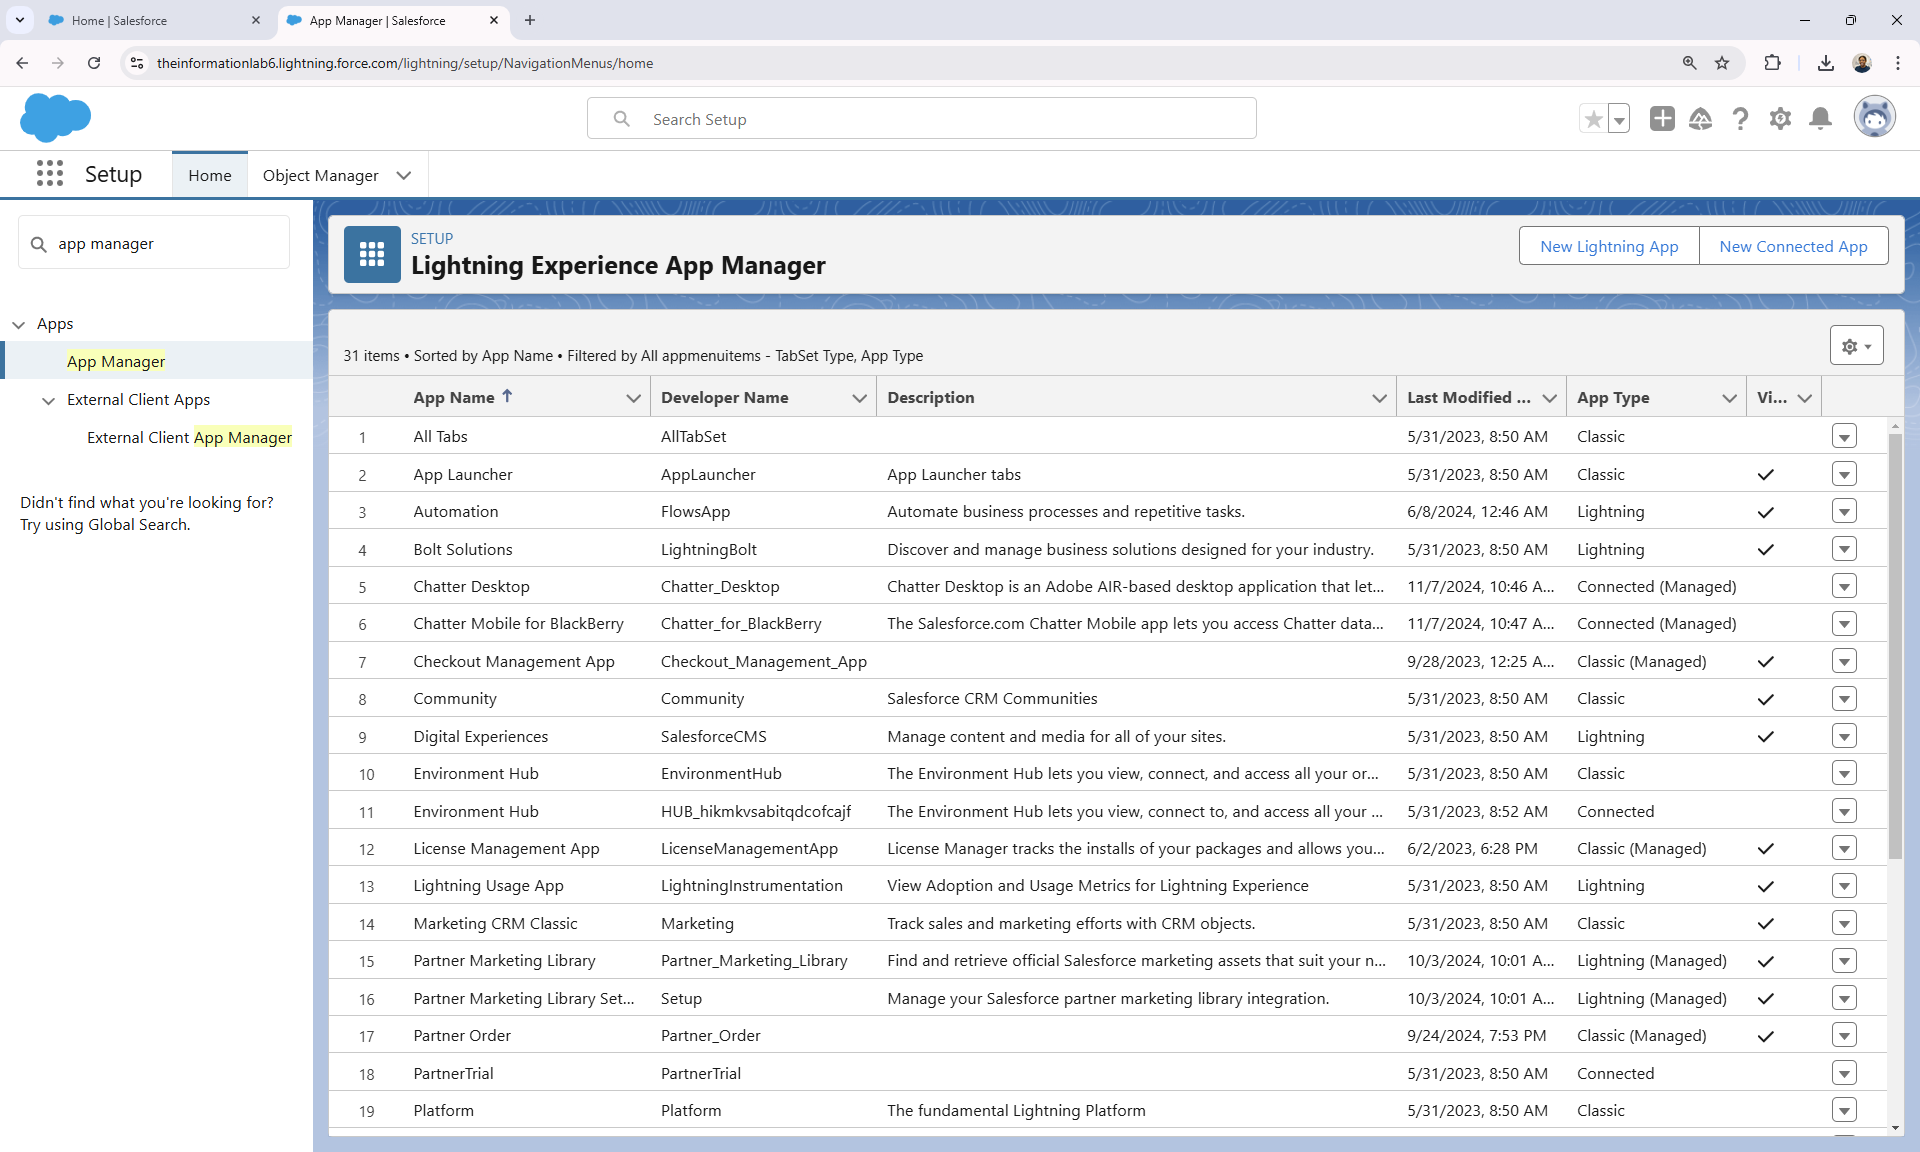
- Create a New Lightning App.
- Enter a descriptive name for the team or department and add any custom branding.
- Keep default app options, utility, and navigation items, unless you know the items you want to include as tabs in your app.
- Choose the user profiles that can access the app.
- Finally, go to the app through the App Launcher. Continue reading for how to add Tableau components to this app.
Connect Tableau Cloud and Salesforce
Tableau has detailed step-by-step instructions to configure Tableau Lightning Web Components and Single Sign-On (SSO) with token authentication.
Note: Connections between Salesforce and Tableau Cloud Dev Sites have not worked in the past. It is recommended that you use active Tableau Cloud and Salesforce instances or Partner site credentials.
Personalize App Home Page
We can create a new view to add to our home page. For this example, we will be embedding a Tableau Dashboard.
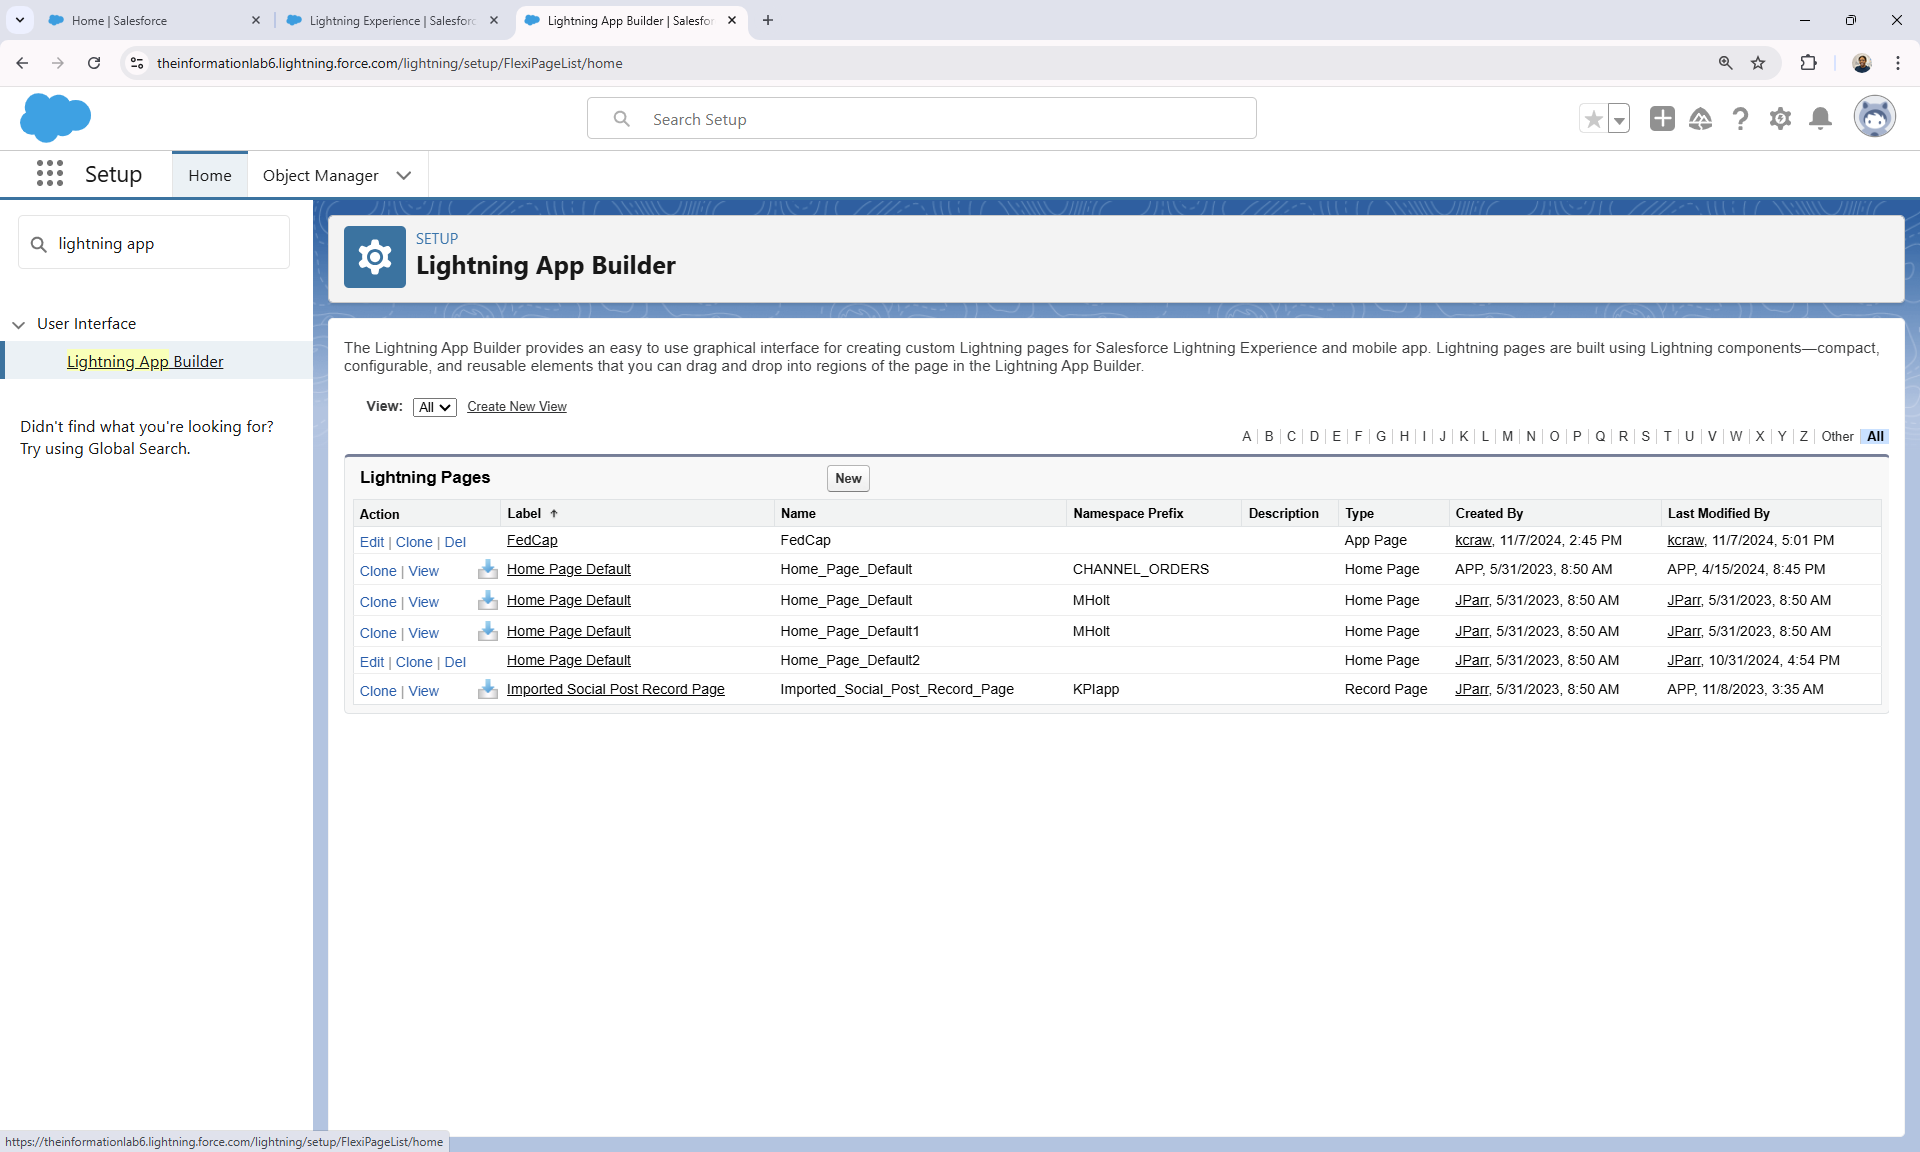
- Go to Setup and search for Lightning App Builder from Quick Find.
- Click New to create a Home Page.
- Search for Tableau in the Components Panel.
- Click and drag the Tableau View Component onto the main canvas.
- Copy/Paste the URL from Tableau cloud to your Tableau dashboard and the Site ID for your organization's Tableau Site.
- Save the page and go to Activation.
- Assign the page as the home page for select apps.
If the activation was successful, then go back to your app. We will need to add the home page to your navigation tabs.
- Click the pencil (✏️) icon to the right of the App name.
- Add more items and search for Home.
You should see something like this:
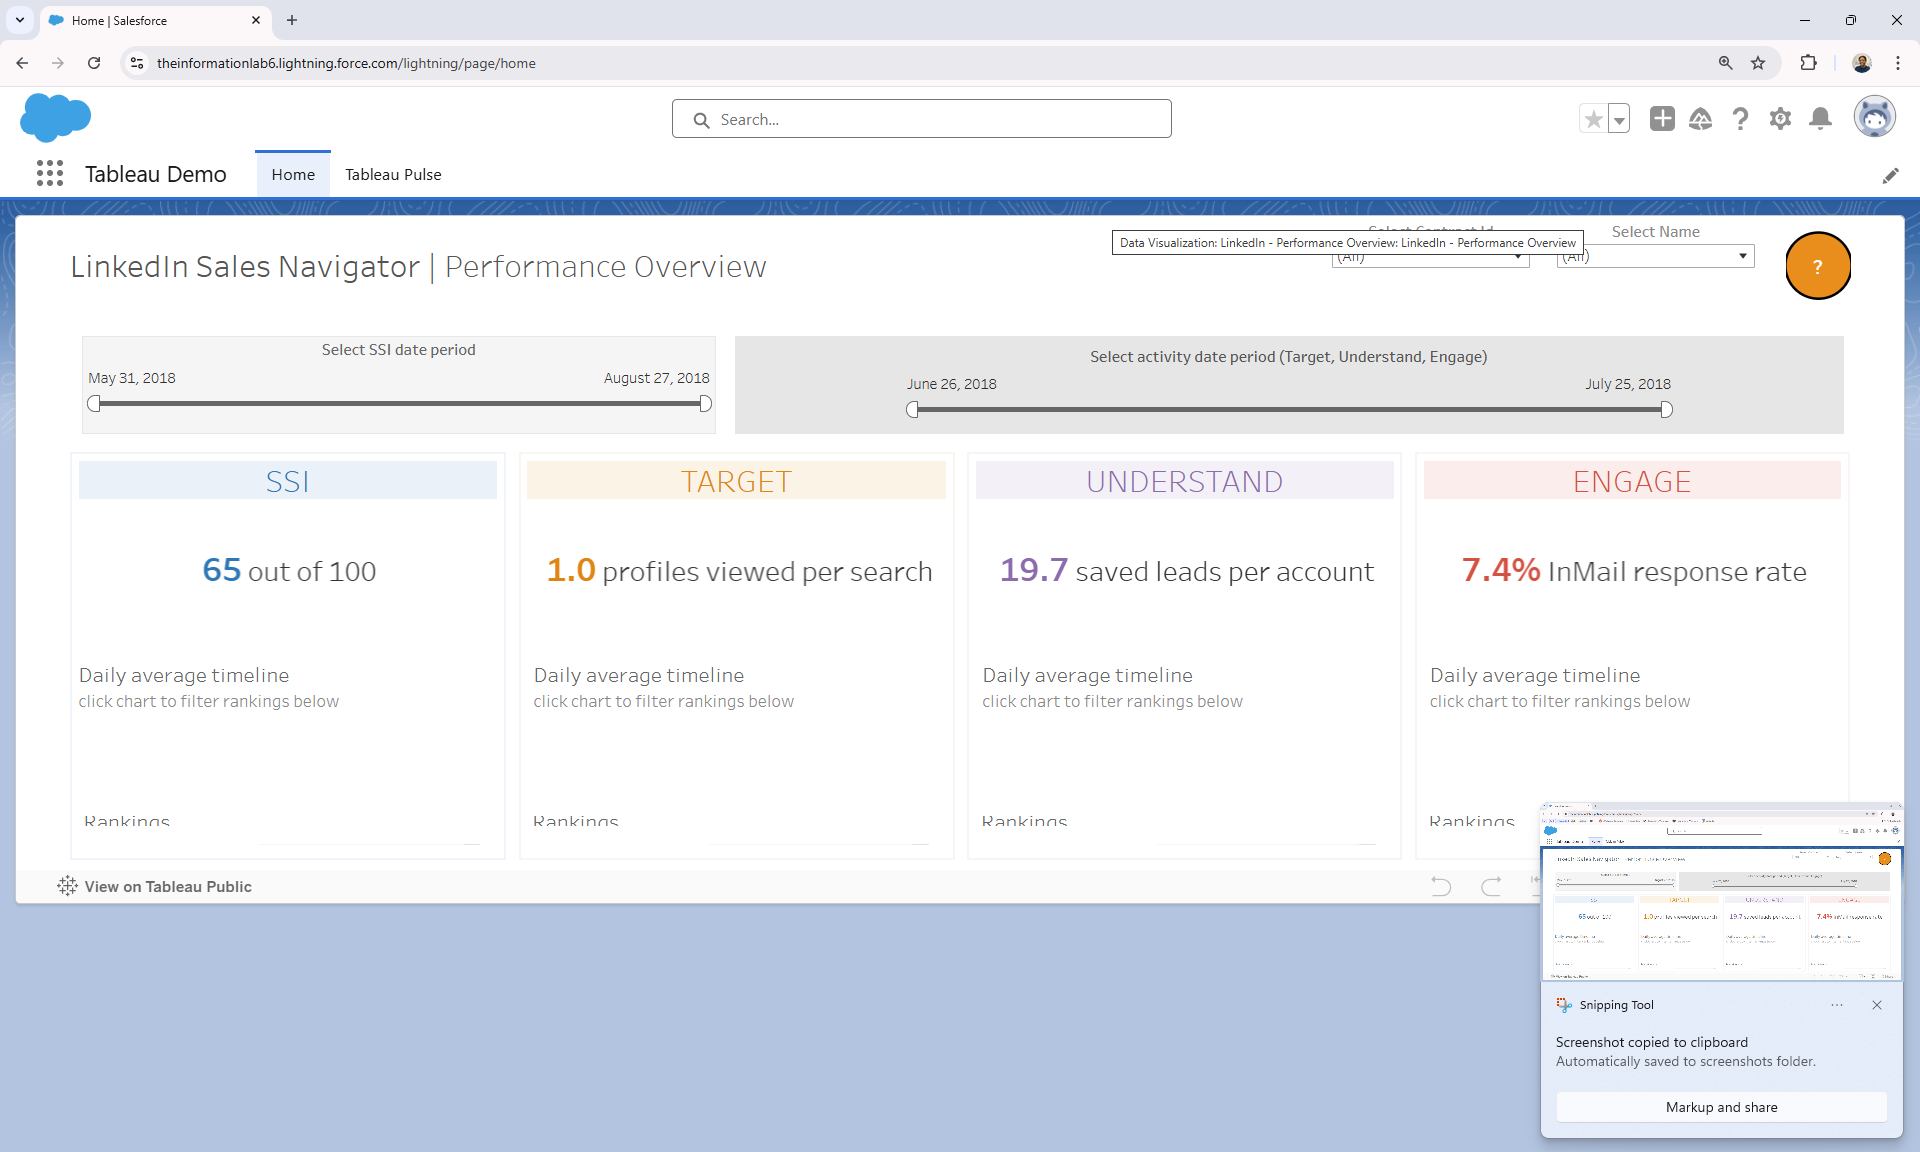
Continue reading to learn how to make mobile-friendly pages.
Create a Mobile App Page for Pulse
You can't access Desktop views from the Mobile App. You must create a phone layout.
Within Lightning App Builder, create a new page. Name it Tableau Pulse with a One Region layout.
You should see a Phone layout selected above the canvas:
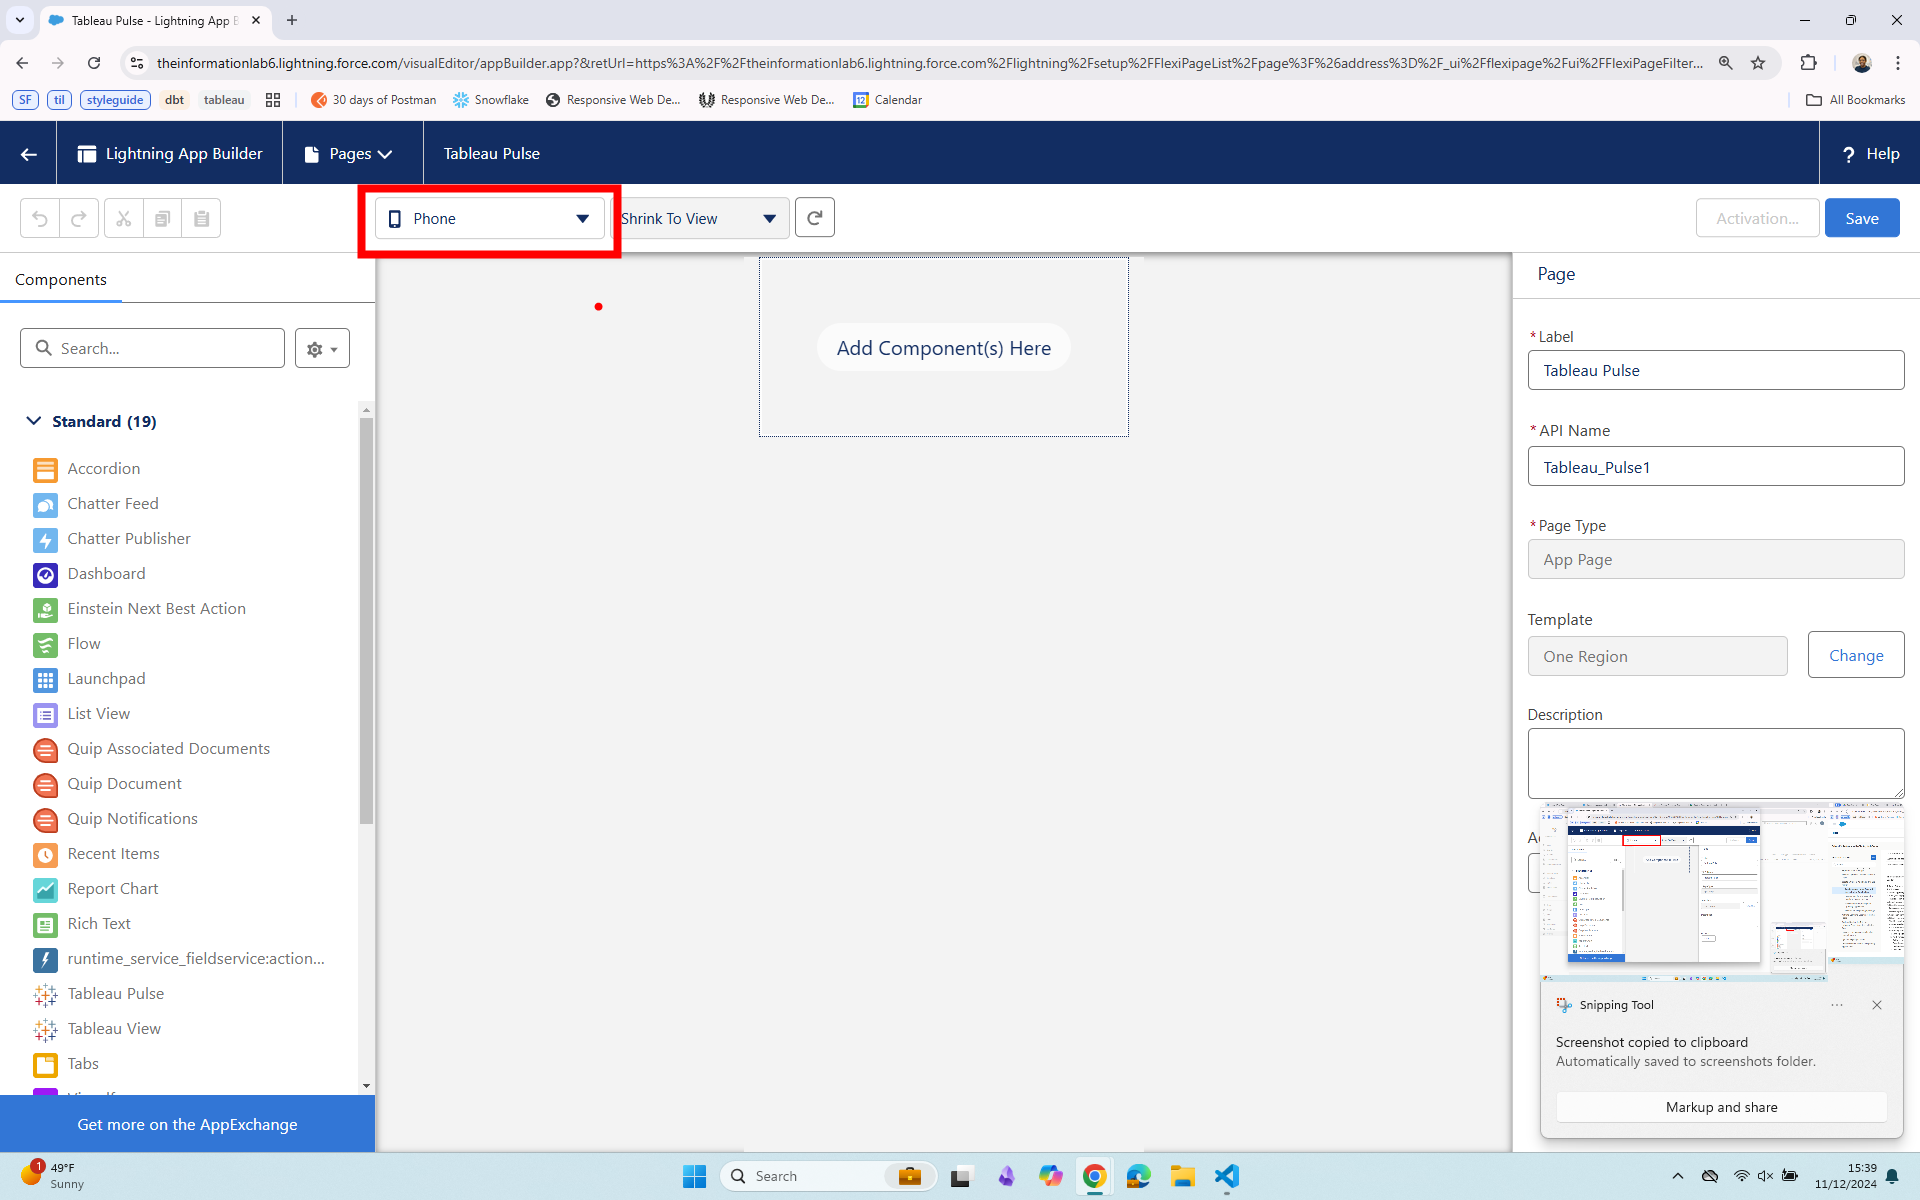
Search for Tableau Pulse component and drag it onto the canvas. Open Tableau Pulse and paste the full URL (including your site name). Open Connected Apps in Tableau Cloud Settings. Find the Salesforce connection (created earlier) and Copy Site ID to paste into the App Setup.
Now, you can move onto adjusting the Activation settings.
- Page Settings: Choose a display name, icon, and manage access.
- Lightning Experience: Add the page to multiple Lightning Apps.
- Mobile Navigation: Add and reorder pages available in the Salesforce App.
Save and get ready to preview the page in the Salesforce Mobile App.
Preview Pulse in the Salesforce Mobile App
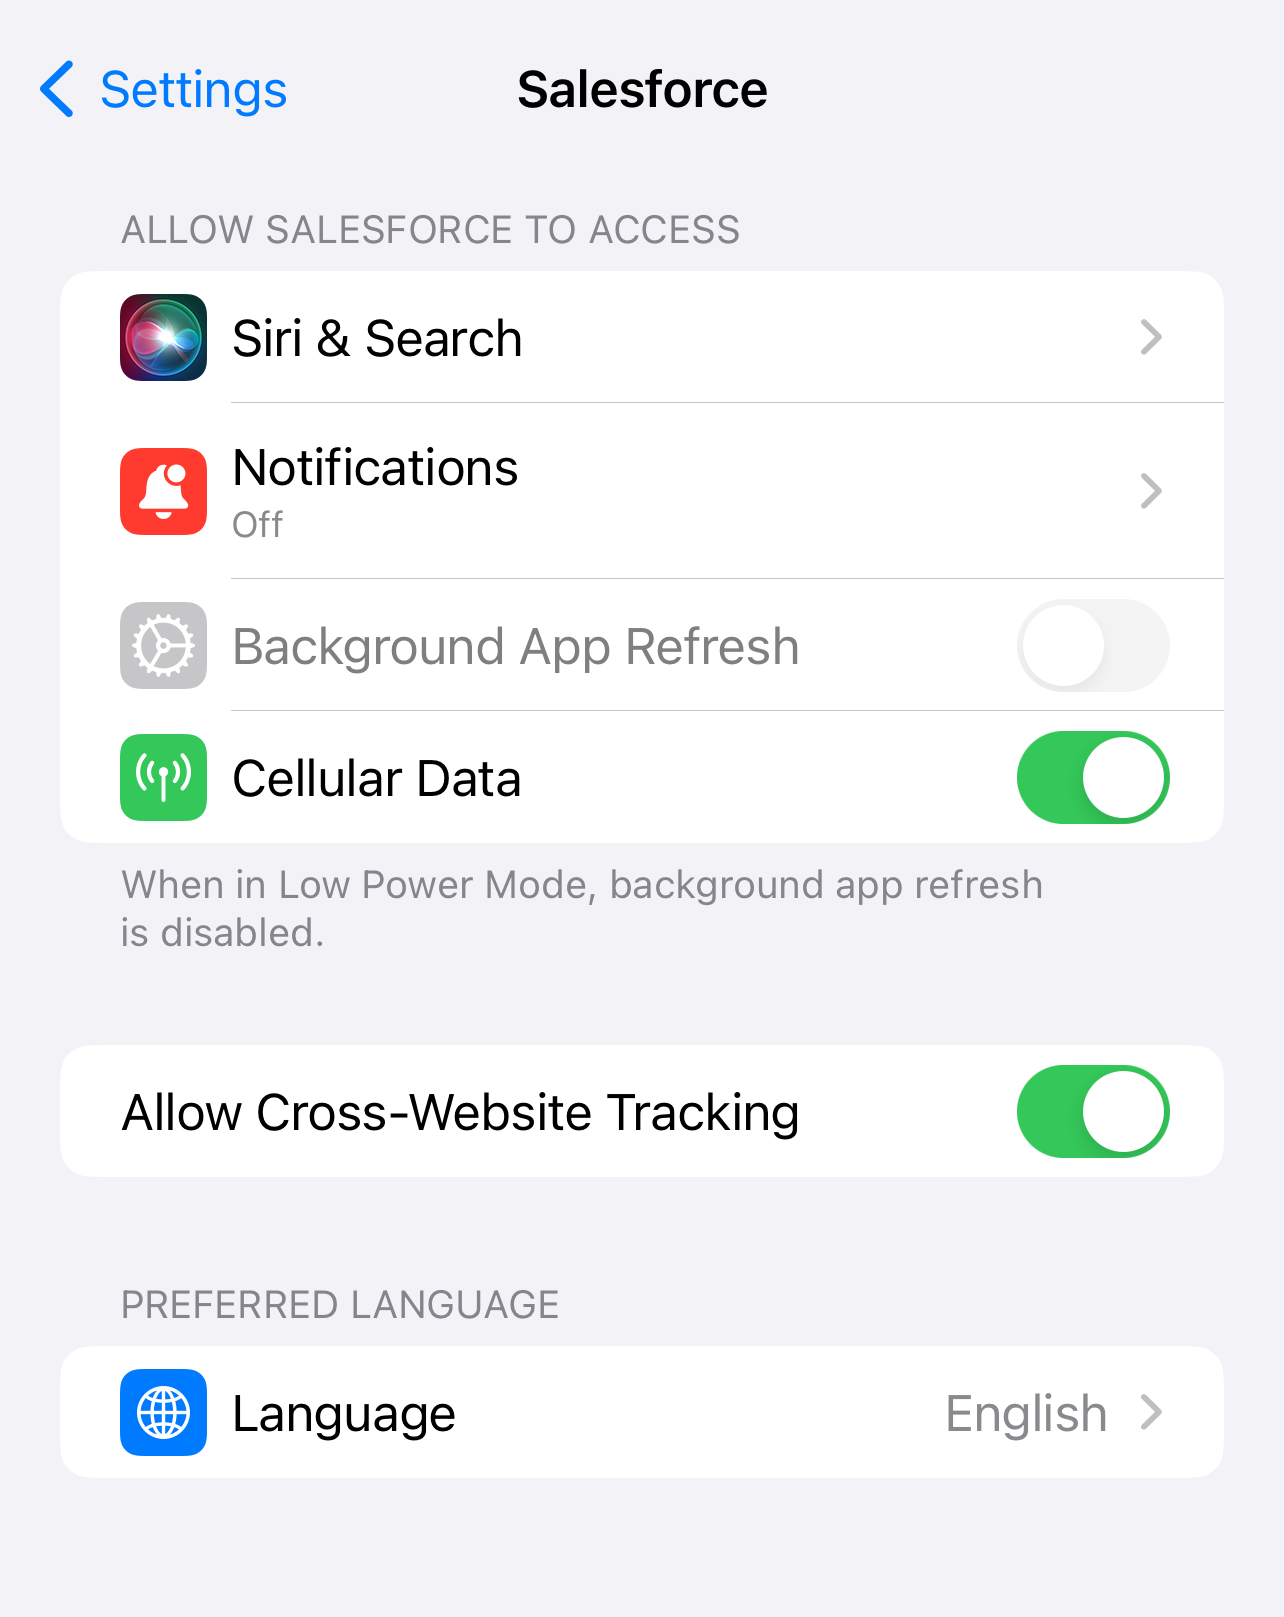
After downloading the Salesforce App, go to your device settings. You will need to Allow Cross-Website Tracking.
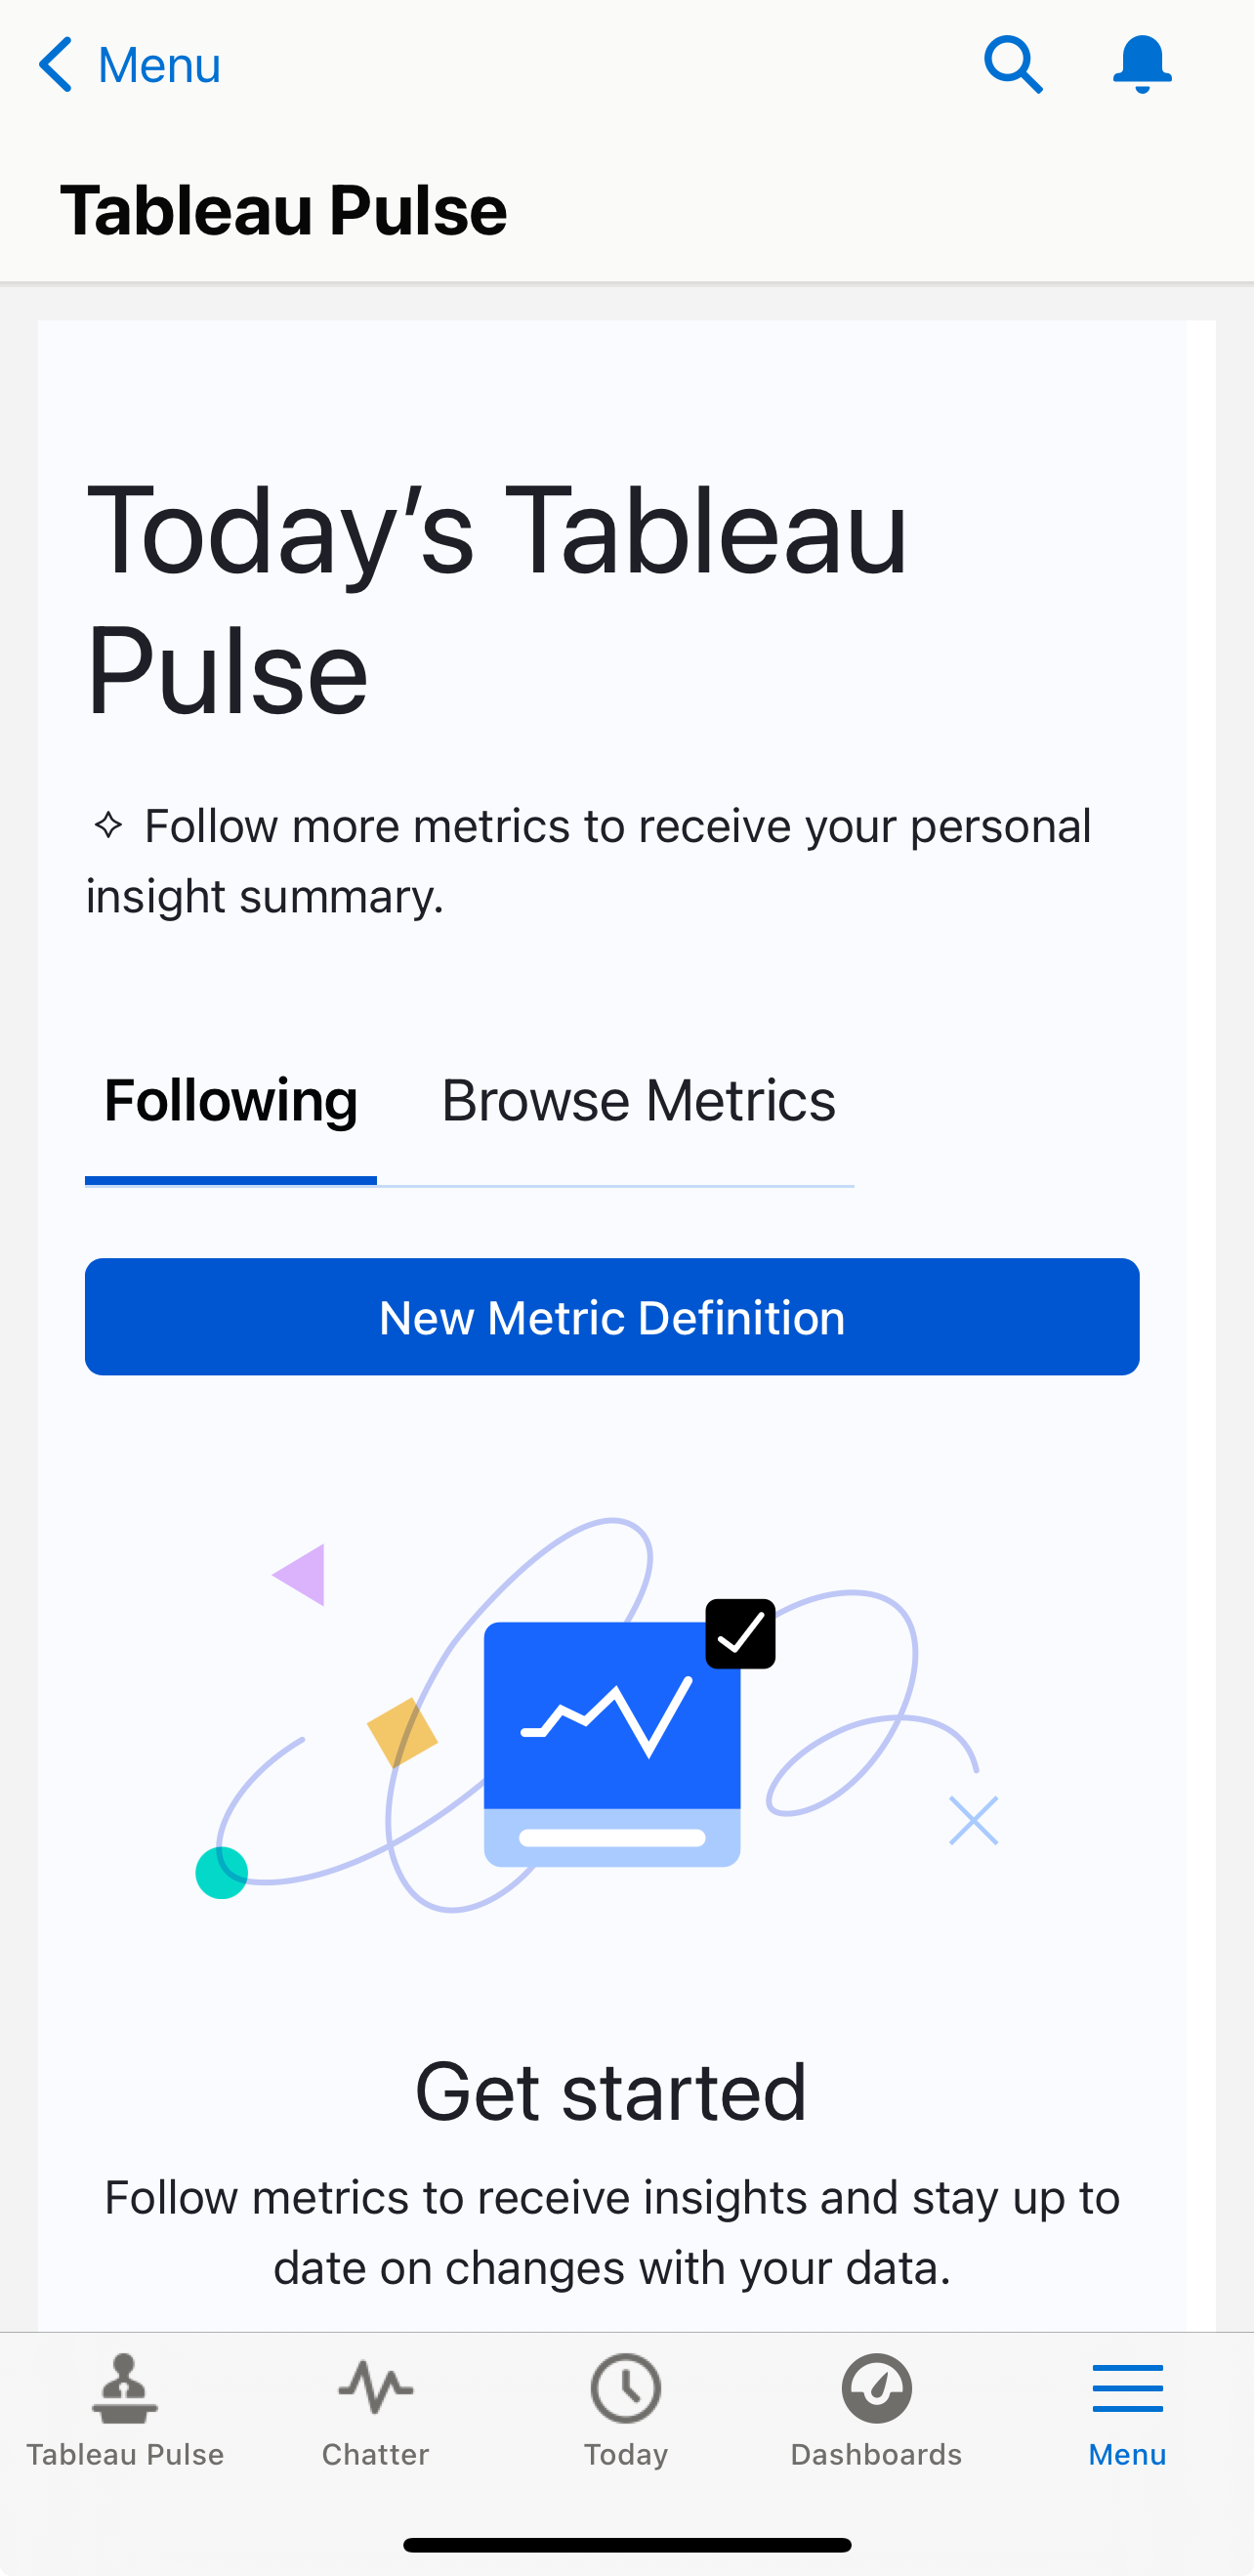
Open the Salesforce App and go to the App Launcher on the Menu page.
Find Mobile Only and you should be able to view your Tableau Pulse app from the navigation menu.
Wrap-up
Having followed these steps, you are all set to customize Salesforce Desktop and Mobile!
