Pre-requisites
- Data stored in an S3 bucket.
- Access to an AWS console.
- Be clear on the scope of your environment for IAM setup.
This tutorial will help you to stand-up a testing environment and use Amazon's Query Editor v2.
I.
Customize a Serverless Redshift Warehouse
Sign into the Amazon Redshift console at https://console.aws.amazon.com/redshiftv2
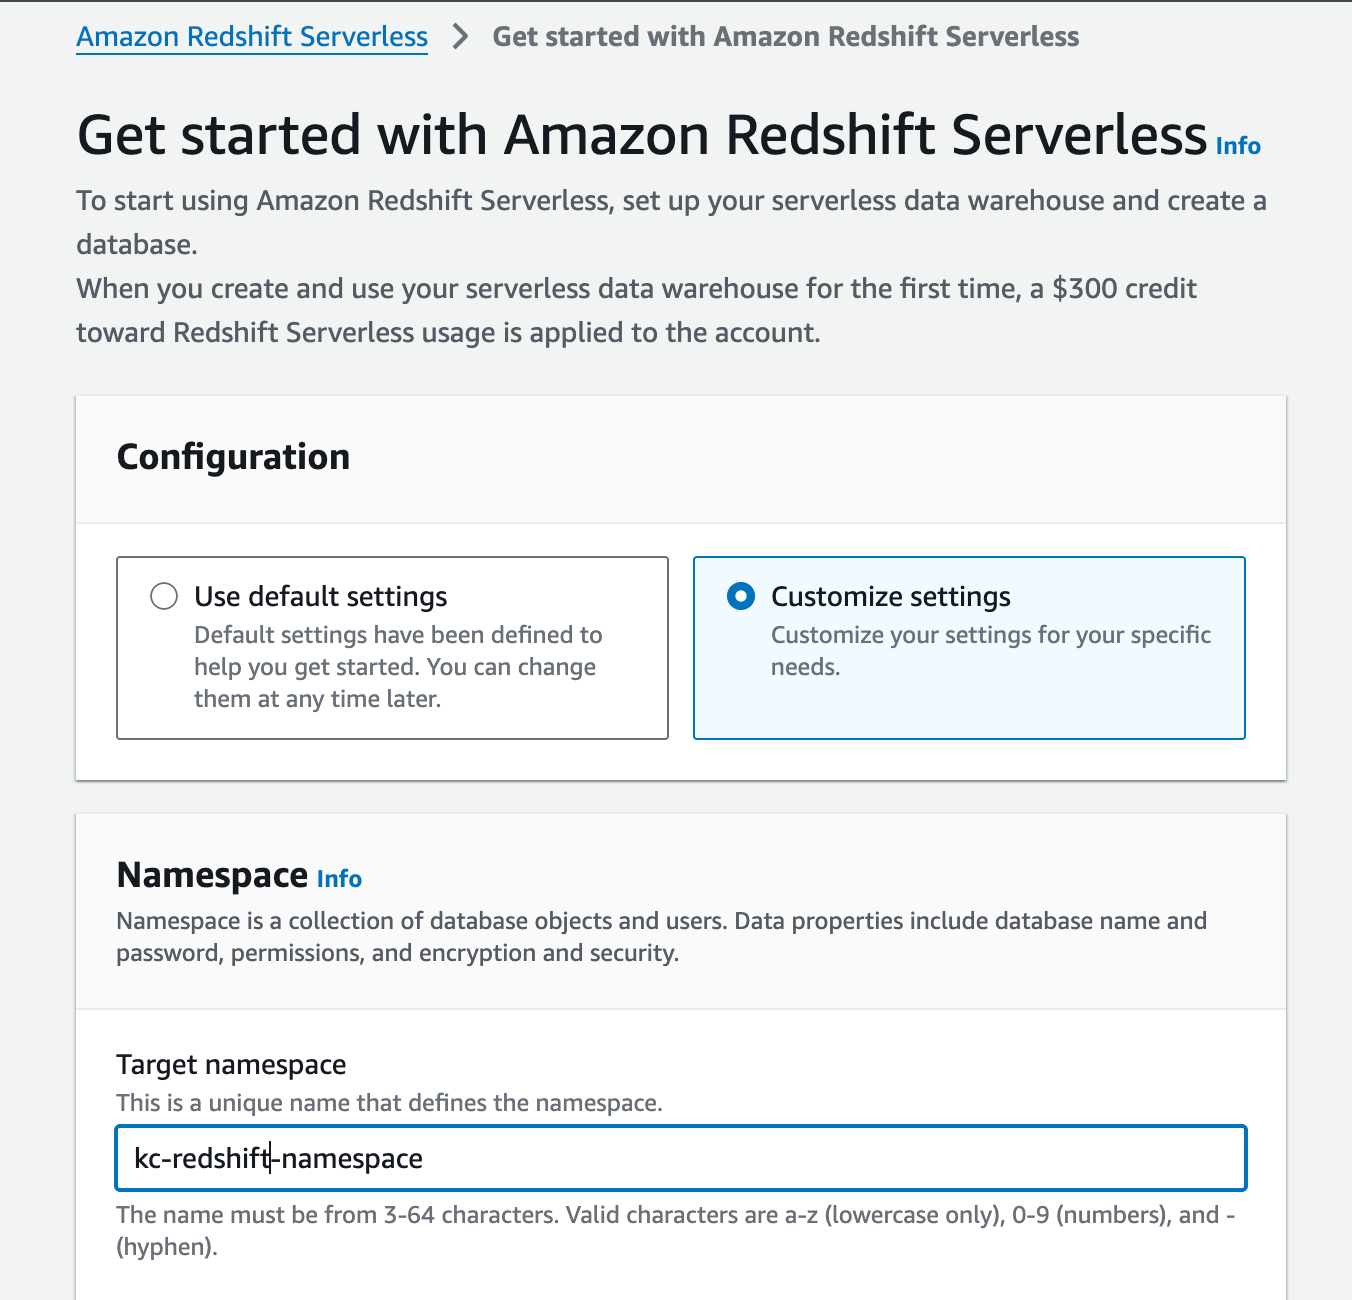
Under Configuration, choose Customize settings. Use a meaningful namespace convention, like <your initials>-<project name>-namespace
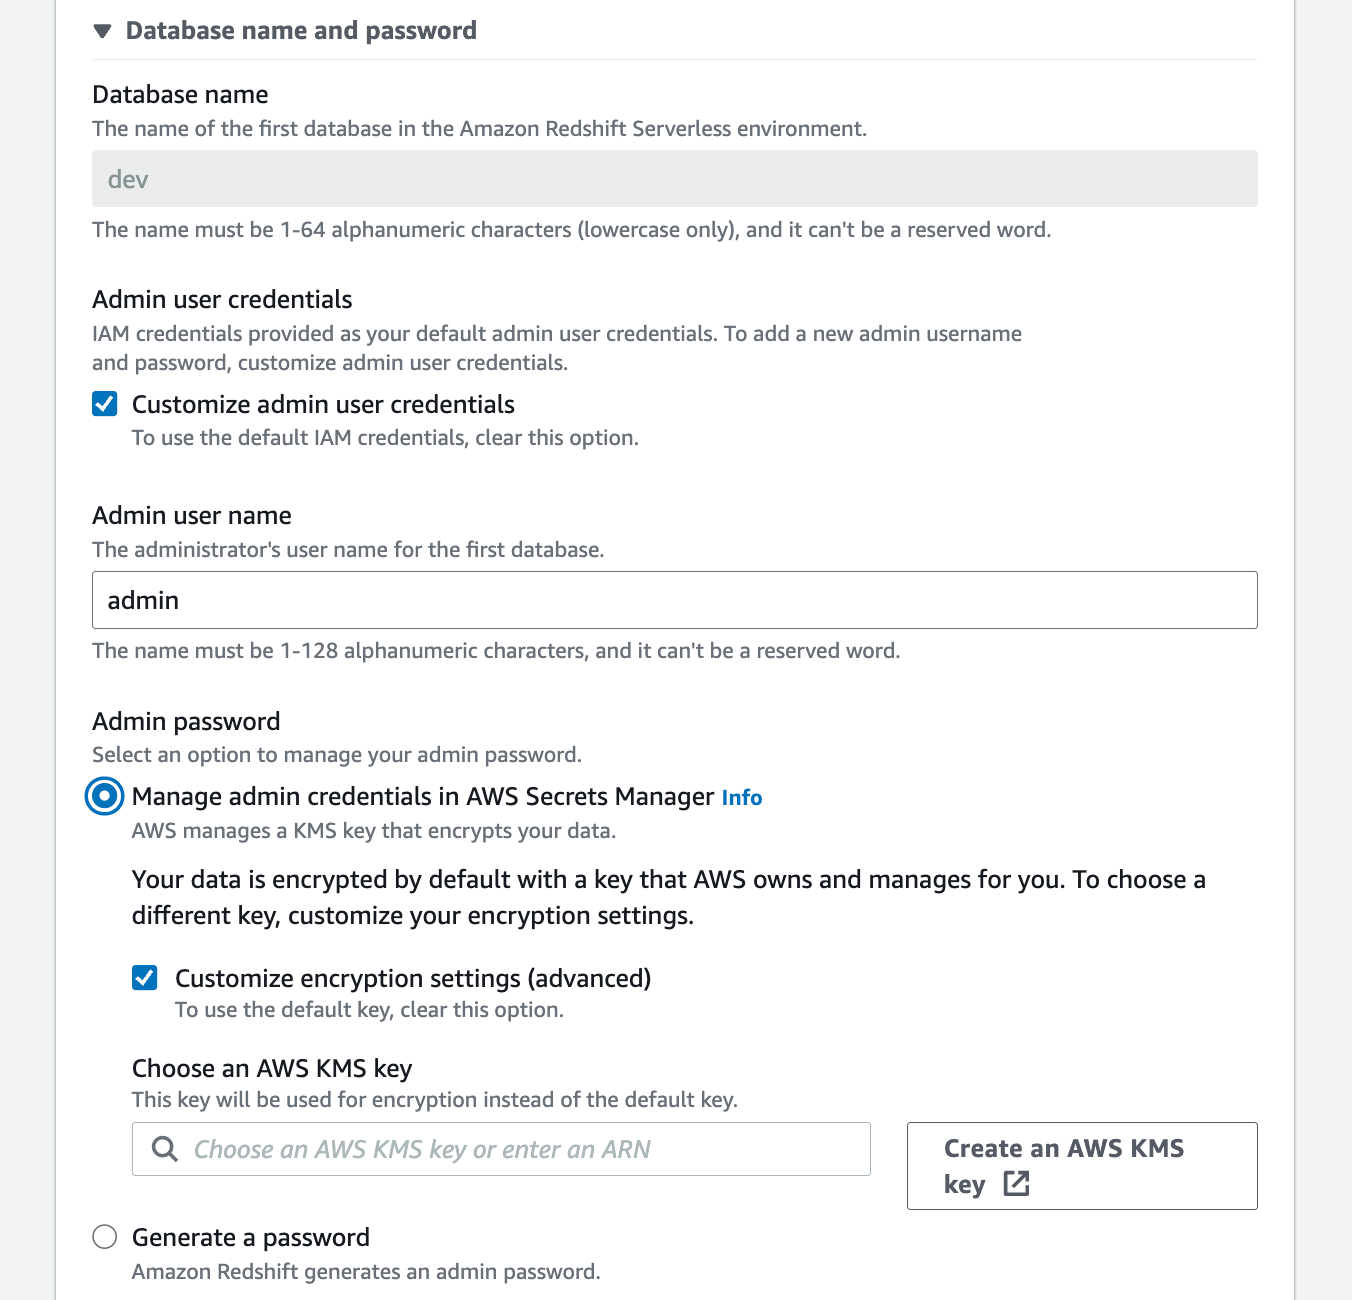
Creating custom Admin user credentials is an essential security best practice. If you do not specify Admin credentials, the current user becomes the default admin user. Instead of hard-coded credentials, we can integrate Amazon Redshift with AWS Secrets Manager to reduce risk. This integration allows you to:
- Generate and manage admin credentials inside an encrypted secret
- Replace admin passwords with an API call
- Programmatically retrieve admin credentials
The default key if fine for testing proof of concepts. If you choose to customize encryption settings, create an AWS KMS key to separate the duties of managing Redshift and permission control.
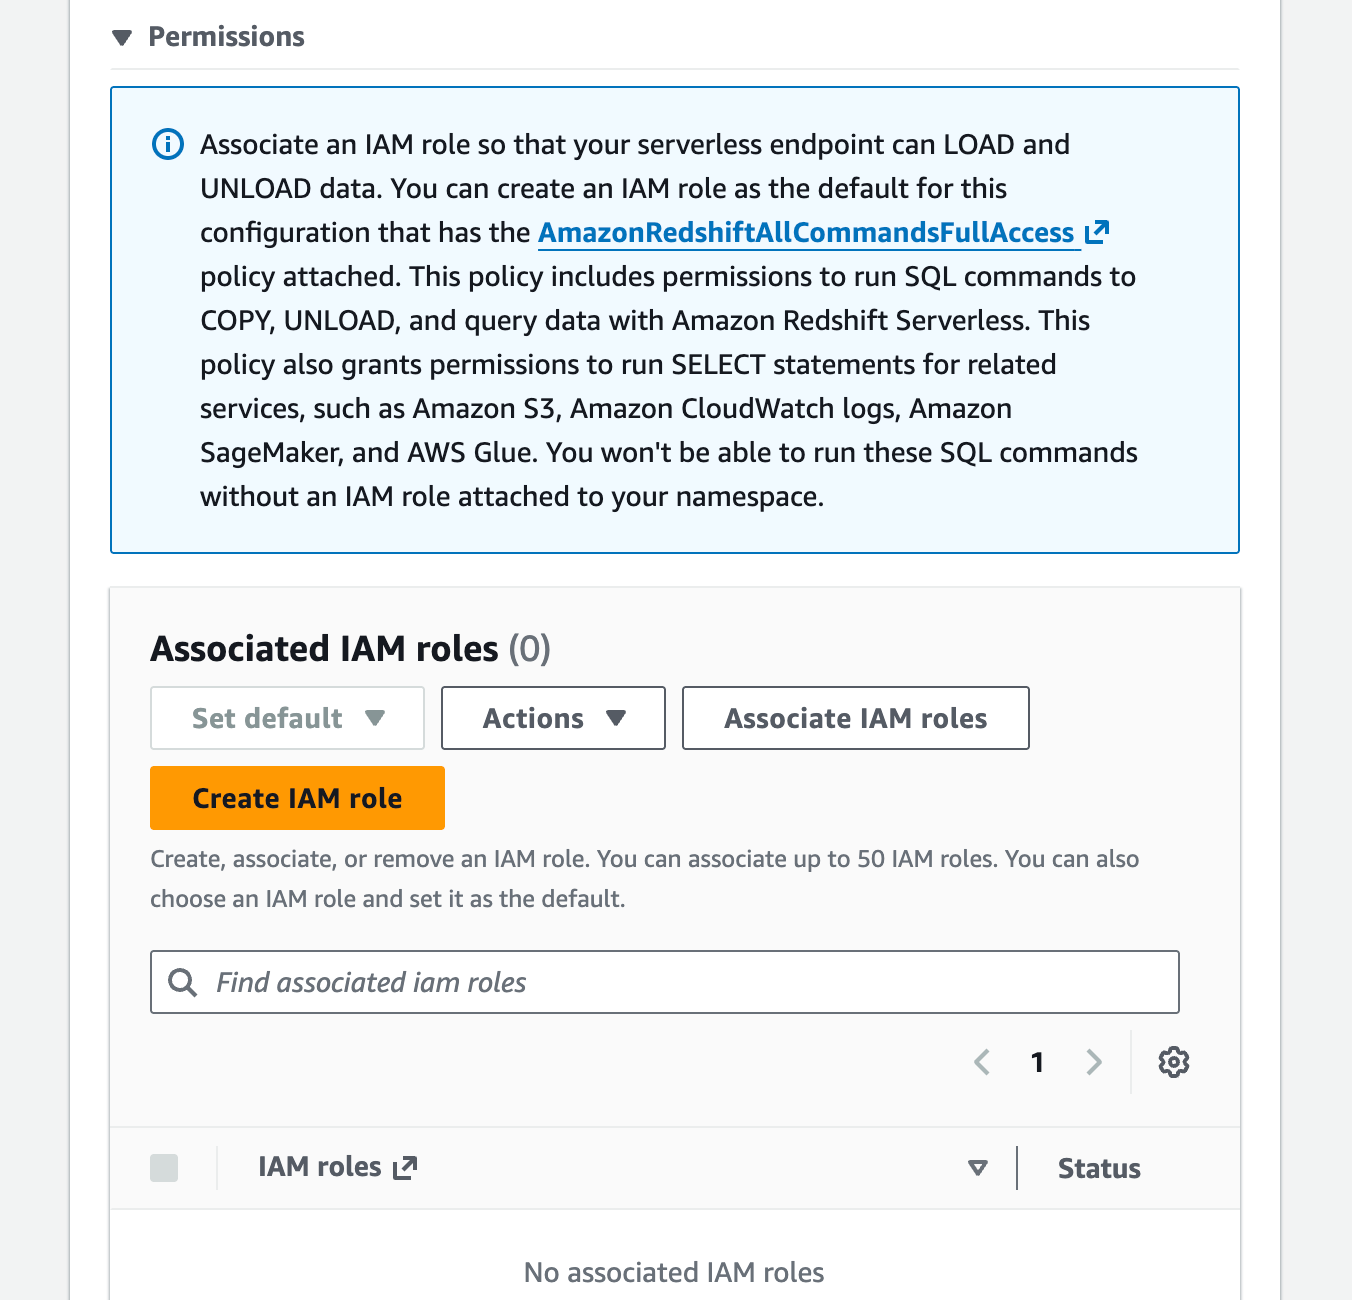
We will not be associating a global role for Redshift. Later, we will opt for roles to control access at the application level.
Use the same naming conventions from the namespace (<your initials>-<project name>-workgroup) to make add a workgroup. This will group together compute resources like RPUs, VPC subnet groups, security groups, and a Redshift endpoint. For the testing environment, the base capacity and default configurations are fine. No need to use extra compute at this time, either.6. Save the configuration. It may take a few minutes to continue.
II.
Manage IAM Roles for Service Integrations
From the Redshift Console, go to the designated namespace and manage IAM roles from the Security and encryption tab.
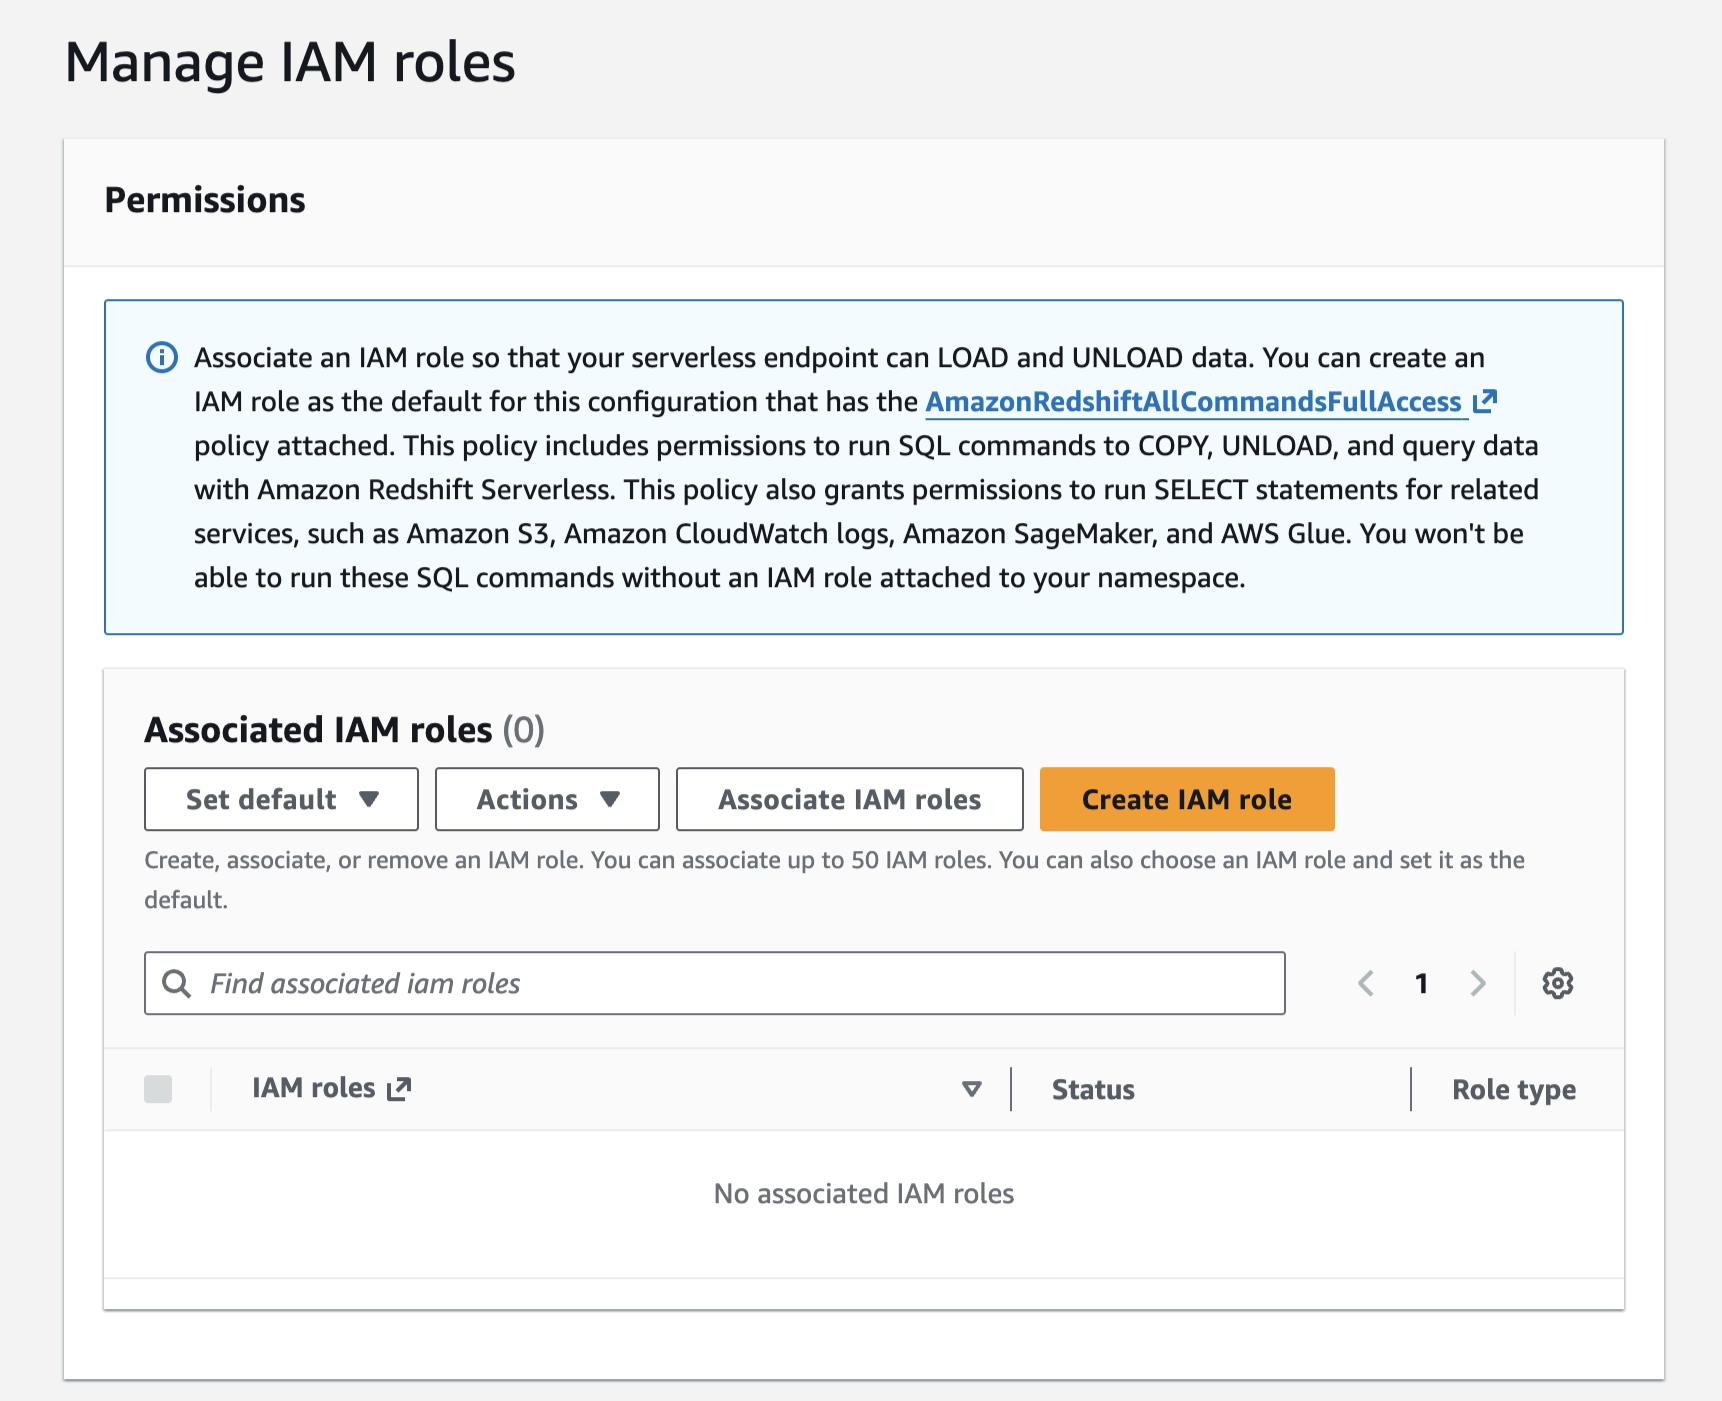
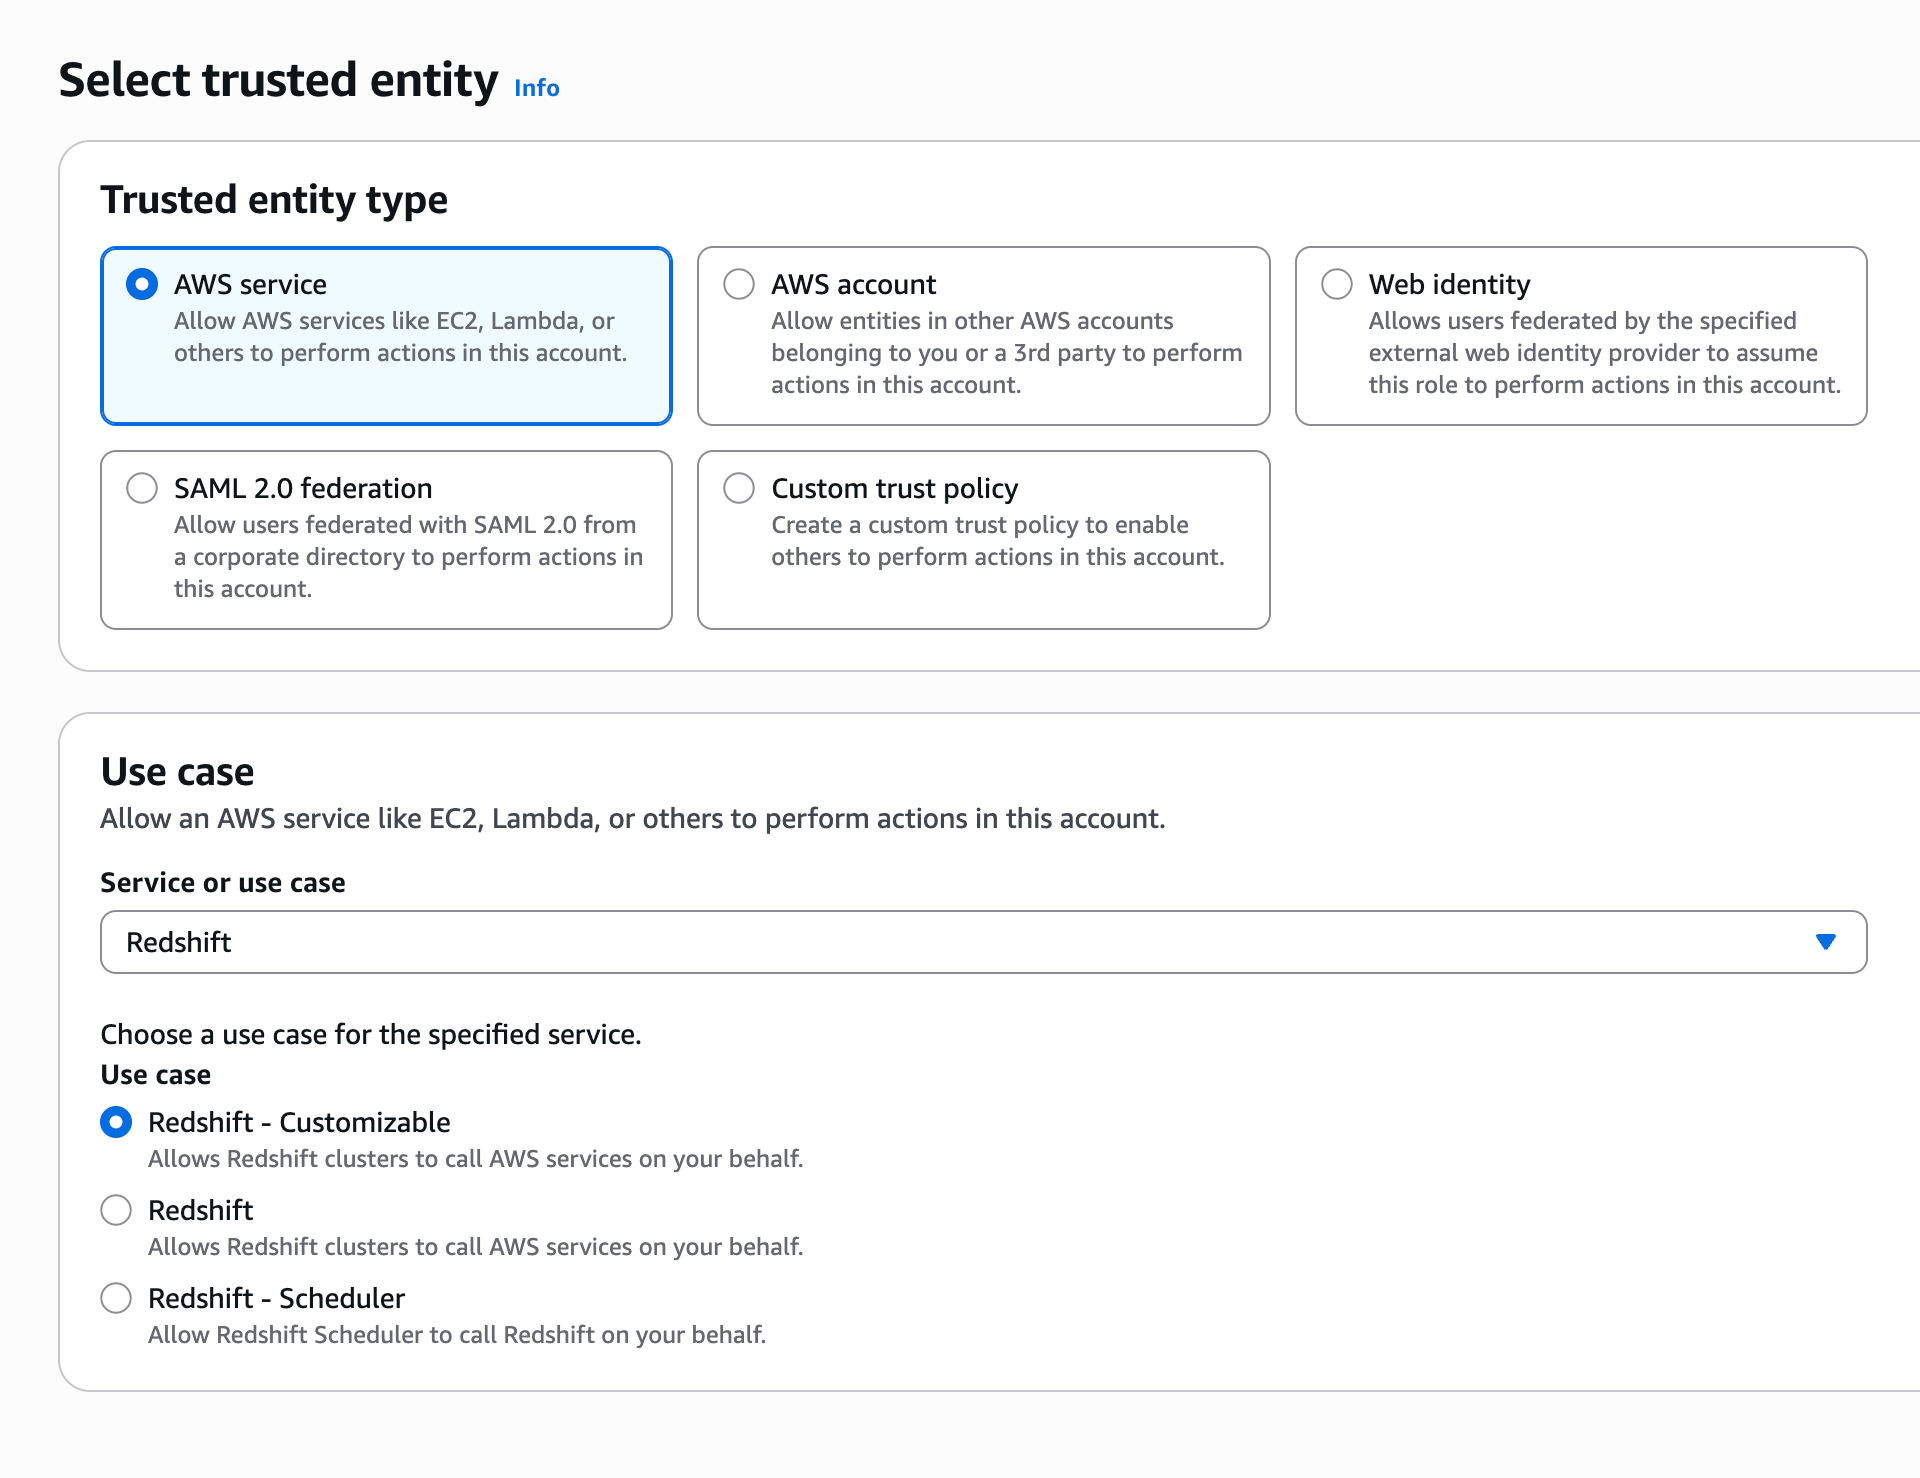
You will need to create an IAM Role with the correct access policies.
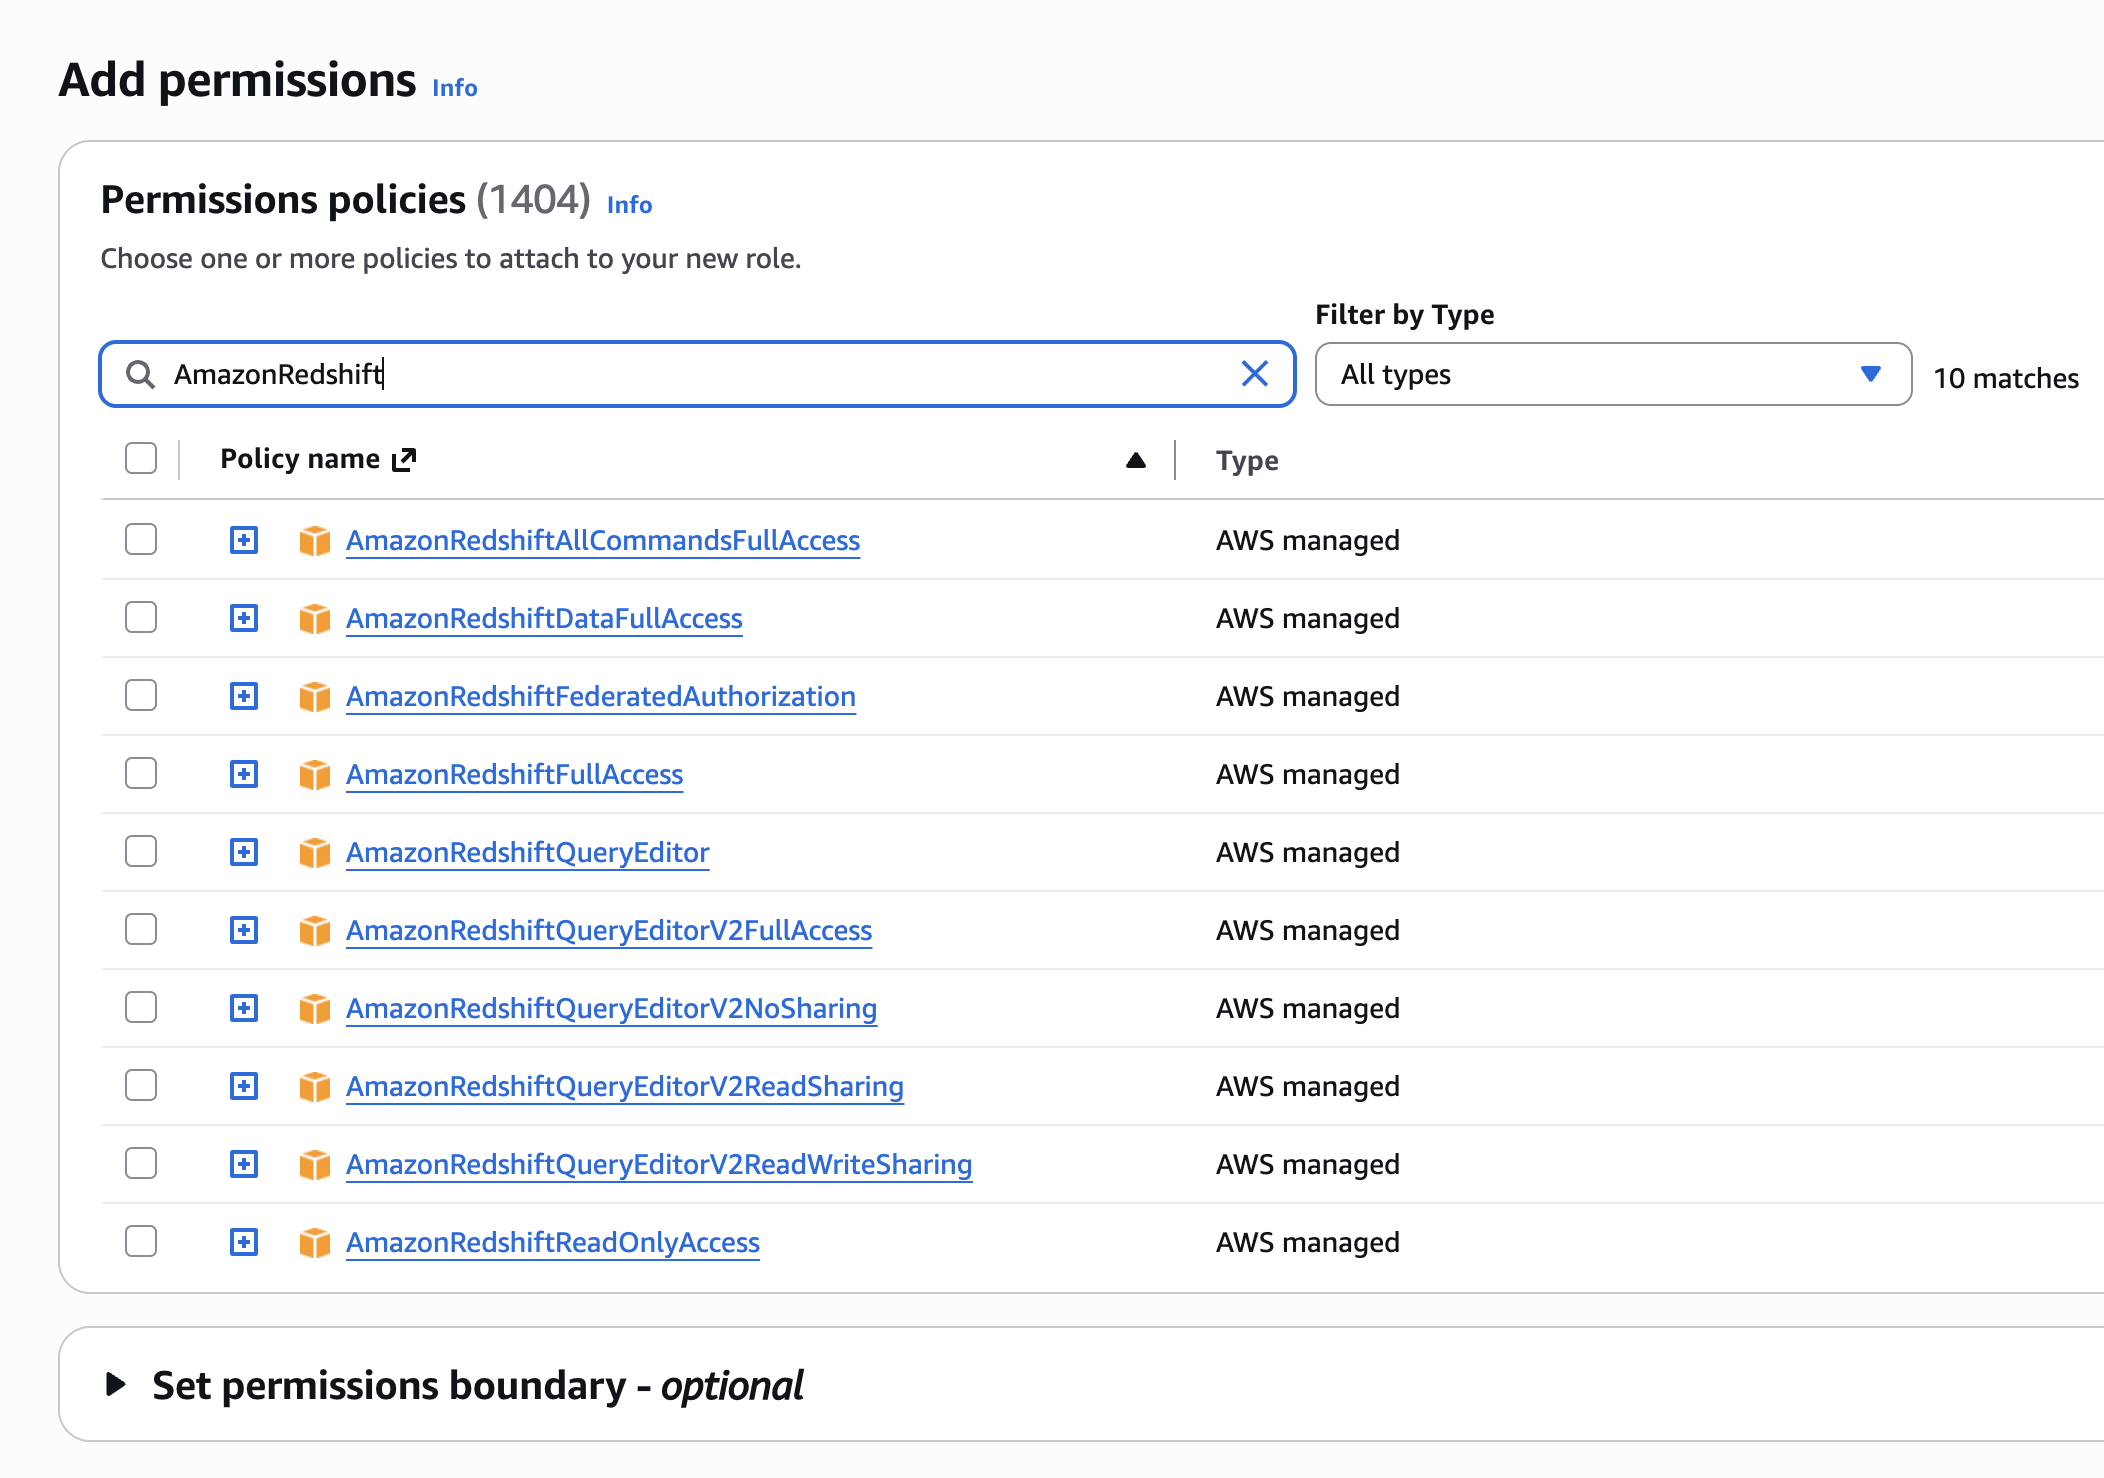
There are many Amazon Redshift permission policies managed by AWS. It’s recommended that we use the `AmazonRedshiftAllCommandsFullAccess` policy.
Once the role has been created, go to its main page. Create an inline policy using the JSON below.

{
  "Version": "2012-10-17",
  "Statement": [
     {
       "Sid": "VisualEditor0",
       "Effect": "Allow",
       "Action": [
         "s3:GetObject",
         "s3:GetBucketLocation"
       ],
       "Resource": "arn:aws:s3:::kc-superstore-bucket/*"
     },
     {
       "Sid": "VisualEditor1",
       "Effect": "Allow",
       "Action": "s3:ListBucket",
       "Resource": "arn:aws:s3:::kc-superstore-bucket"
     }
   ]
}
AWS IAM S3 policy in the format published on 2012-10-17
Now, you’re ready to load and query data with Redshift stood up and an IAM role connecting the service to other data storage services, like S3.
III.
Load Sample Data
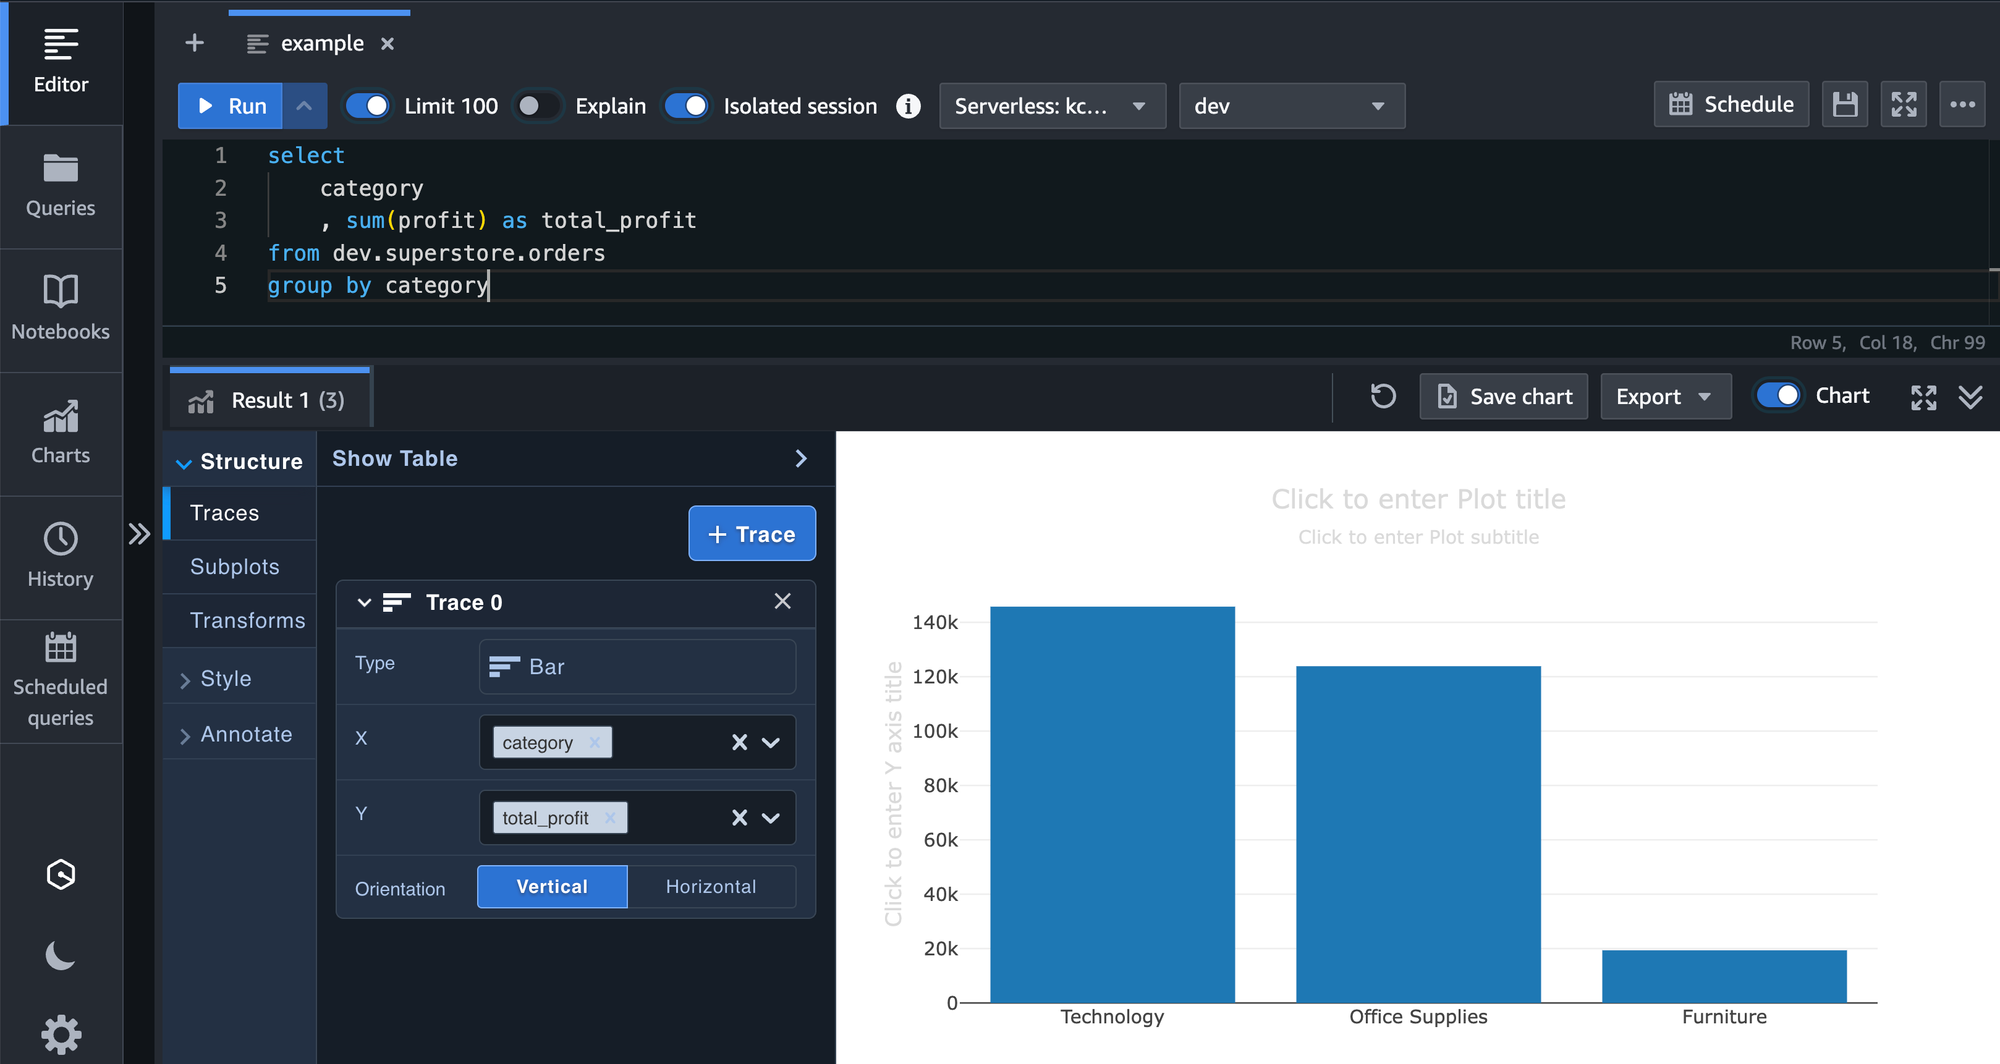
The Query Editor is an IDE where you can create database schemas, objects, and user-defined functions.
From the Redshift console, go to Query Editor v2.
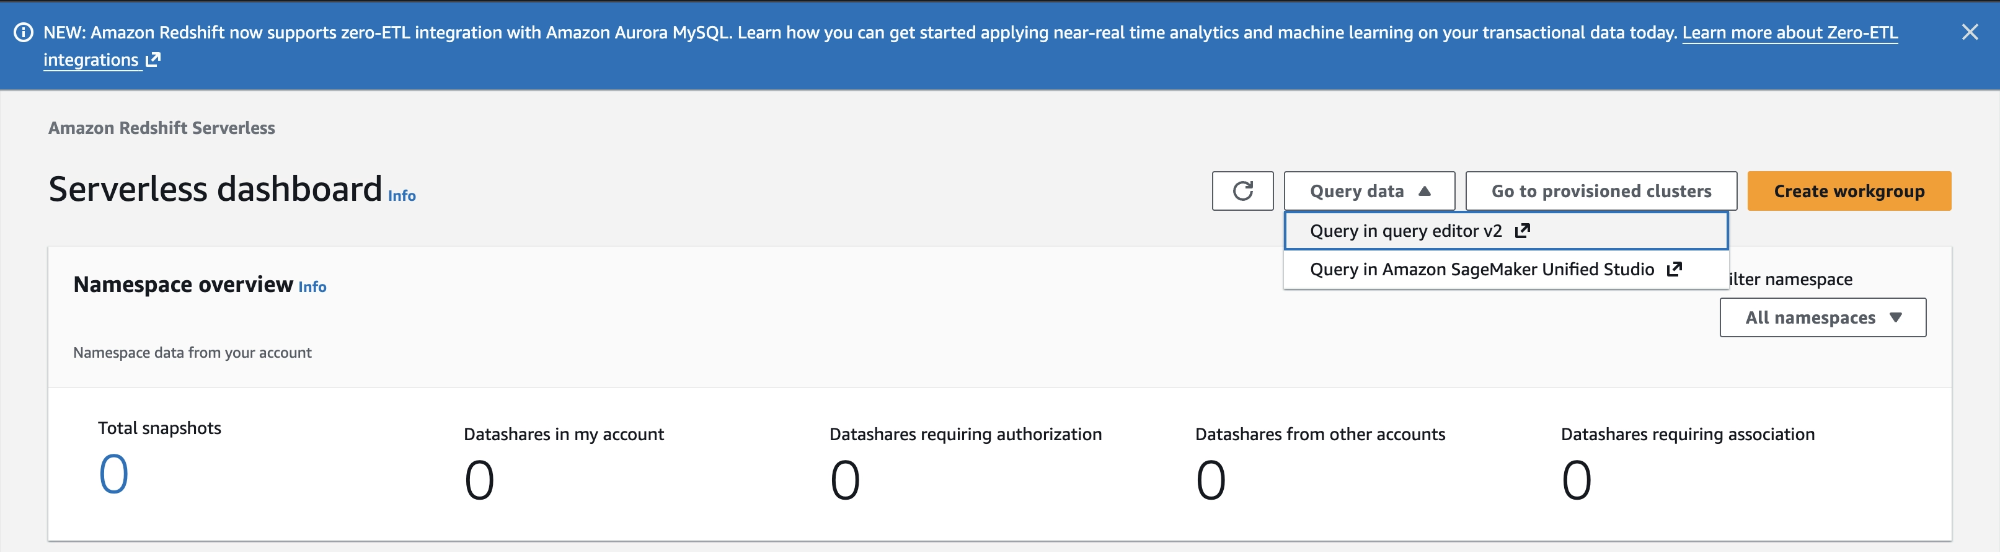
You have a few options for creating a database:
- Use the sample_data_dev databases
- Load data from a local file- Setup IAM credentials to connect external databases
It is also recommended that you create a schema before loading in data.
Redshift uses the COPY command to load data from S3. This means we need to create a new table to copy data into it.
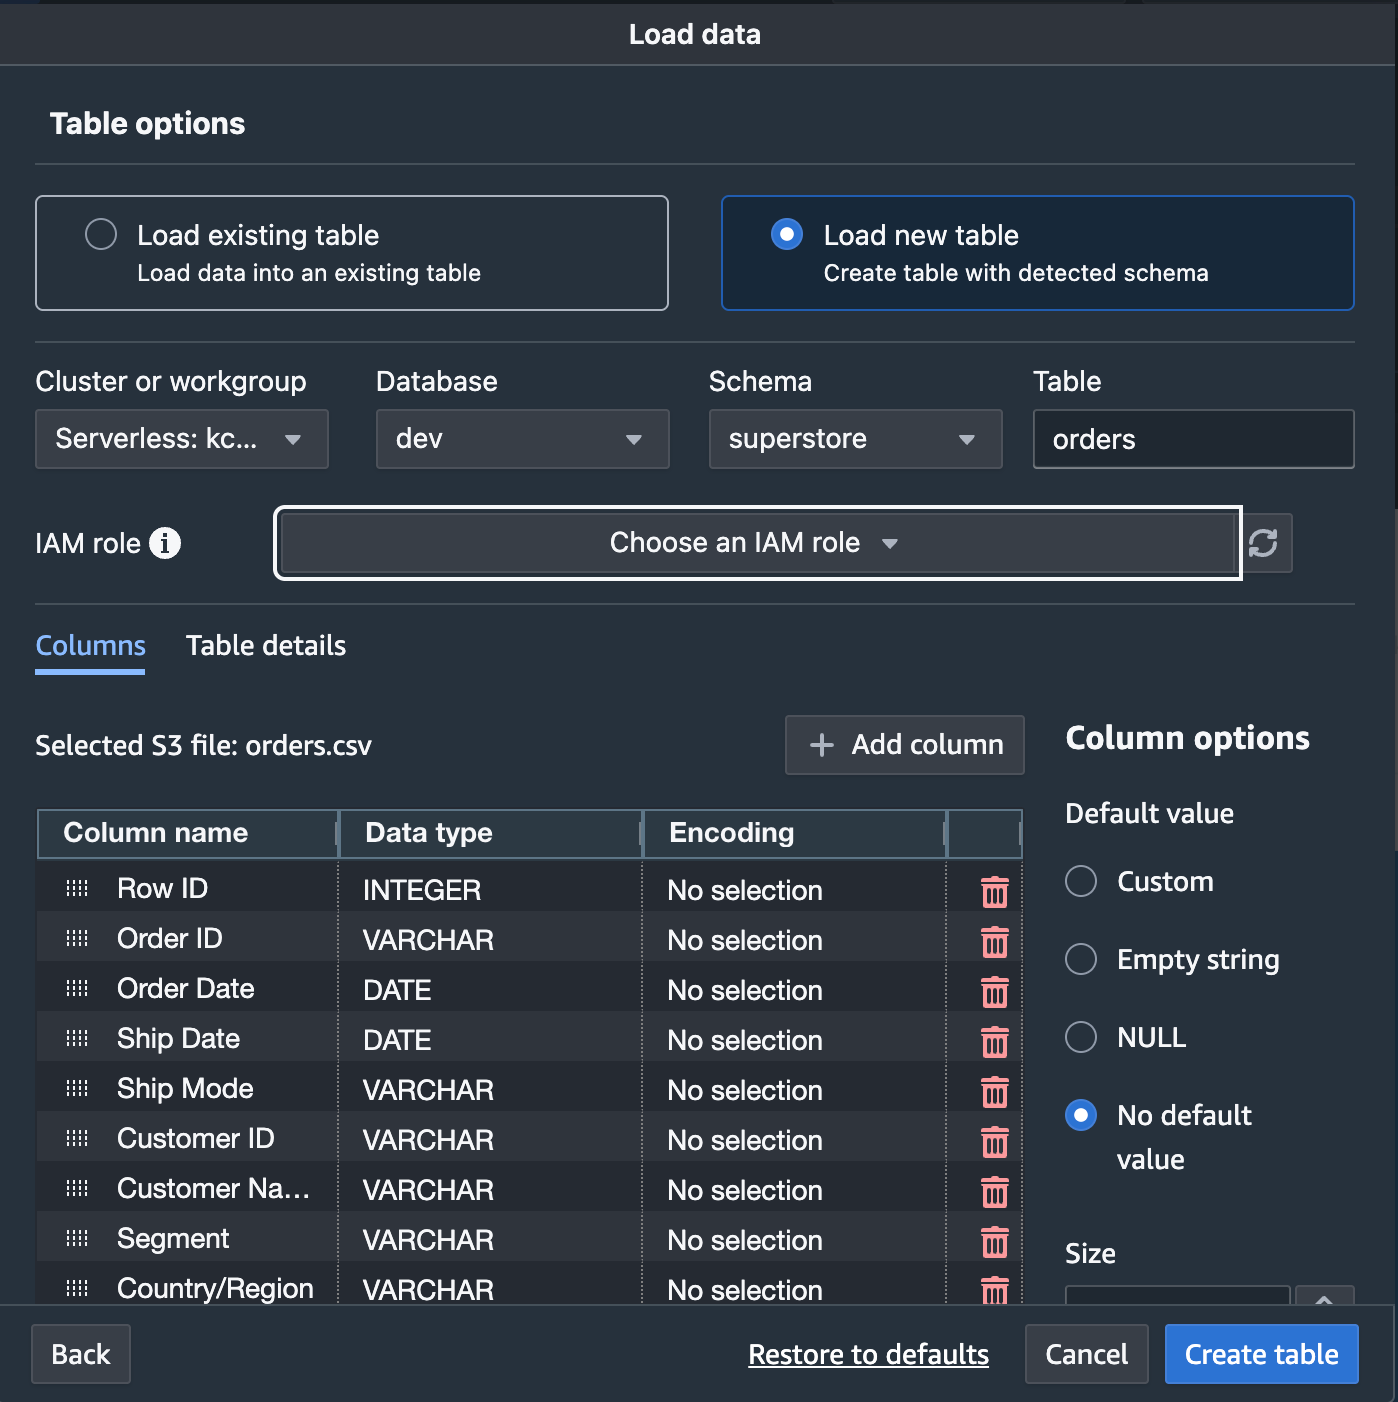
Having loaded data into a database schema, you can start building queries!
IV.
Run Queries
Queries can be saved and shared. Results can be viewed as a table or chart and then exported.