For our project this week, we had to create fake data to use in our analysis. To do that we firstly needed to familiarise with what the Ruby syntax is. Mockaroo is ran using a programming language called Ruby.
When we open Mockaroo website, we get something that looks like this:

This is where we can create different fields to your liking. There are a lot of options to pick from what type of field you would want.
To create a dataset that you want, you can delete all of the current fields and start creating from scratch. To create a field, we need to select 'Add Another Field' and we will get a duplicate field that will be the same of the last one that was created.
Then, we can customise it to our liking by changing the name of the field, changing the type and seeing what it should depend on, if anything.
When we click on Type for the field, we get a pop up window with different field options to choose from. It should look like this:

From this list, you can choose almost anything, but if for this case you can't find something you want to use, you can have a formula type of field and write an expression to mock the data.
When writing expressions, you have to be careful as you need to use correct syntax, as mentioned before. In this case, when you want to call a field that has been created previously, you have to write 'field('specific field')'. This way, Ruby will recognise this and will be able to call a field. It is also important to note that the field you are trying to call has to have been created before.
If you are trying to make something equals something, i.e. if this = that then, then you need to use '==' instead of a single one. It is the same for the 'and', you would need to use '&&' in this instance.
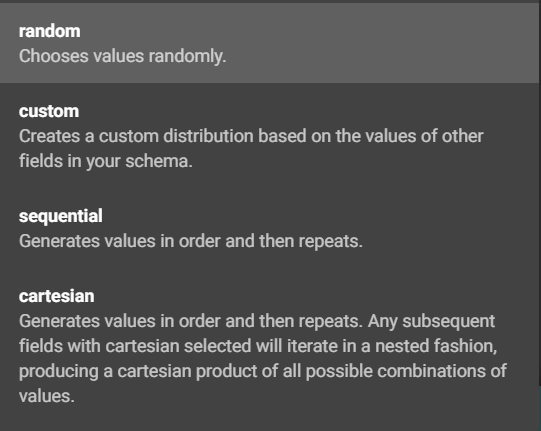
If you want create a custom list of answers, you can also distribute them to your liking. If you have a list of places, for example Brighton, Southend, Bournemouth, and want to have the number of people living in those places not evenly distributed, you can click on 'random' and select 'custom' and then click on a distribution button and create your distribution there. Here's how it would look like:


This should be enough for the basics to understand how to create basic data.
