In this blog post I’ll walk you through how you can easily create a nice looking destination map.
Destination maps are useful for a variety of purposes, including analyzing transportation patterns, understanding travel behavior, and visualizing migration patterns. With Tableau, you can create destination maps in just a few easy steps.
But today we are just creating a map for fun, the objective is to learn the basic steps and have a little fun with the formatting.
Step 1: Prepare your data
Before you can create a destination map, you need to have data that includes the starting and ending locations of each trip. This data should be formatted with one row per trip and columns for the starting location and ending location.
You can also find free datasets online, I used this one for my viz (shame on me, I don’t remember the source, if anyone recognizes it, please reach out so I can properly reference it):
Through the blog I will refer to the columns in this data set.
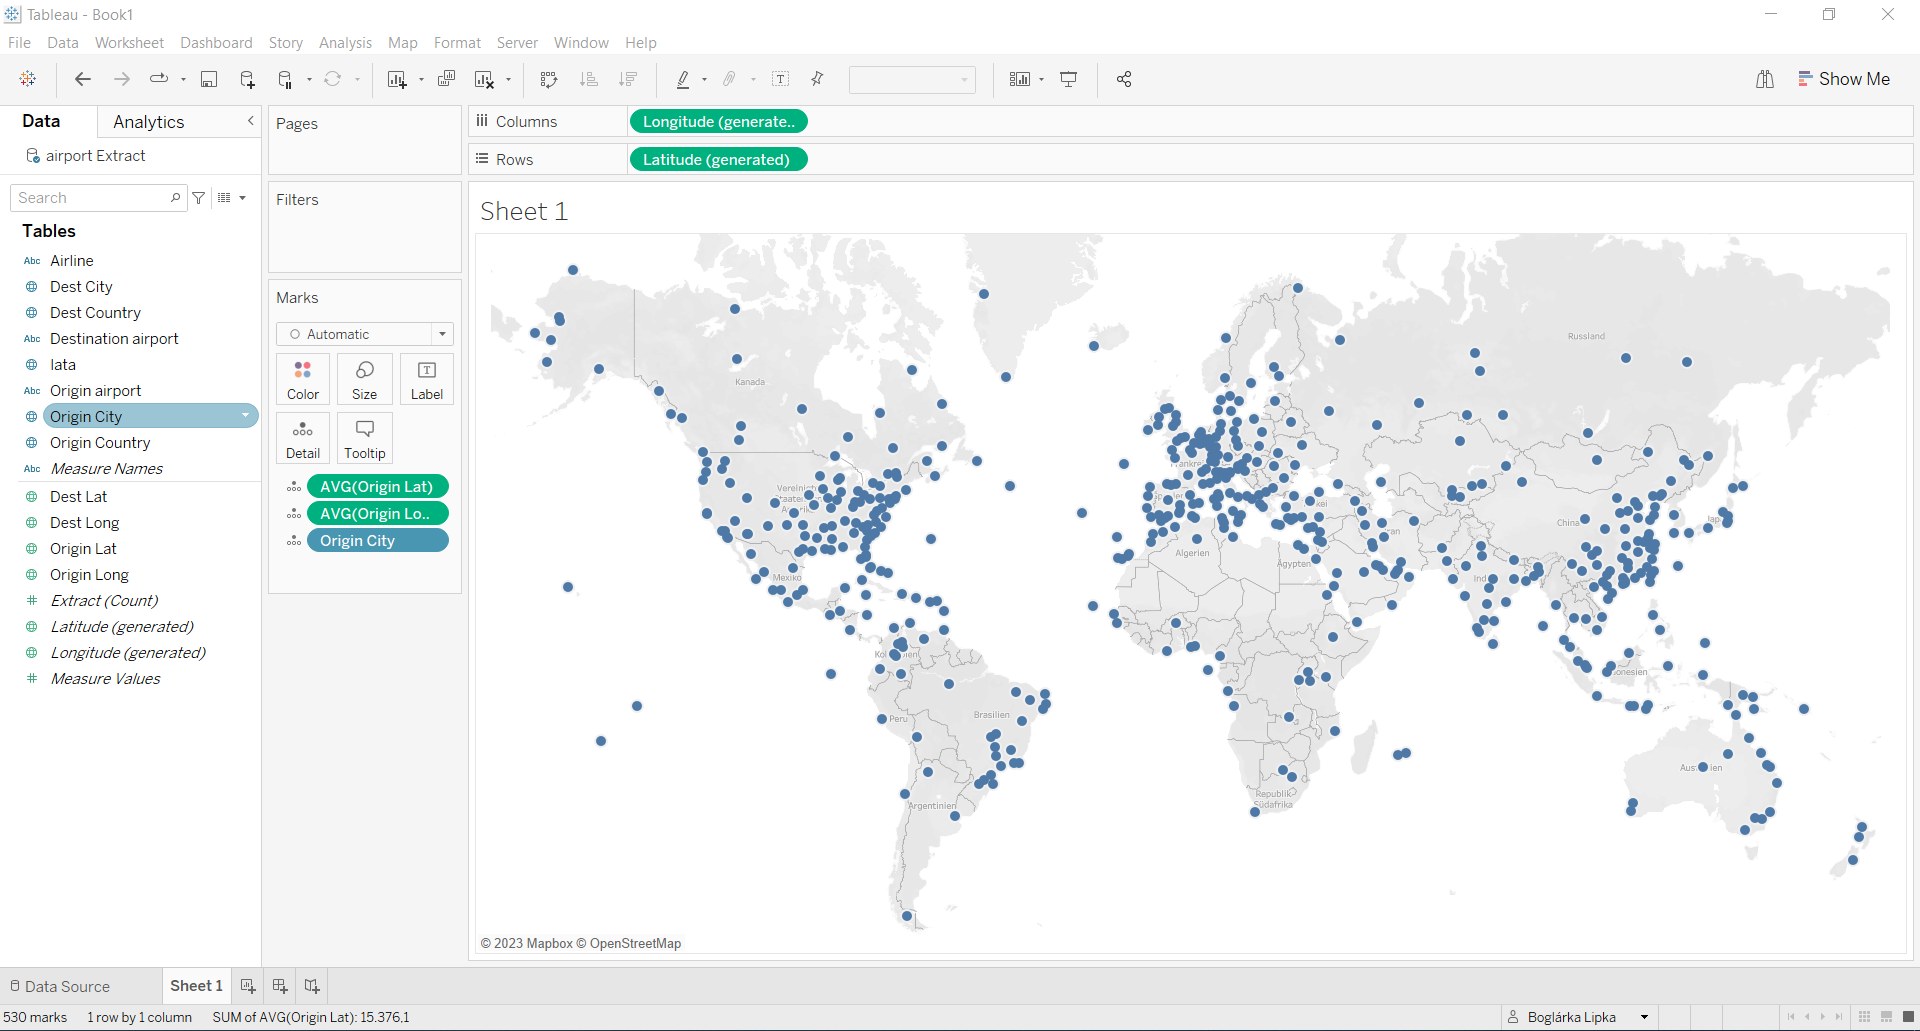
Step 2: Create a map
Once you loaded your dataset in Tableau, double click on the Latitude (generated) and Longitude (generated) fields to create a map. Bring the Origin Lat, Origin Long and Origin City fields to the Detail card. At this point you will be presented with a map that contains one point for all origin cities:
Step 3: Add second map layer
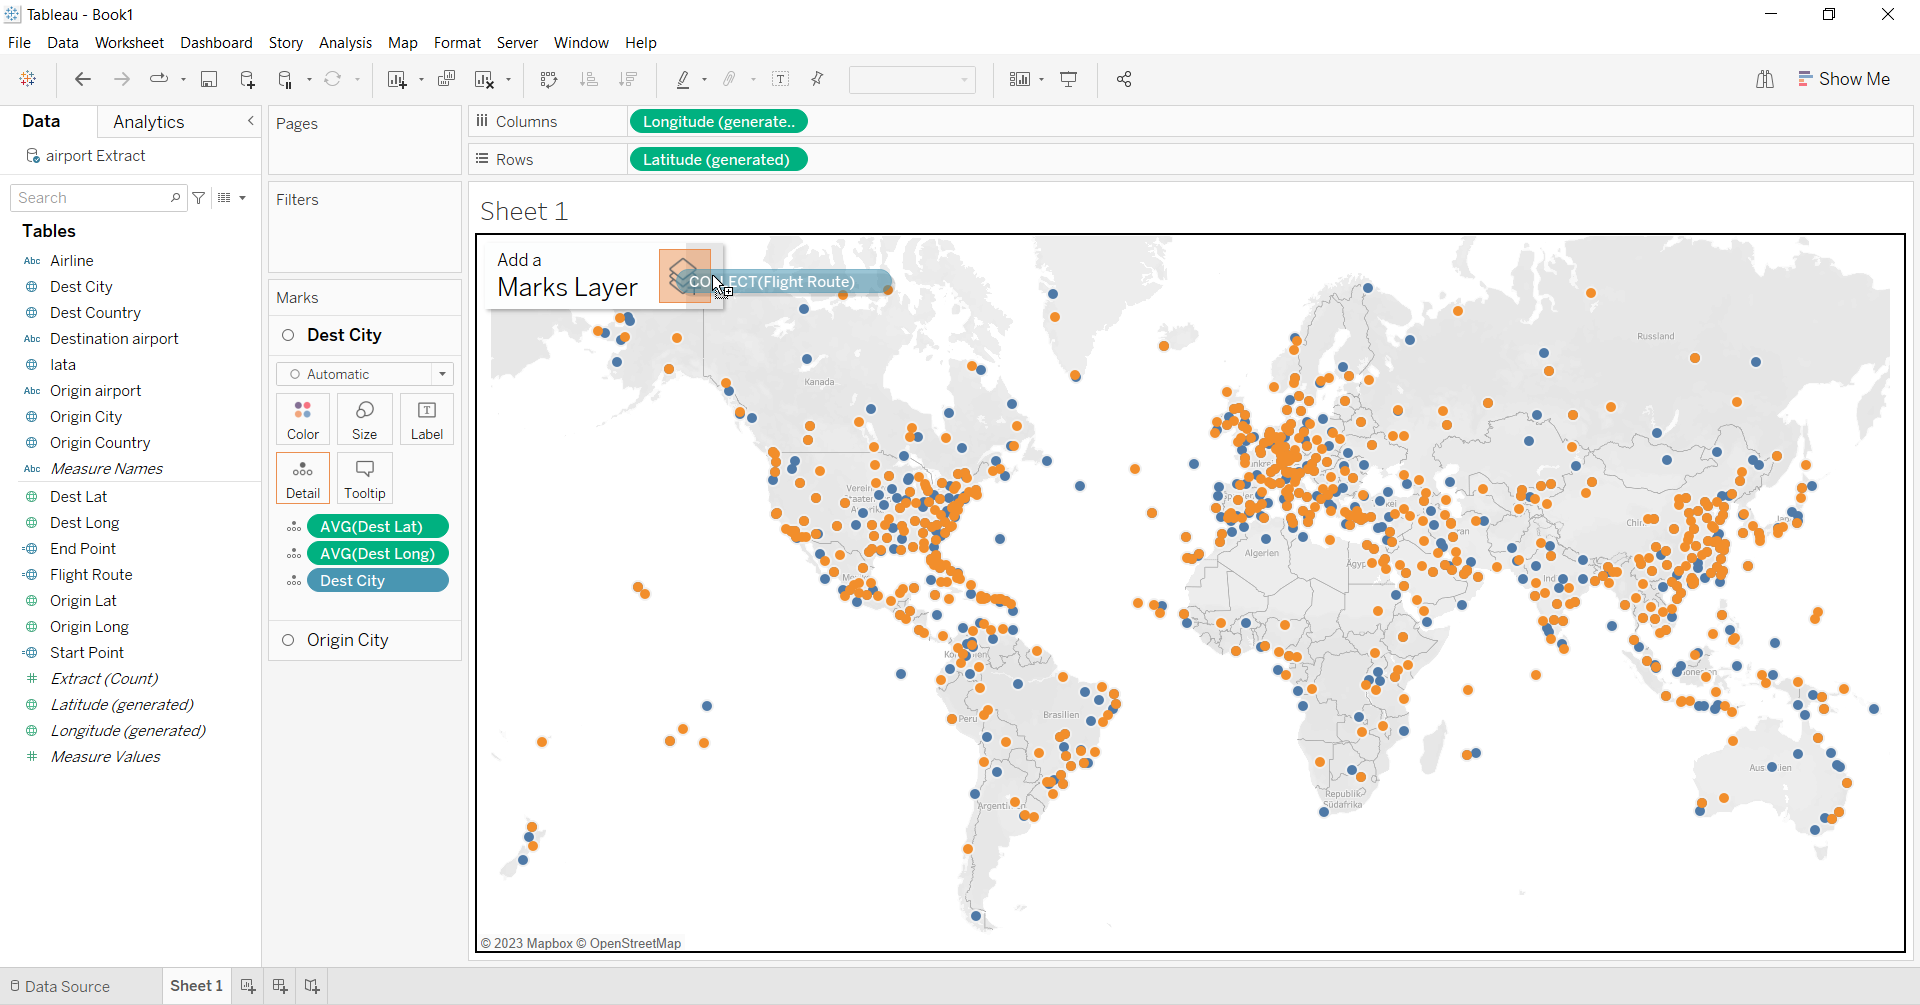
Now drag the Dest Lat field and place it on the “Add a Marks Layer” card that appears if you hover over the map, holding the Dest Lat field.
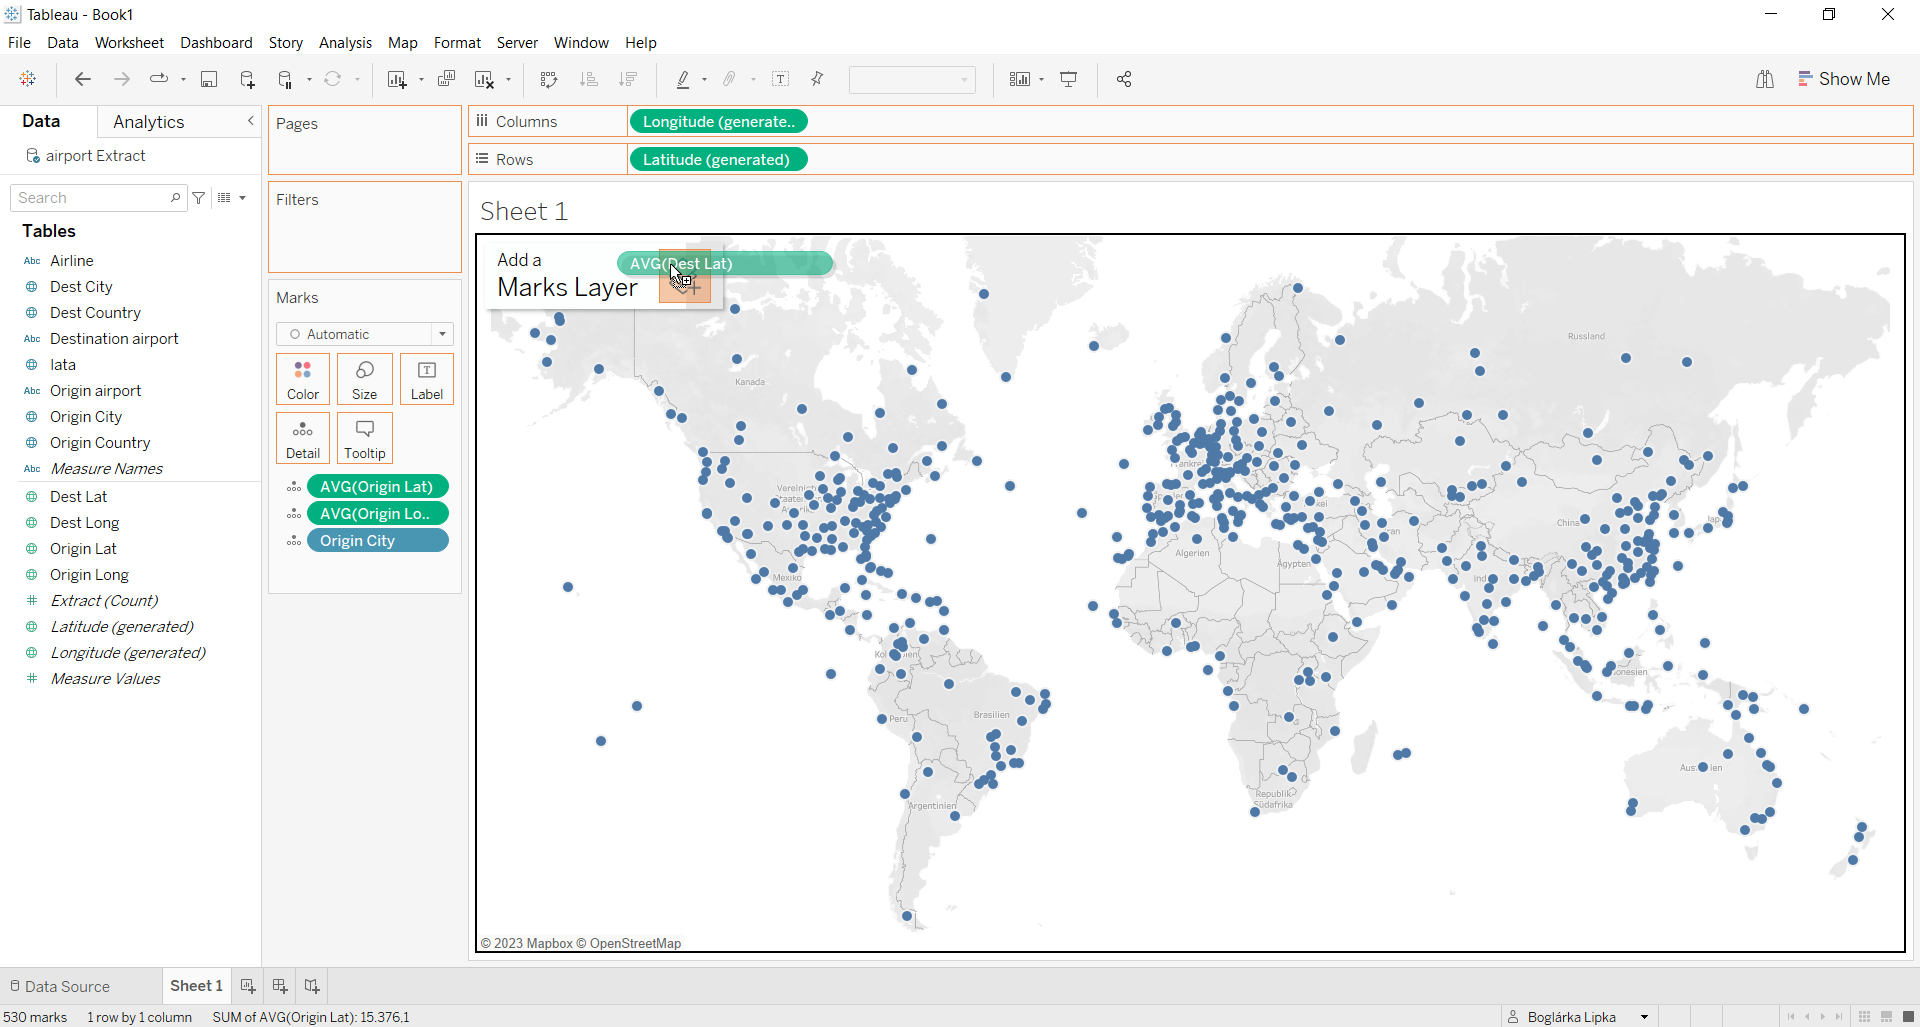
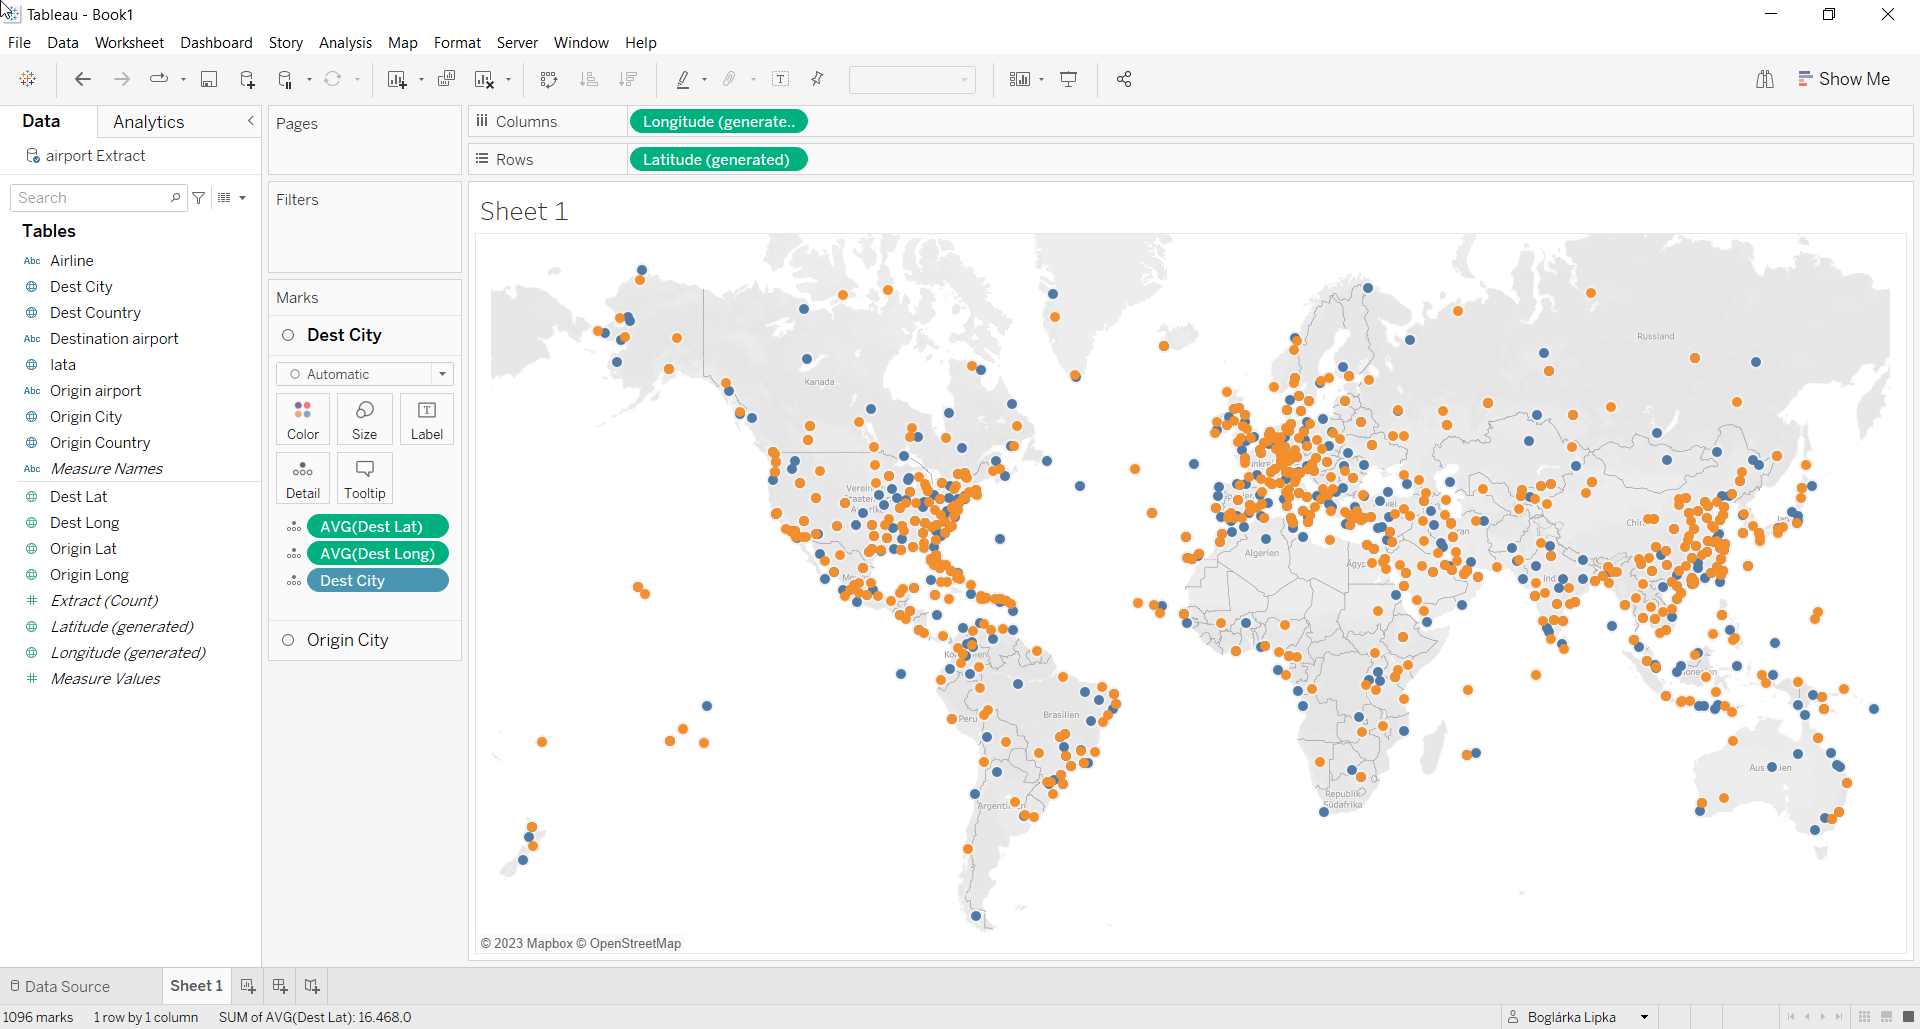
Drop Dest Long and Dest City also on the Detail card. If you change the color, you will see that now we have one point for all destination cities to.
Step 4: Create the calculated fields
Tableau needs to recognize our points in order to be able to connect them and display the routes, so we need 3 calculated fields:
Start Point: MAKEPOINT([Origin Lat],[Origin Long])
End Point: MAKEPOINT([Dest Lat],[Dest Long])
Flight Route: MAKELINE([Start Point],[End Point])
Step 5: Visualise the flight routes
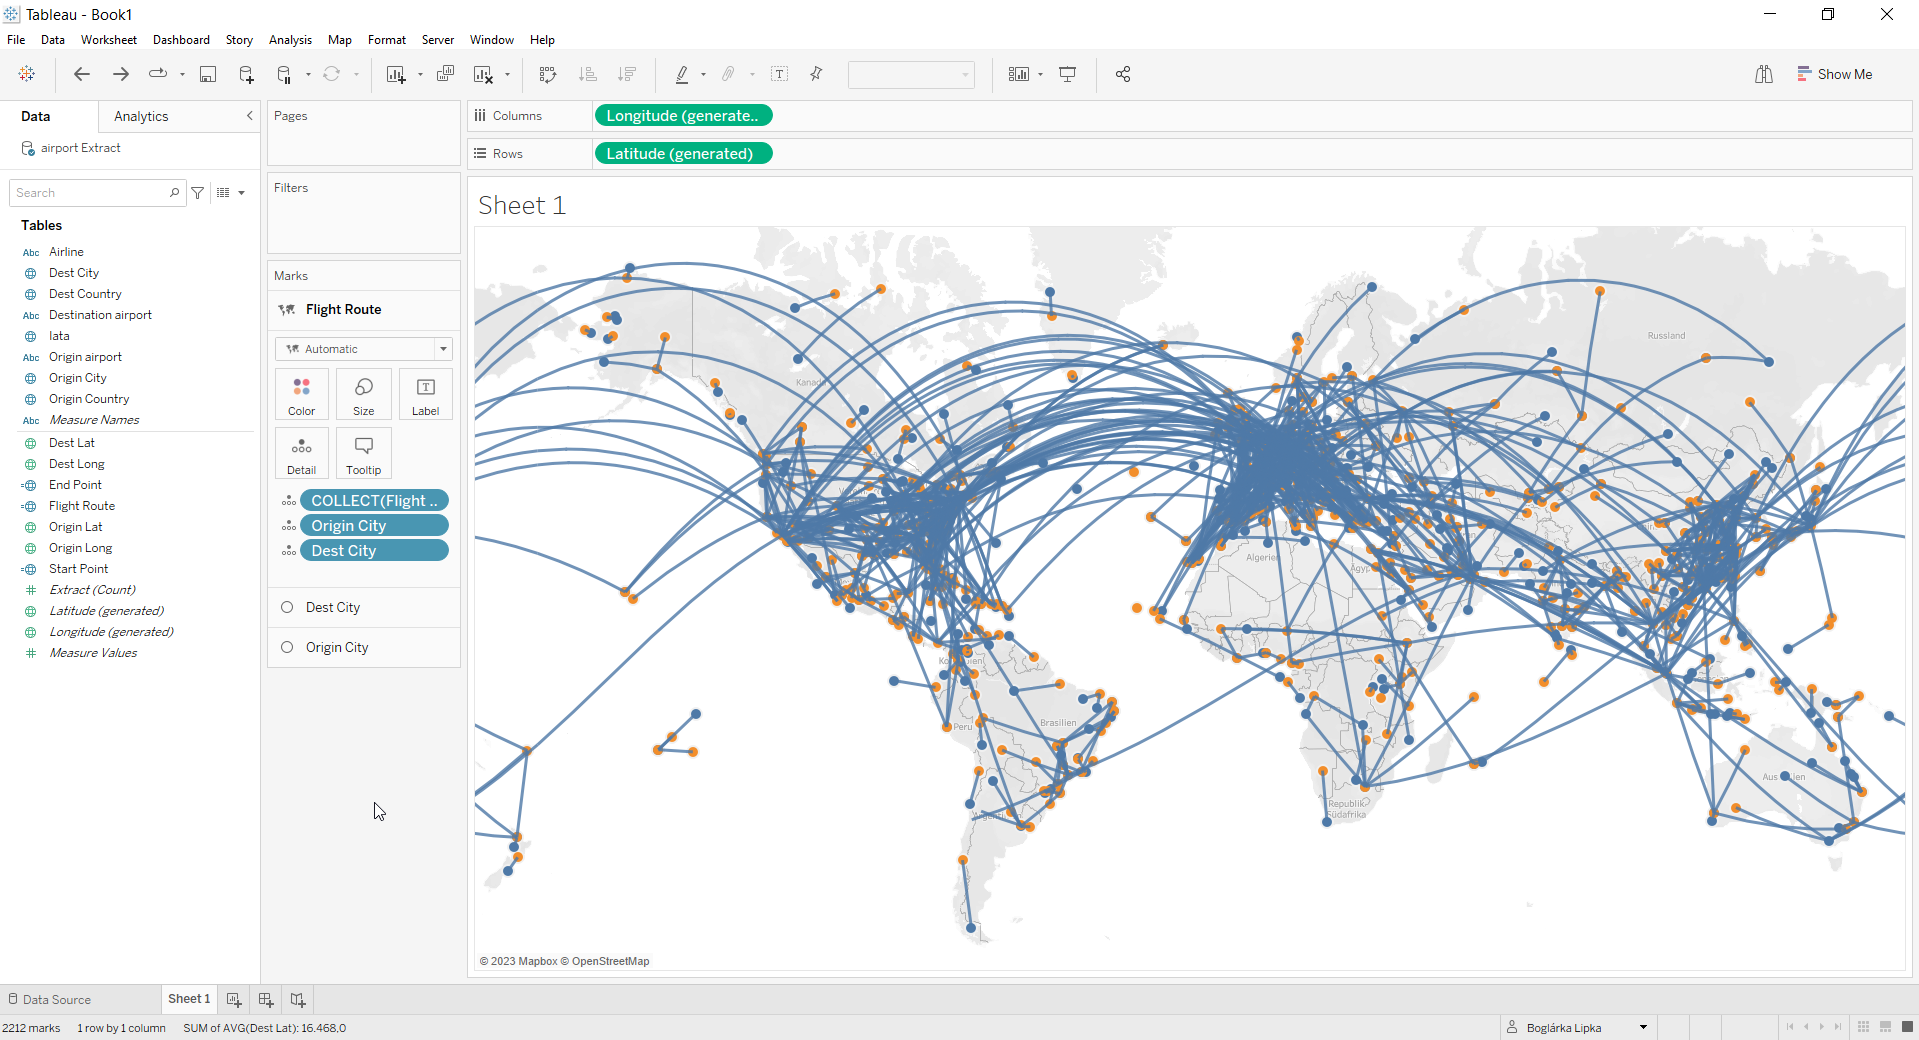
Grab the Flight Route field, hover over the map and place it again on the “Add a Marks Layer” card to create a 3rd layer.
If you want to be able to select the lines separately, you can dreg Origin City and Dest City on the Detail card here too. Now you have a very nice looking destination map. 😊
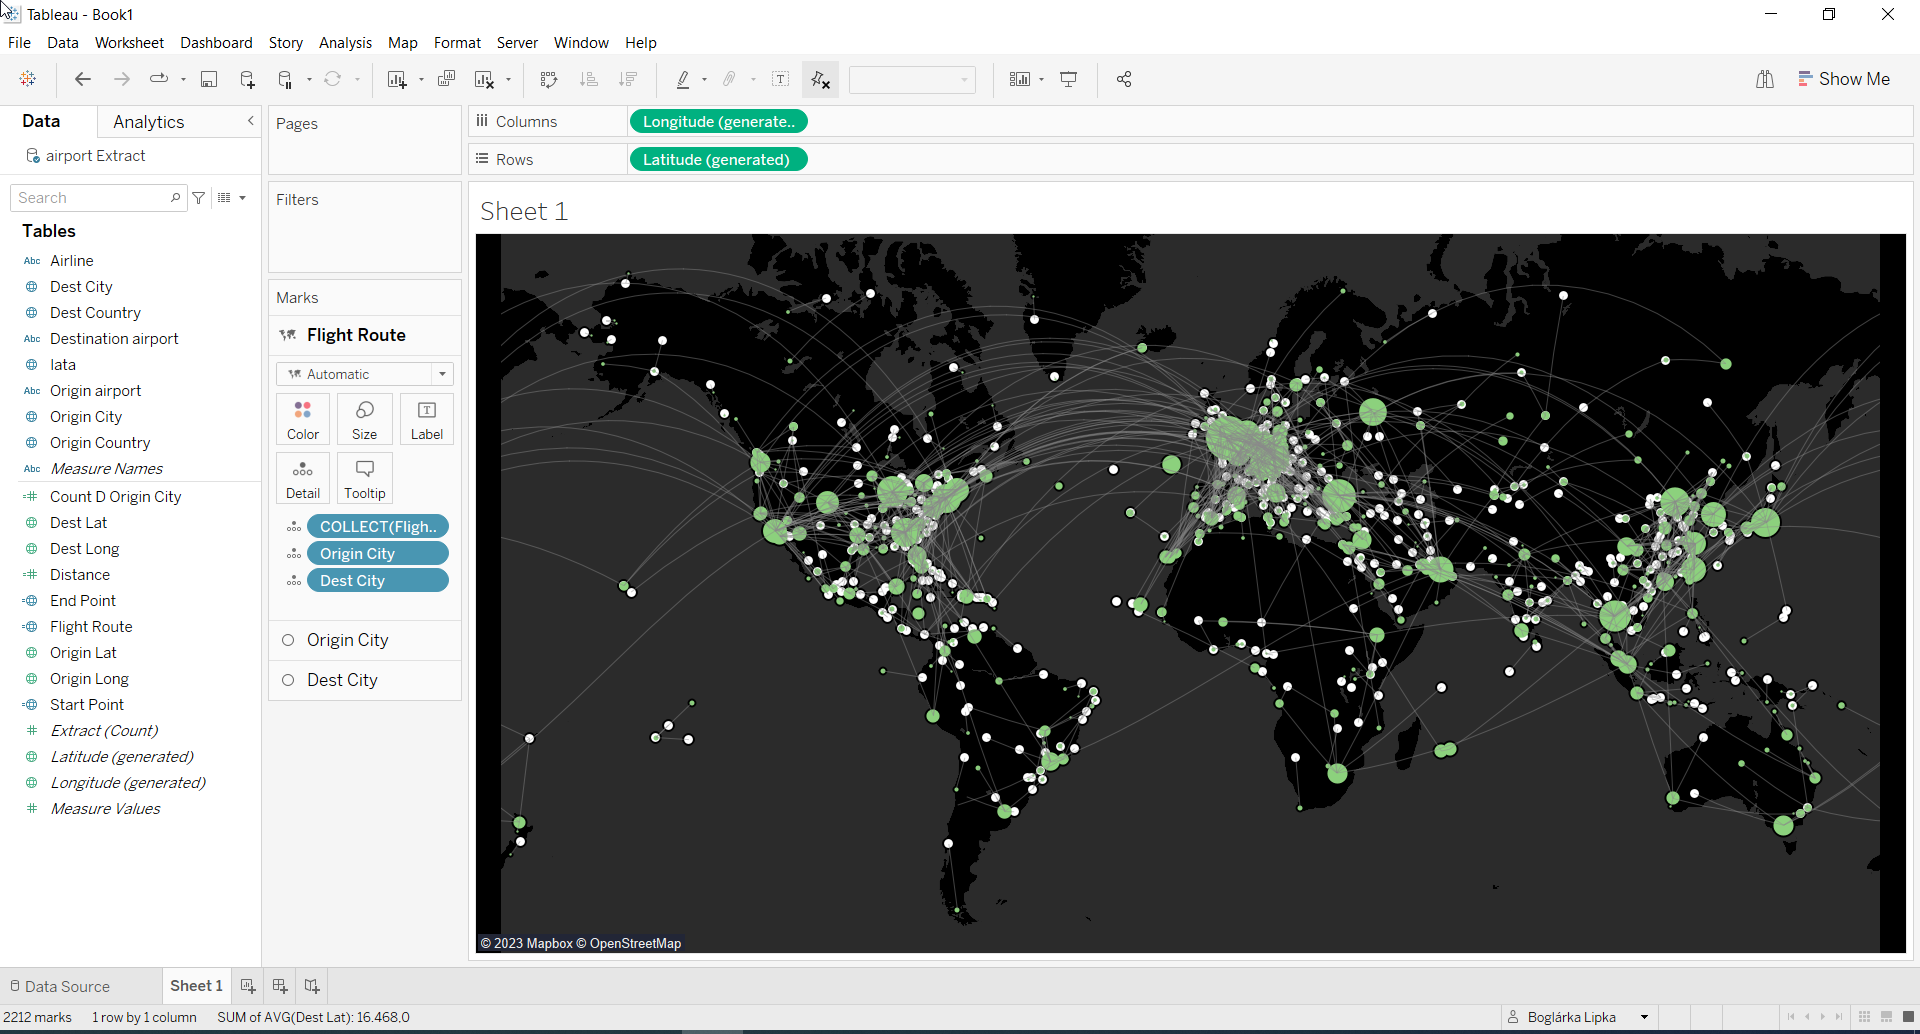
If you want your map to look even nicer, you can format – for me this is really the fun part. I played around a bit and did the following formatting:
1. One more calculated field for fun:
DISTANCE([Start Point],[End Point],"km")
I dragged that on Origin City so the more distance the planes fly from a city, the bigger the circe will be. I set the color to green.
2. I colored the destination cities white and reduced the size.
3. I colored the flight routes grey and set the opacity around 50%
4. Clicked MapàBackground Layers and set the Style to Dark
5. Same place I removed all ticks under Background Map Layers, except the Base
And ta-da, nice looking destination map. 😊