


I'd like to start by saying I am aware that there are only 52 weeks in a year however 2020 had 53 Wednesday's soooooooo.....
Today in the data school we talked about containers. As a lot of people know, these can be really tricky to use but they make creating a dashboard much smoother if you know how they work.
Types of containers
There are two types of containers in Tableau, vertical and horizontal. They can be found in the objects section in dashboard view.
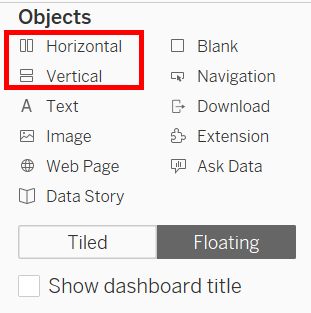
The horizontal container is used when you want to stack objects side by side like this:

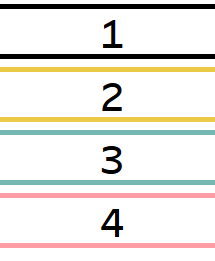
The vertical container is used when you want to stack objects on top of each other like this:
Now that we have an understanding of the two containers, here's how we use them.
- Do a plan
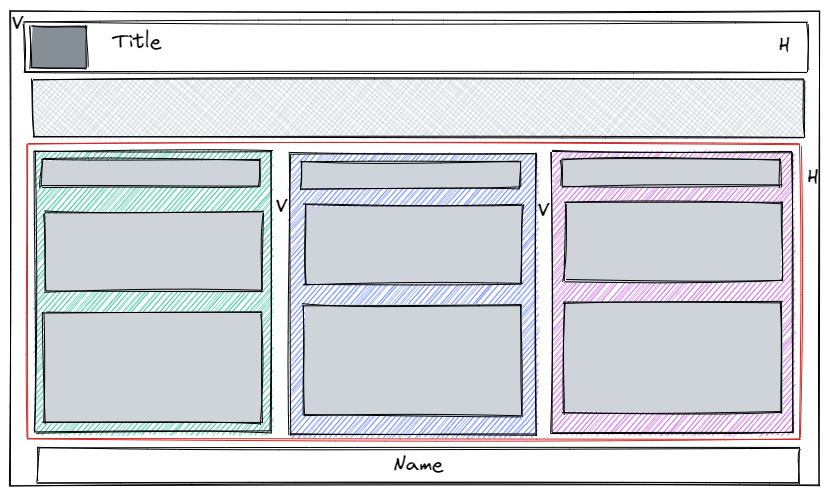
It's really important that a plan is made for your dashboard. It can help you save lot's of time in advance because you will have container in container in container (it can go on for ages). I use excalidraw to make my plans. Here's an example. The H and V stand for horizontal and vertical.
2. Place my first container
From my plan I can see that I want to start with a vertical container because I'm going to need to put things one on top of the other. I have a title pane, then a sheet with my BAN's, another container for my sheets of analysis and a final textbox for my name.
3. Fill container with blank objects
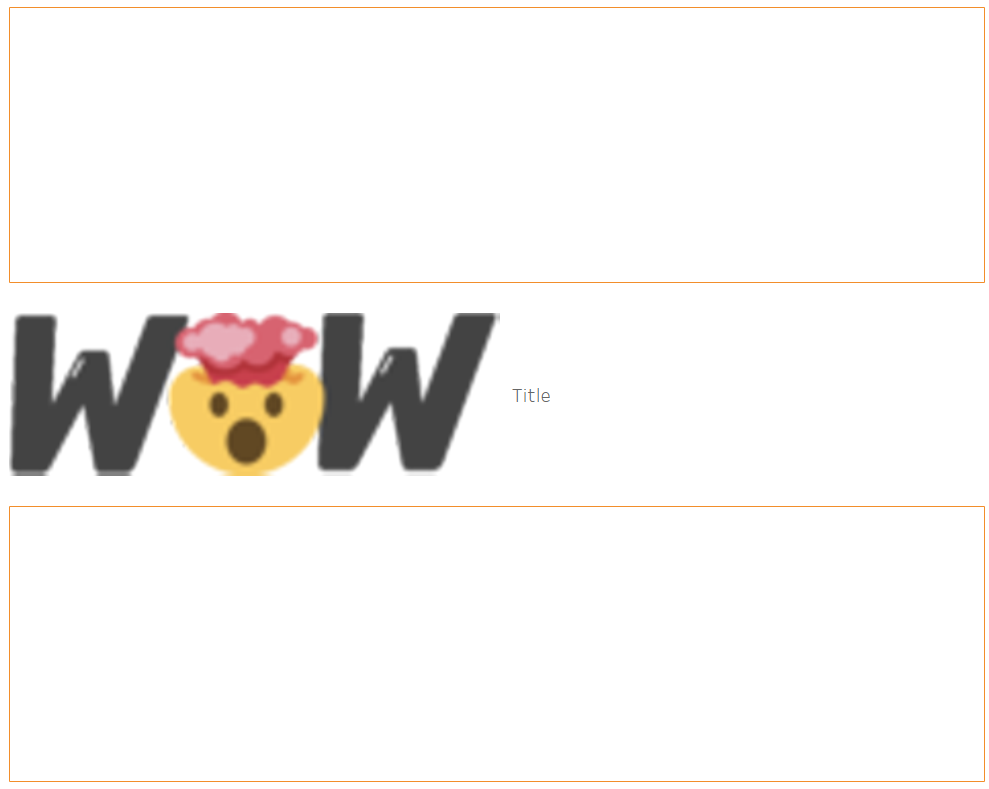
This is a step that we will come back to over and over again. Putting blank objects into the container help make sure that we aren't making a mistake and that we're actually putting sheets into the container and not making tiles instead. It's helpful to put borders around your blanks so that you can visualise better what you're doing. I'm going to start with the first container which will be our base.
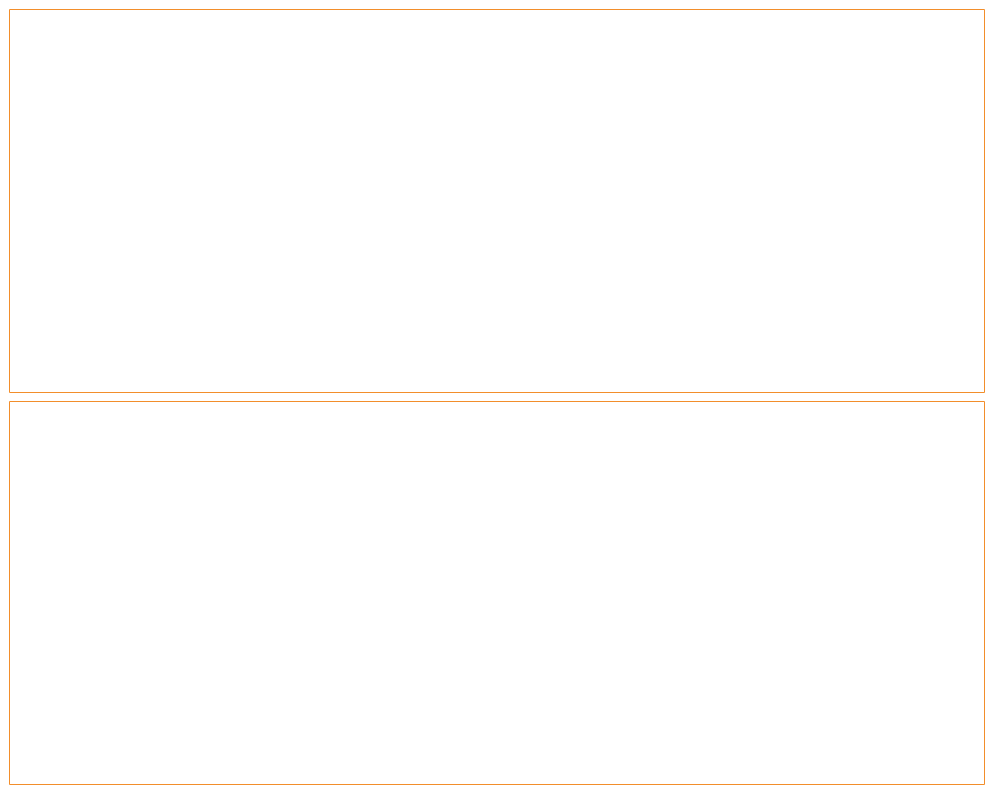
The border shows that there is one thing on top of each other so this makes sure that our container is vertical. When we want to drag things in now, a dotted line will appear and that's where we want to drop the object. The object in this case is a horizontal container because we are going to put our logo and title in it side by side like below. We can then resize out title container and remove the blank from above, it's done its job. But we will still keep the one below till the end.
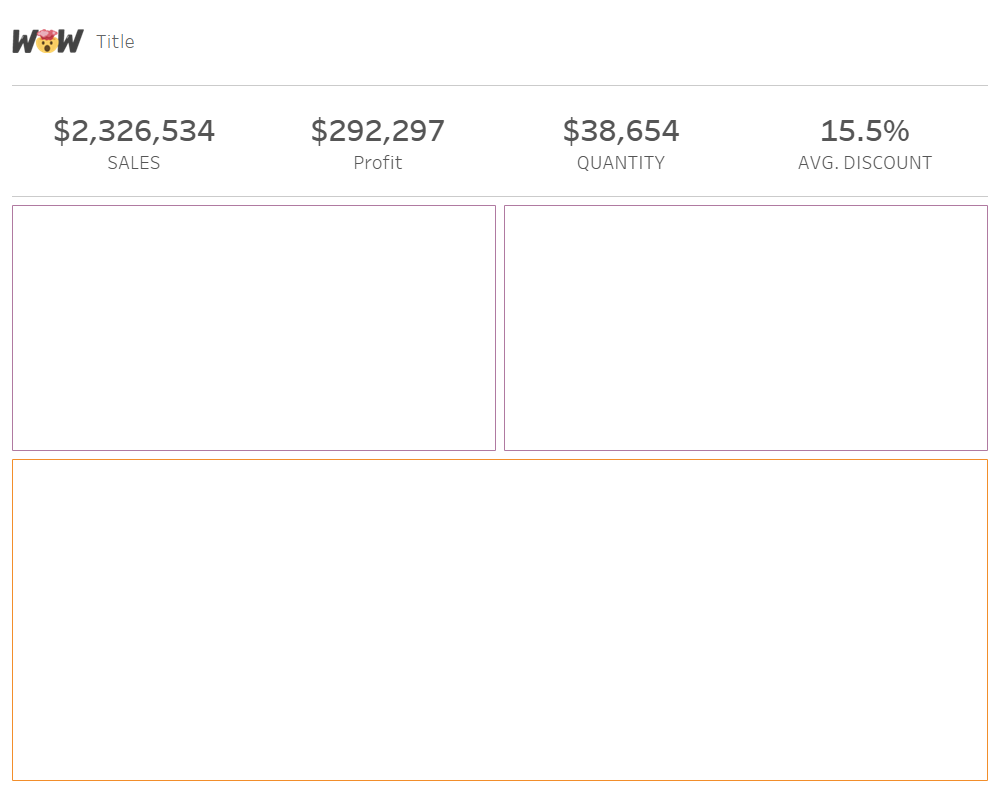
Next, we can drag in our BAN sheet. This doesn't need to be in a container as it's one sheet only.

We're going to follow this with a horizontal container as we need to put the different segment graphs side by side. I'm still using borders to help differentiate between the objects. I've put two blank spaces to show that the container is a horizontal one. They are the blanks with the purple border.
We are going to drag three vertical containers into the gap between the purple blanks. Here we will put our different segments. The three vertical containers are colour differentiated below.
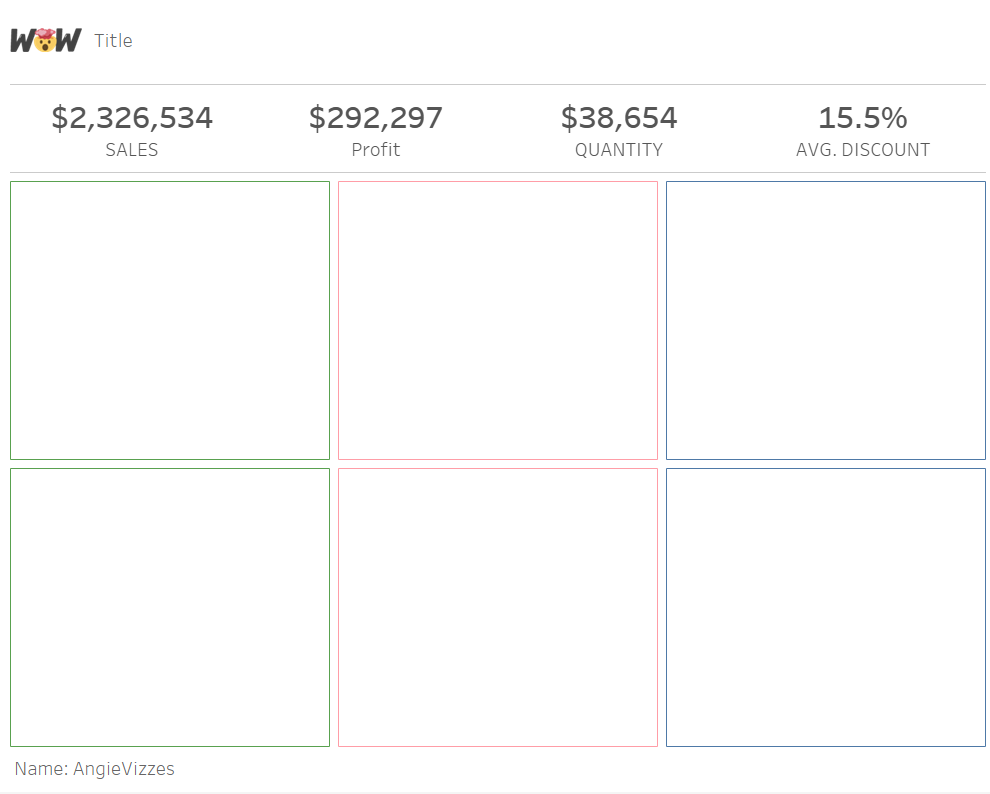
We can start dragging in our sheets and text boxes now. Be sure to resize them so it looks good.
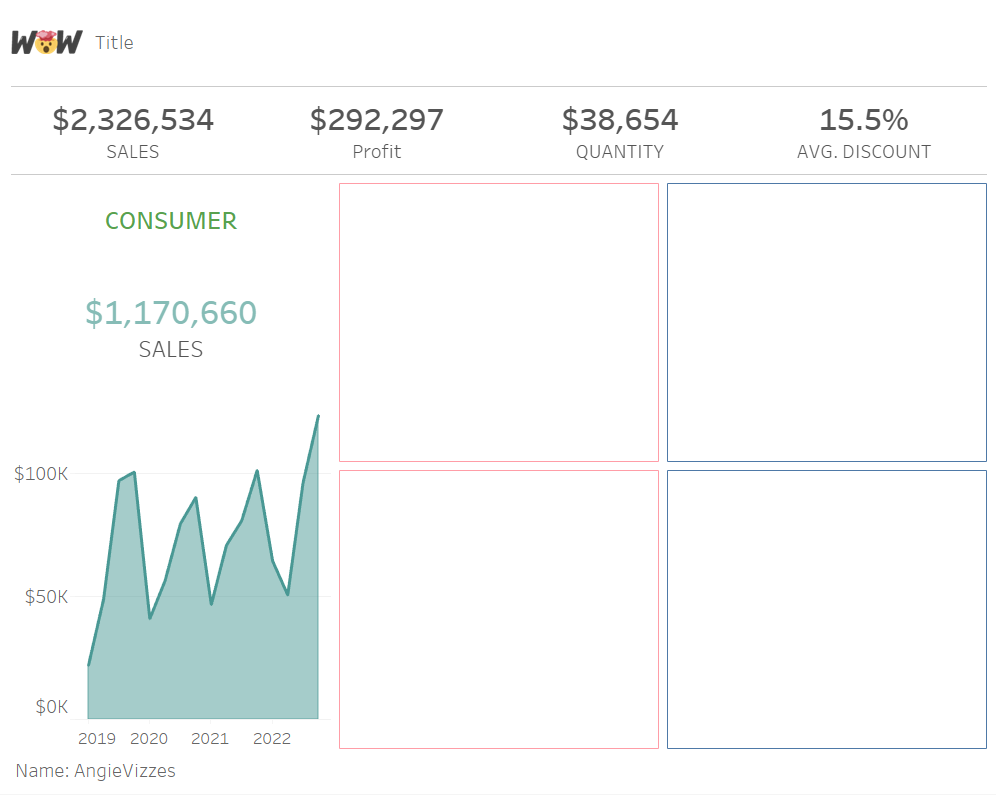
Lastly, add a text box at the bottom so you can put your name and any other information you think is important.
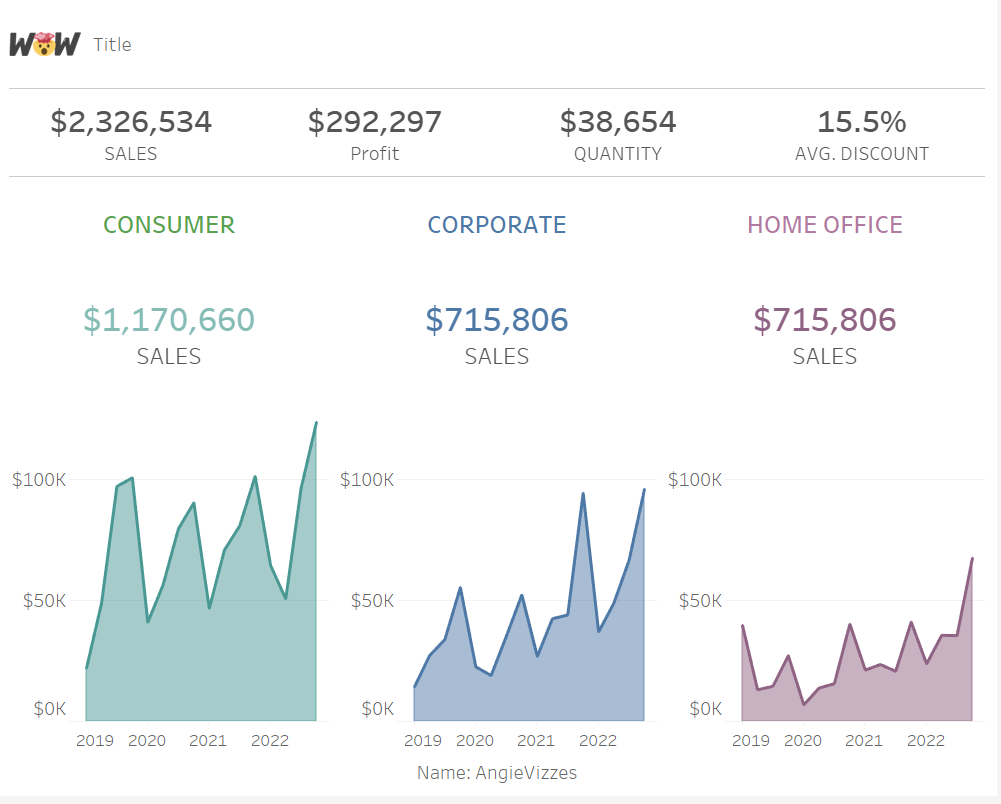
The final result should look like this:
I also have a youtube video which explains this in more detail and points out places that are easy to make a mistake and things you should look out for. If you want to check it out, please click the link: https://youtu.be/yHDpXGlsRzM